

"Beauty will save the world."
A true confession and transformation.
Beauty will save the world
Can I tell you a little secret?
I used to think that people who bought flowers were silly, shallow and frivolous.
"Why would they spend good money on something like that? Something that is going to die and they'll throw in the trash? Boy, it must be nice to be able to literally throw money away."
In my heart, I felt bitterness and distain toward "those people". I thought they were being irresponsible and impractical.
It was so strange. Here I was, an Art major who has an incredible appreciation for beauty, yet I couldn't get on board with flowers.
Oh, I grew them in my landscaping and even put some in my gardens, but they were practical, right? Their job was to make my landscaping look good. Or attract pollinators to the more important, more noble vegetable crops.
You know. The things you can actually eat, the things I thought would save the world.
For crying out loud, I thought, there are people STARVING and we're buying flowers?!? I began to look at all my purchases and feel guilty whenever I spent money on anything that I felt was an "indulgence" or something we didn't absolutely need for survival.
It was a hard way to live. I think I secretly wanted beauty, but felt guilty and shallow even admitting that I longed for it.
"We need more beauty in our lives."
Thank goodness for my dear husband. His crazy idea changed everything.
He came home from work one day and started searching on-line for these things called "dahlia tubers". At this time, neither one of us had ever heard of dahlias!
"What in the world are you doing?", I asked him.
"I'm going to buy some dahlia tubers. A friend at work showed me photos of the flowers and I want some." (Me thinking to myself: "Why are dudes talking about flowers at work?")
"What?!? You've never grown anything in your life! Why are you doing this? We don't have room for something silly like flowers - we need all our growing space for growing food. You know - stuff that is actually valuable."
He replied, "I know. But we need more beauty in our lives."
Those words have stuck with ever since. I couldn't deny that it was true.
For the past 5 years, we had been living in a construction zone of a house ("Oh, a fixer-upper farm house! That must be so fun!" No. It's not) and our slowly developing farm was always in a state of disarray. We had been living in ugliness for years and it was dragging us all down.
So, I reluctantly and grudgingly agreed to help him plant dahlias. Let's just say maybe I would have had a better attitude if he had decided to plant 10 dahlias... but noooooooooooo. He brought home 300 tubers ("I found a great deal at a garage sale!") and we proceeded with the labor intensive work of planting, me grumbling under my breath the whole time that I would rather be planting something we could eat (because we have to grow more food to save the world, right?).
The Transformation
Then late July rolled around and one day while I was surveying the dahlia patch, I saw a flash of color. I went over to investigate, and oh friends, I wish I had the words describe my reaction when I saw that first flower... but let's just say it was as if these hard scales fell away from my heart and underneath I discovered something soft, something tender, something vulnerable.
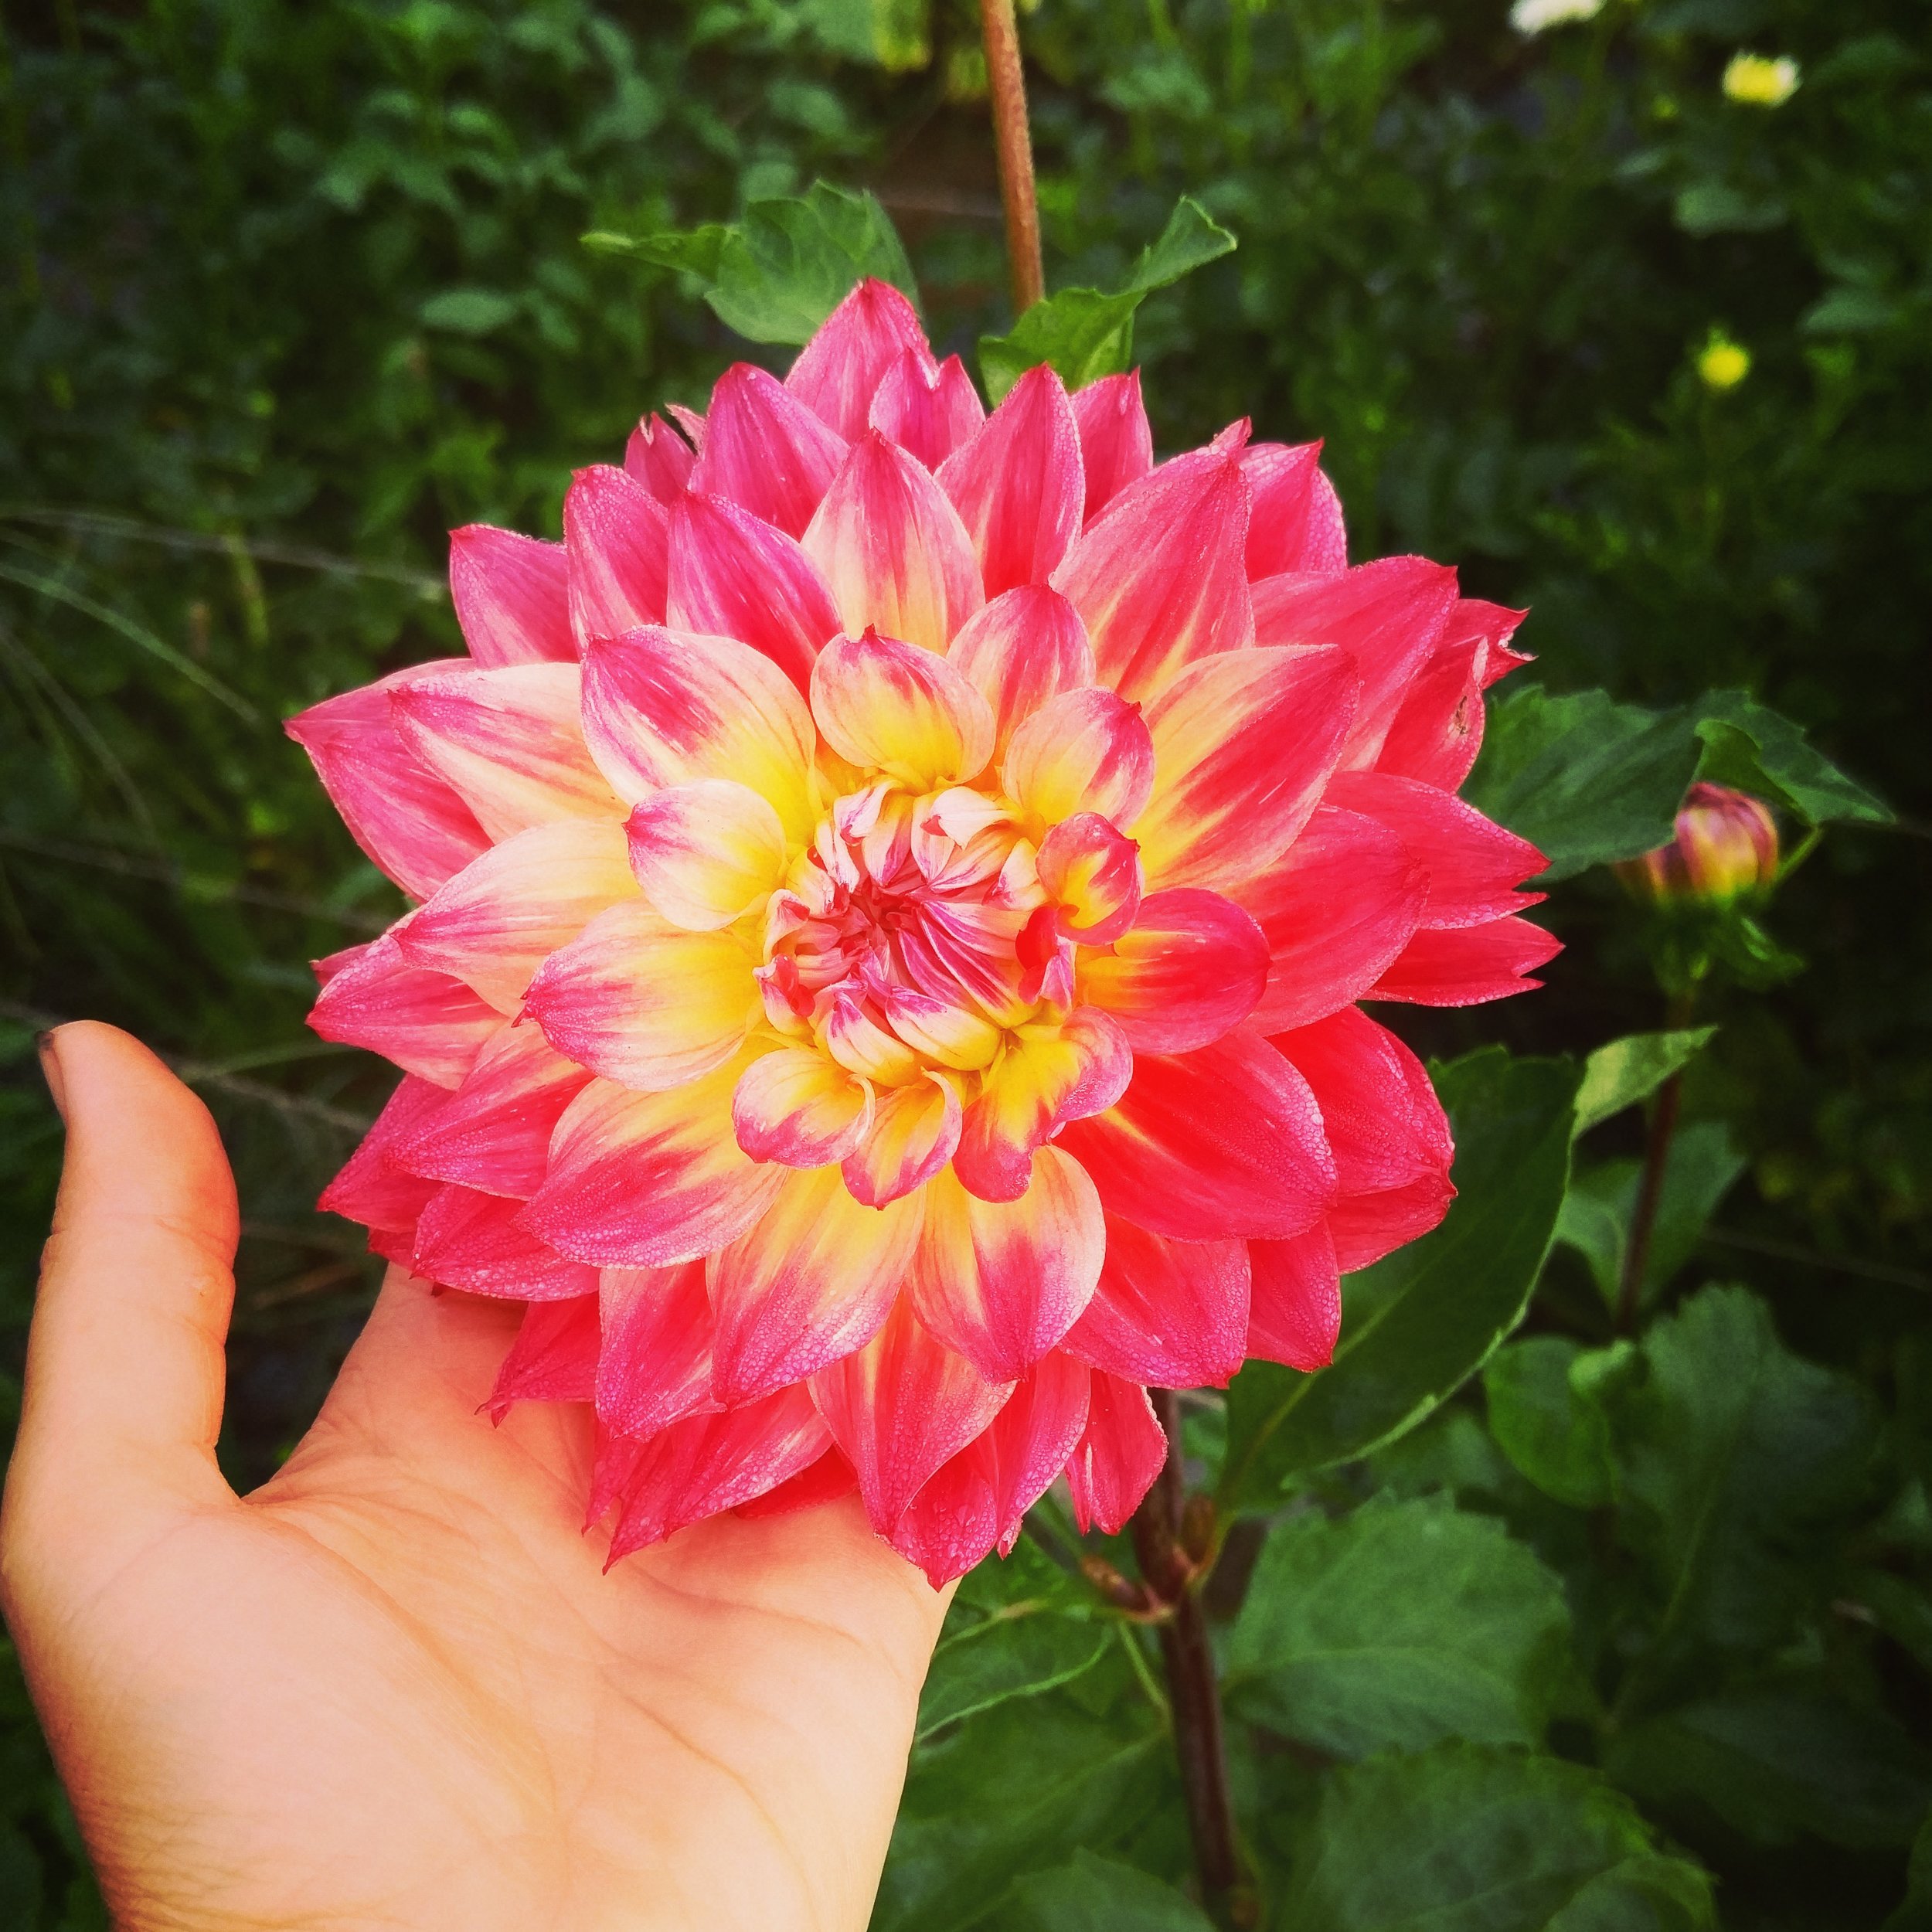
I actually gasped out loud and started crying looking at that beautiful flower. I felt so silly, but now I understood. I knew why people love flowers, why they need them like air. Why they have a desperate longing for beauty, goodness and wonder.
While it might sound dramatic to say that flowers changed my life, it's true.
I learned to slow down, to savor small joys and take the time to really "see".
I learned that my soul longs for beauty and goodness and wonder... and I should not be ashamed of that. God created me with those desires deep inside me and trying to fight against them was only making me miserable.
I learned that efficiency, productivity and achievement are not bad things, but they don't bring me true joy and contentment.
I learned to be more forgiving and gentle, and less judgmental and harsh. The flowers softened my rough edges, my hardness and created a new person.
They transformed me.
Sharing the Wonder
Imagine my joy and delight when people started stopping by our farm stand to buy the flowers and I discovered they felt the same way!
Friends, I don't know what it is, but strangers would tell me the most tender and heartbreaking stories while they were picking out their flowers. There is something about flowers that allows us to be open and real, to be vulnerable and soft.
I'm in awe of the power of beauty.
It fills me with such joy to know that the flowers we raise on our farm are helping others transform their lives as well. Whether they are buying for themselves or sharing them with a loved one, more and more lives are being blessed with beauty, goodness, love and wonder.

Beauty Will Save the World
Fyodor Dostoevsky said "Beauty will save the world" and after much thought and pondering, I think he's right.
Beauty is not shallow or frivolous, as I once thought. It has power to point us to goodness and truth, to compassion and tenderness.
We were specially designed to long for it, to desire it deep in our hearts. You know this. You've felt your heart literally ache at the sight of something beautiful, your chest swelling with tightness and that feeling like you might burst into a million pieces.
Beauty leads us toward it's ultimate source, our God, our Creator, who loved us SO MUCH that He gave us the gift of beauty. He didn't have to do that, but He did. It blows me away. It also speaks volumes about how God feels about beauty. If He thinks it's important, then we better pay attention.
Beauty fills us with a spirit of thankfulness, kindness, joy, love, peacefulness... all things this world desperately needs right now.
THAT is how beauty will save the world - by transforming us into people filled with compassion and love, people who will make this world a little kinder every day.
Go forth, friends, and make today a little bit brighter and more beautiful.
-Lori
"Always begin with the beautiful. It leads you to the good, which leads you to the truth."
- Father Robert Barron

Garlic Scape Pesto Recipe
Why you should harvest your garlic scapes... and what to do with them!
Garlic Scape Pesto
Garlic what? What in the world is a "scape"?
I get this question often this time of year. Maybe you've been wandering around the Farmer's Market and wondered what those crazy green curly-que thingies are. Or perhaps you've even noticed them in your garden!
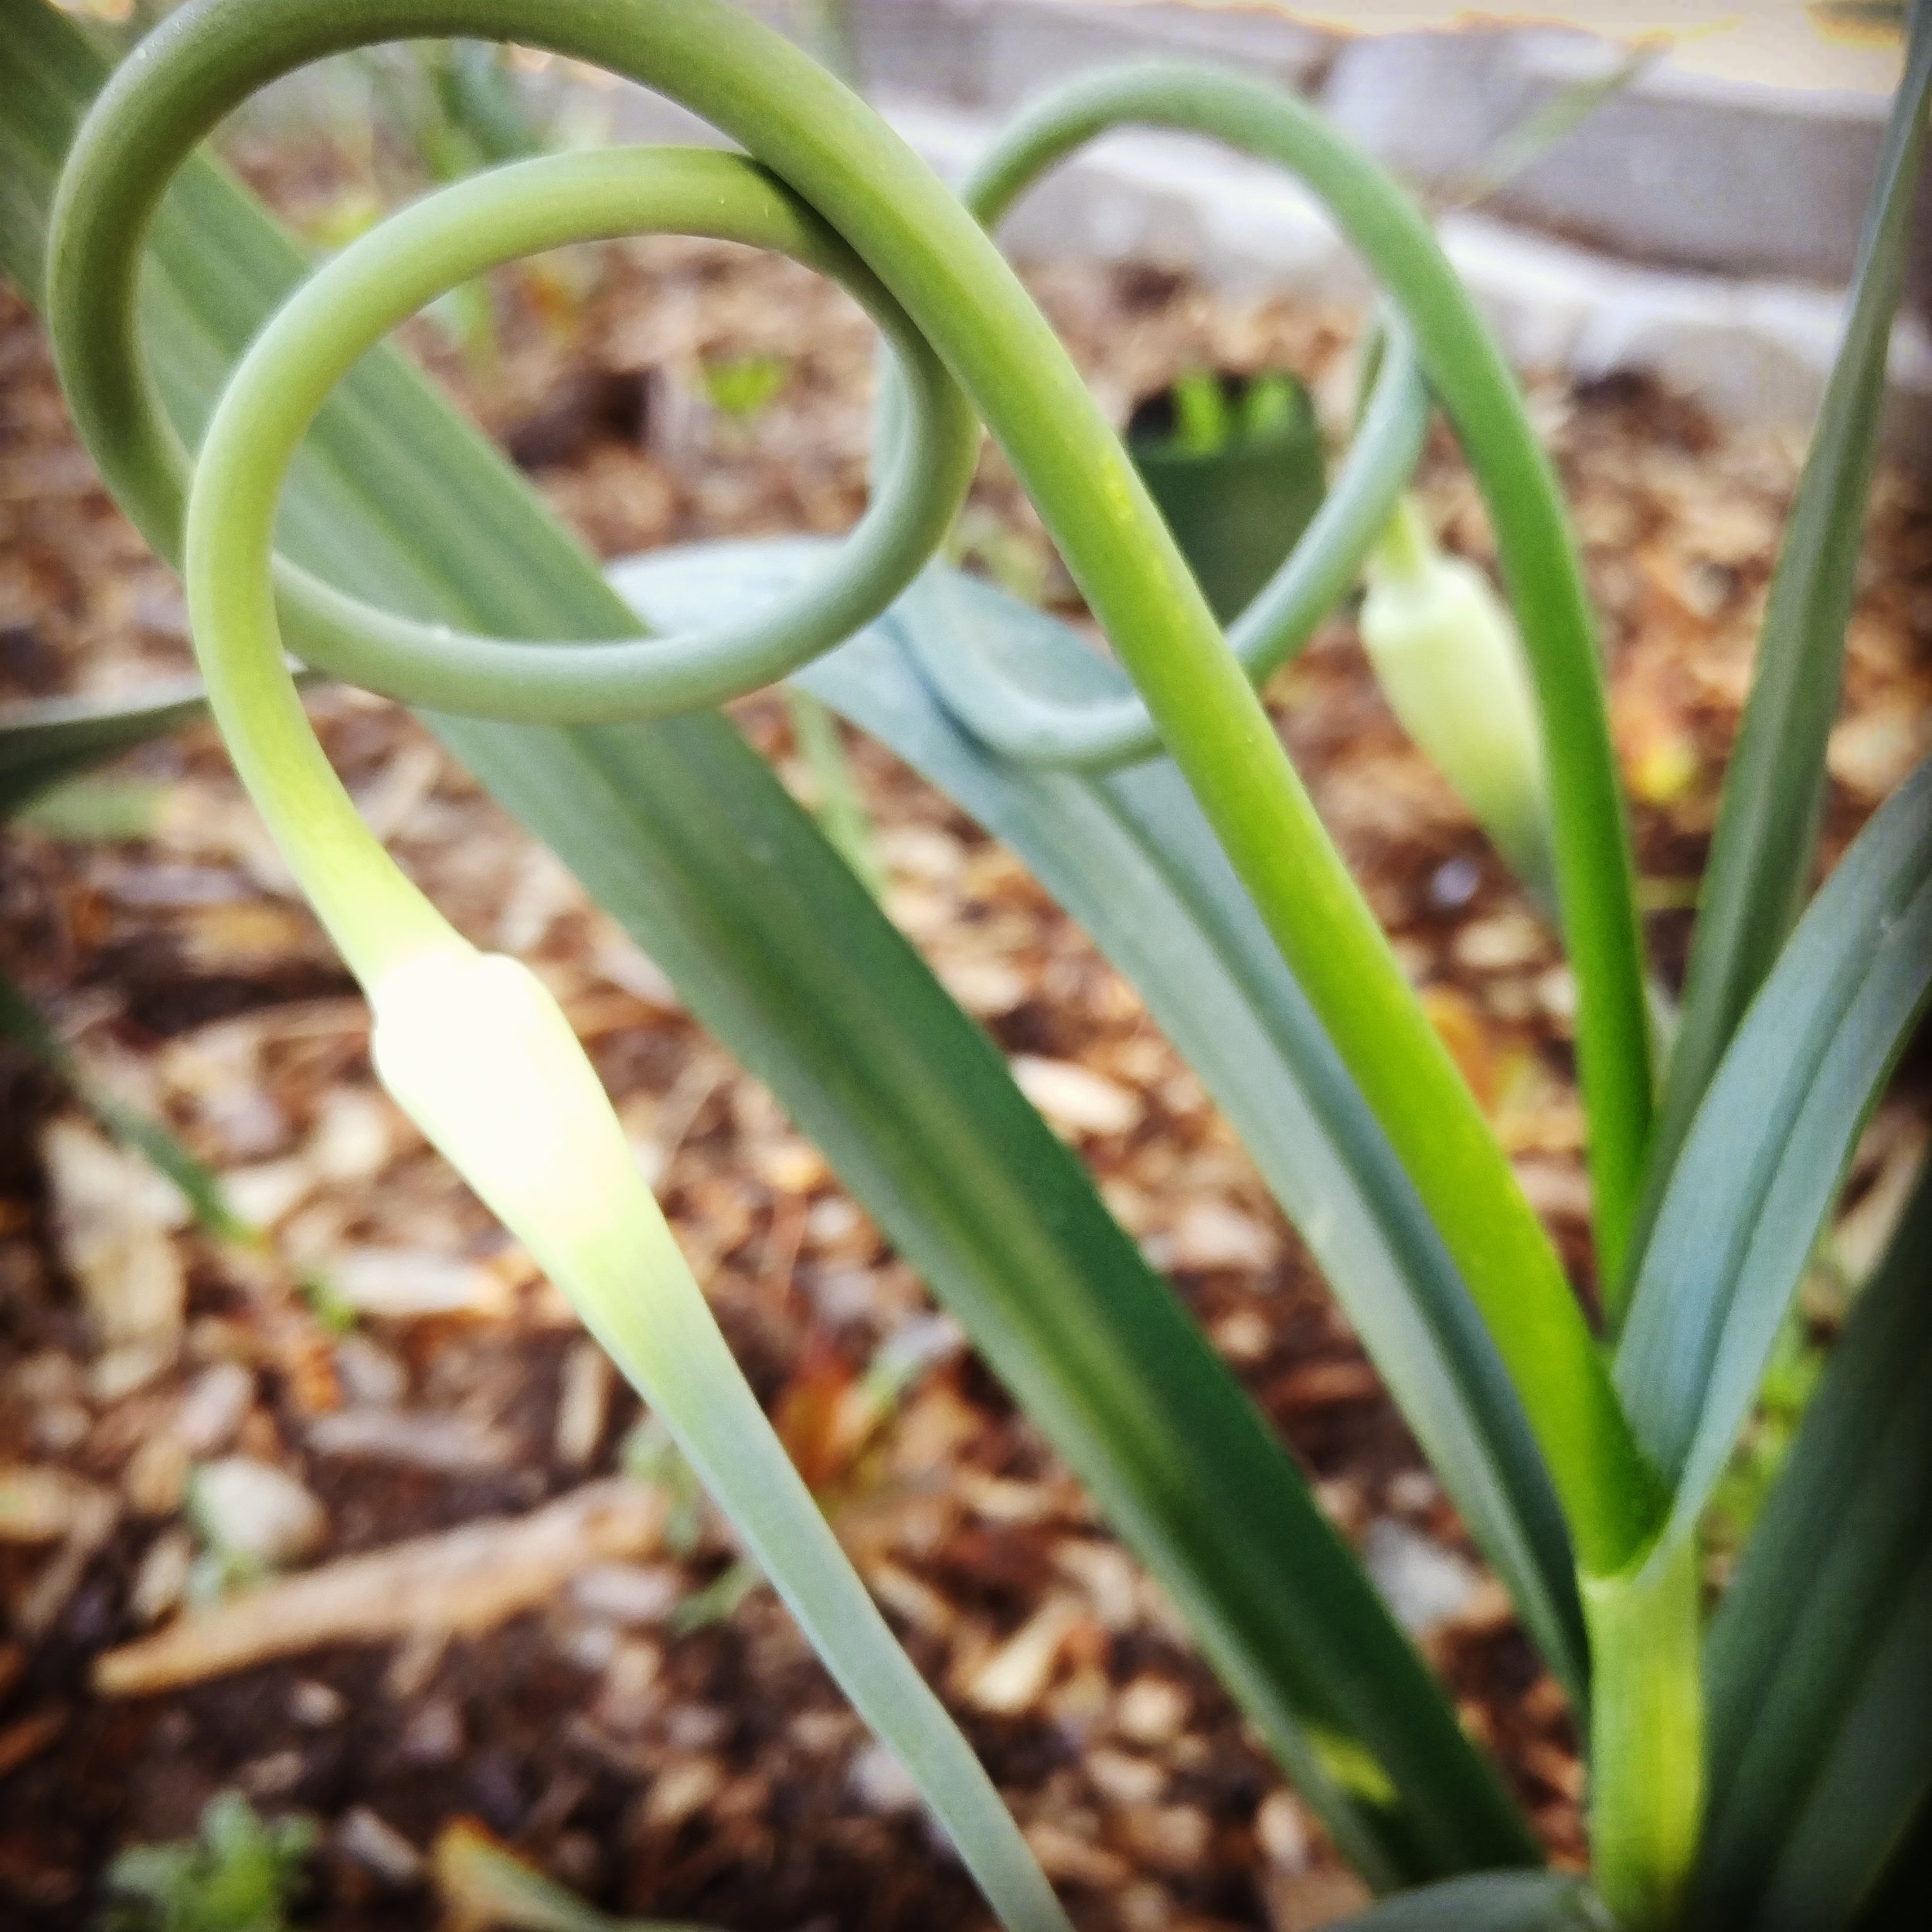
A "garlic scape" is actually the garlic plant sending up a flower (it's a long stem with a blossom on the end). Garlic is a biennial, which is a name for a plant that flowers in it's second year. Garlic cloves are usually planted in the fall (plant around the same time you would put in tulip bulbs), then harvested the following summer.
In order to grow the best garlic, you need to remove the scapes so the plant puts it's energy into producing a large bulb at the base, instead of flowering.
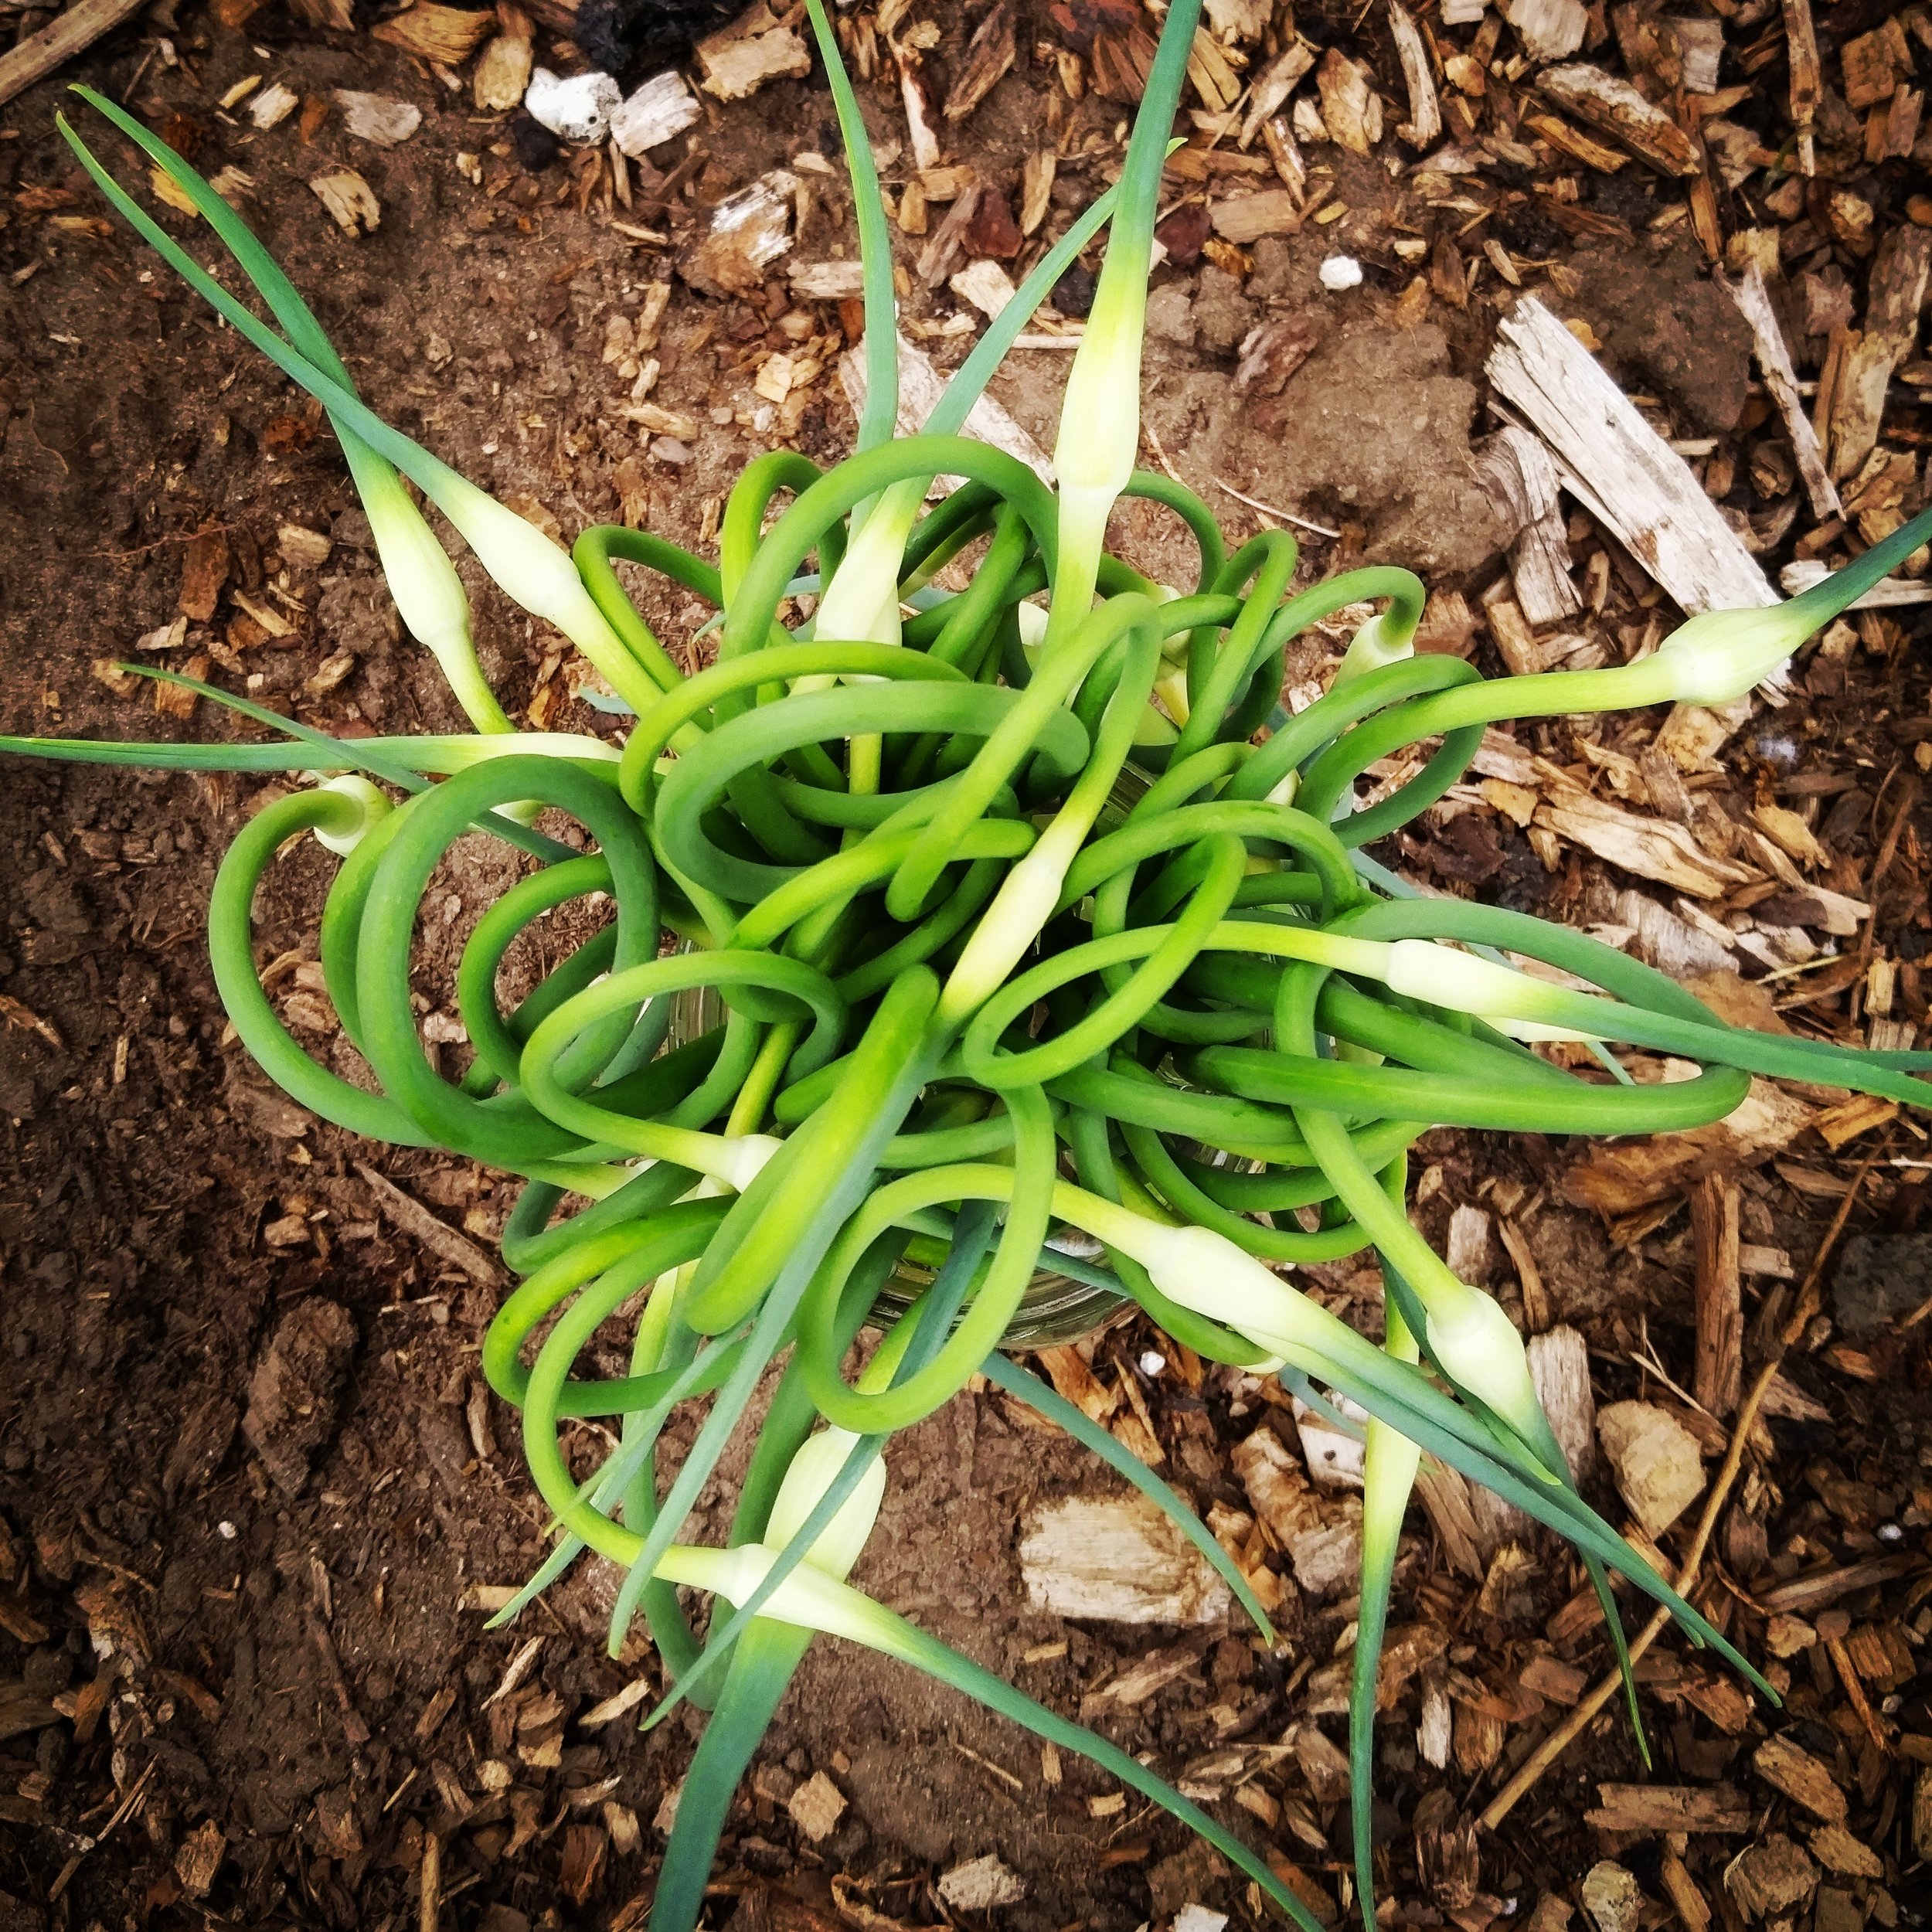
Here is the good news! Garlic scapes are edible and delicious. It's like you're getting 2 harvests from one plant!
Check out the video below to learn more about growing garlic and harvesting the scapes.
Ok, so now that you have you scapes picked, what do you do with them?
There are several options, including pickling, chopping and freezing, using them for garnish, pureeing into soup... but my favorite way to use them is to make a batch of Garlic Scape Pesto. The pesto has a wonderful garlicky flavor that compliments so many foods.
My daughter and I will show you how quick and easy it is!
Garlic Scape Pesto is fantastic in a variety of dishes and preparations, such as:
Pasta
Frittata or quiche
Roasted Chicken
Fish
On toast or crackers
Soup
Pasta sauce
Pizza
Marinades
Here is the recipe we use. Feel free to alter it to your taste. Some people even like to add herbs, like parsley or basil to the mix. Enjoy!
GARLIC SCAPE PESTO - Makes about 1 cup of pesto
3/4 to 1 cup roughly chopped garlic scapes (about 1/4 lb of scapes)
1/4 cup pine nuts or walnuts
1/2 tsp salt
Freshly ground black pepper
1/2 cup extra virgin olive oil
Optional: 1/4 cup grated Parmigiano - Reggiano cheese (or any other hard cheese)
Combine the scapes, nuts, salt and pepper in a food processor. Process until finely chopped.
Slowly add the olive oil while the food processor is running.
Stir in cheese (if using).
Store in the fridge for about 1 week.
*The pesto freezes beautifully in ice cube trays. If you plan on freezing the pesto, leave out the cheese. You can add cheese after you have thawed the pesto cubes.
Enjoy! Let me know if you tried the recipe! Or tell me YOUR favorite way to use garlic scapes!
How to Protect Your Plants from Cutworms
A quick and easy trick to protect your gardening investment.
How to Protect Your Plants from Cutworms
If you're a vegetable gardener, you know what I'm talking about. You've been there.
You spend hours at the garden center picking out the perfect plants, then hours in your garden lovingly planting your "babies". You're filled with hope, enthusiasm and excitement. This is going to be the best garden ever!
And then... the next morning... disaster! What just happened? Why are all your plants gone?
Check out the video below to find out what's happening and what you can do to prevent it!
Want to know what the little buggers look like? If you see them, destroy them!
![20160507_105239[1].jpg](https://images.squarespace-cdn.com/content/v1/582b872529687fd6acb7423d/1525358689189-WX8C0KHB17BYXVCWD77D/20160507_105239%5B1%5D.jpg)
I hope this helps! Let me know if it works for you!

How to Preserve Garlic: A Fast, Easy Method!
An easy preservation method that helps speed up dinner prep! In less than one afternoon, you can preserve more than a year’s worth of garlic.
How to Preserve Garlic
About 6 years ago, a fellow gardening enthusiast asked me if I wanted any garlic plants. Having never planted garlic before, I said "Sure! I'll give it a try!"
Dan brought over a 5 gallon bucket stuffed FULL of tall thin green shoots and told me they would turn into garlic. I was skeptical, but had nothing to lose, so I planted all of them.
Let's just say since that first harvest, I've never bought garlic from the store again. Ha! Every year I'm overrun with it.
Thankfully, I figured out a super easy preservation method for garlic. I spend one afternoon each year preserving a year's worth of garlic, so that when I'm ready to cook with it, it's ready to go!
I've been using this method for over 4 years now and I LOVE it.
You can use this method with garlic purchased at a Farmer's Market or store... or using garlic from your own garden.
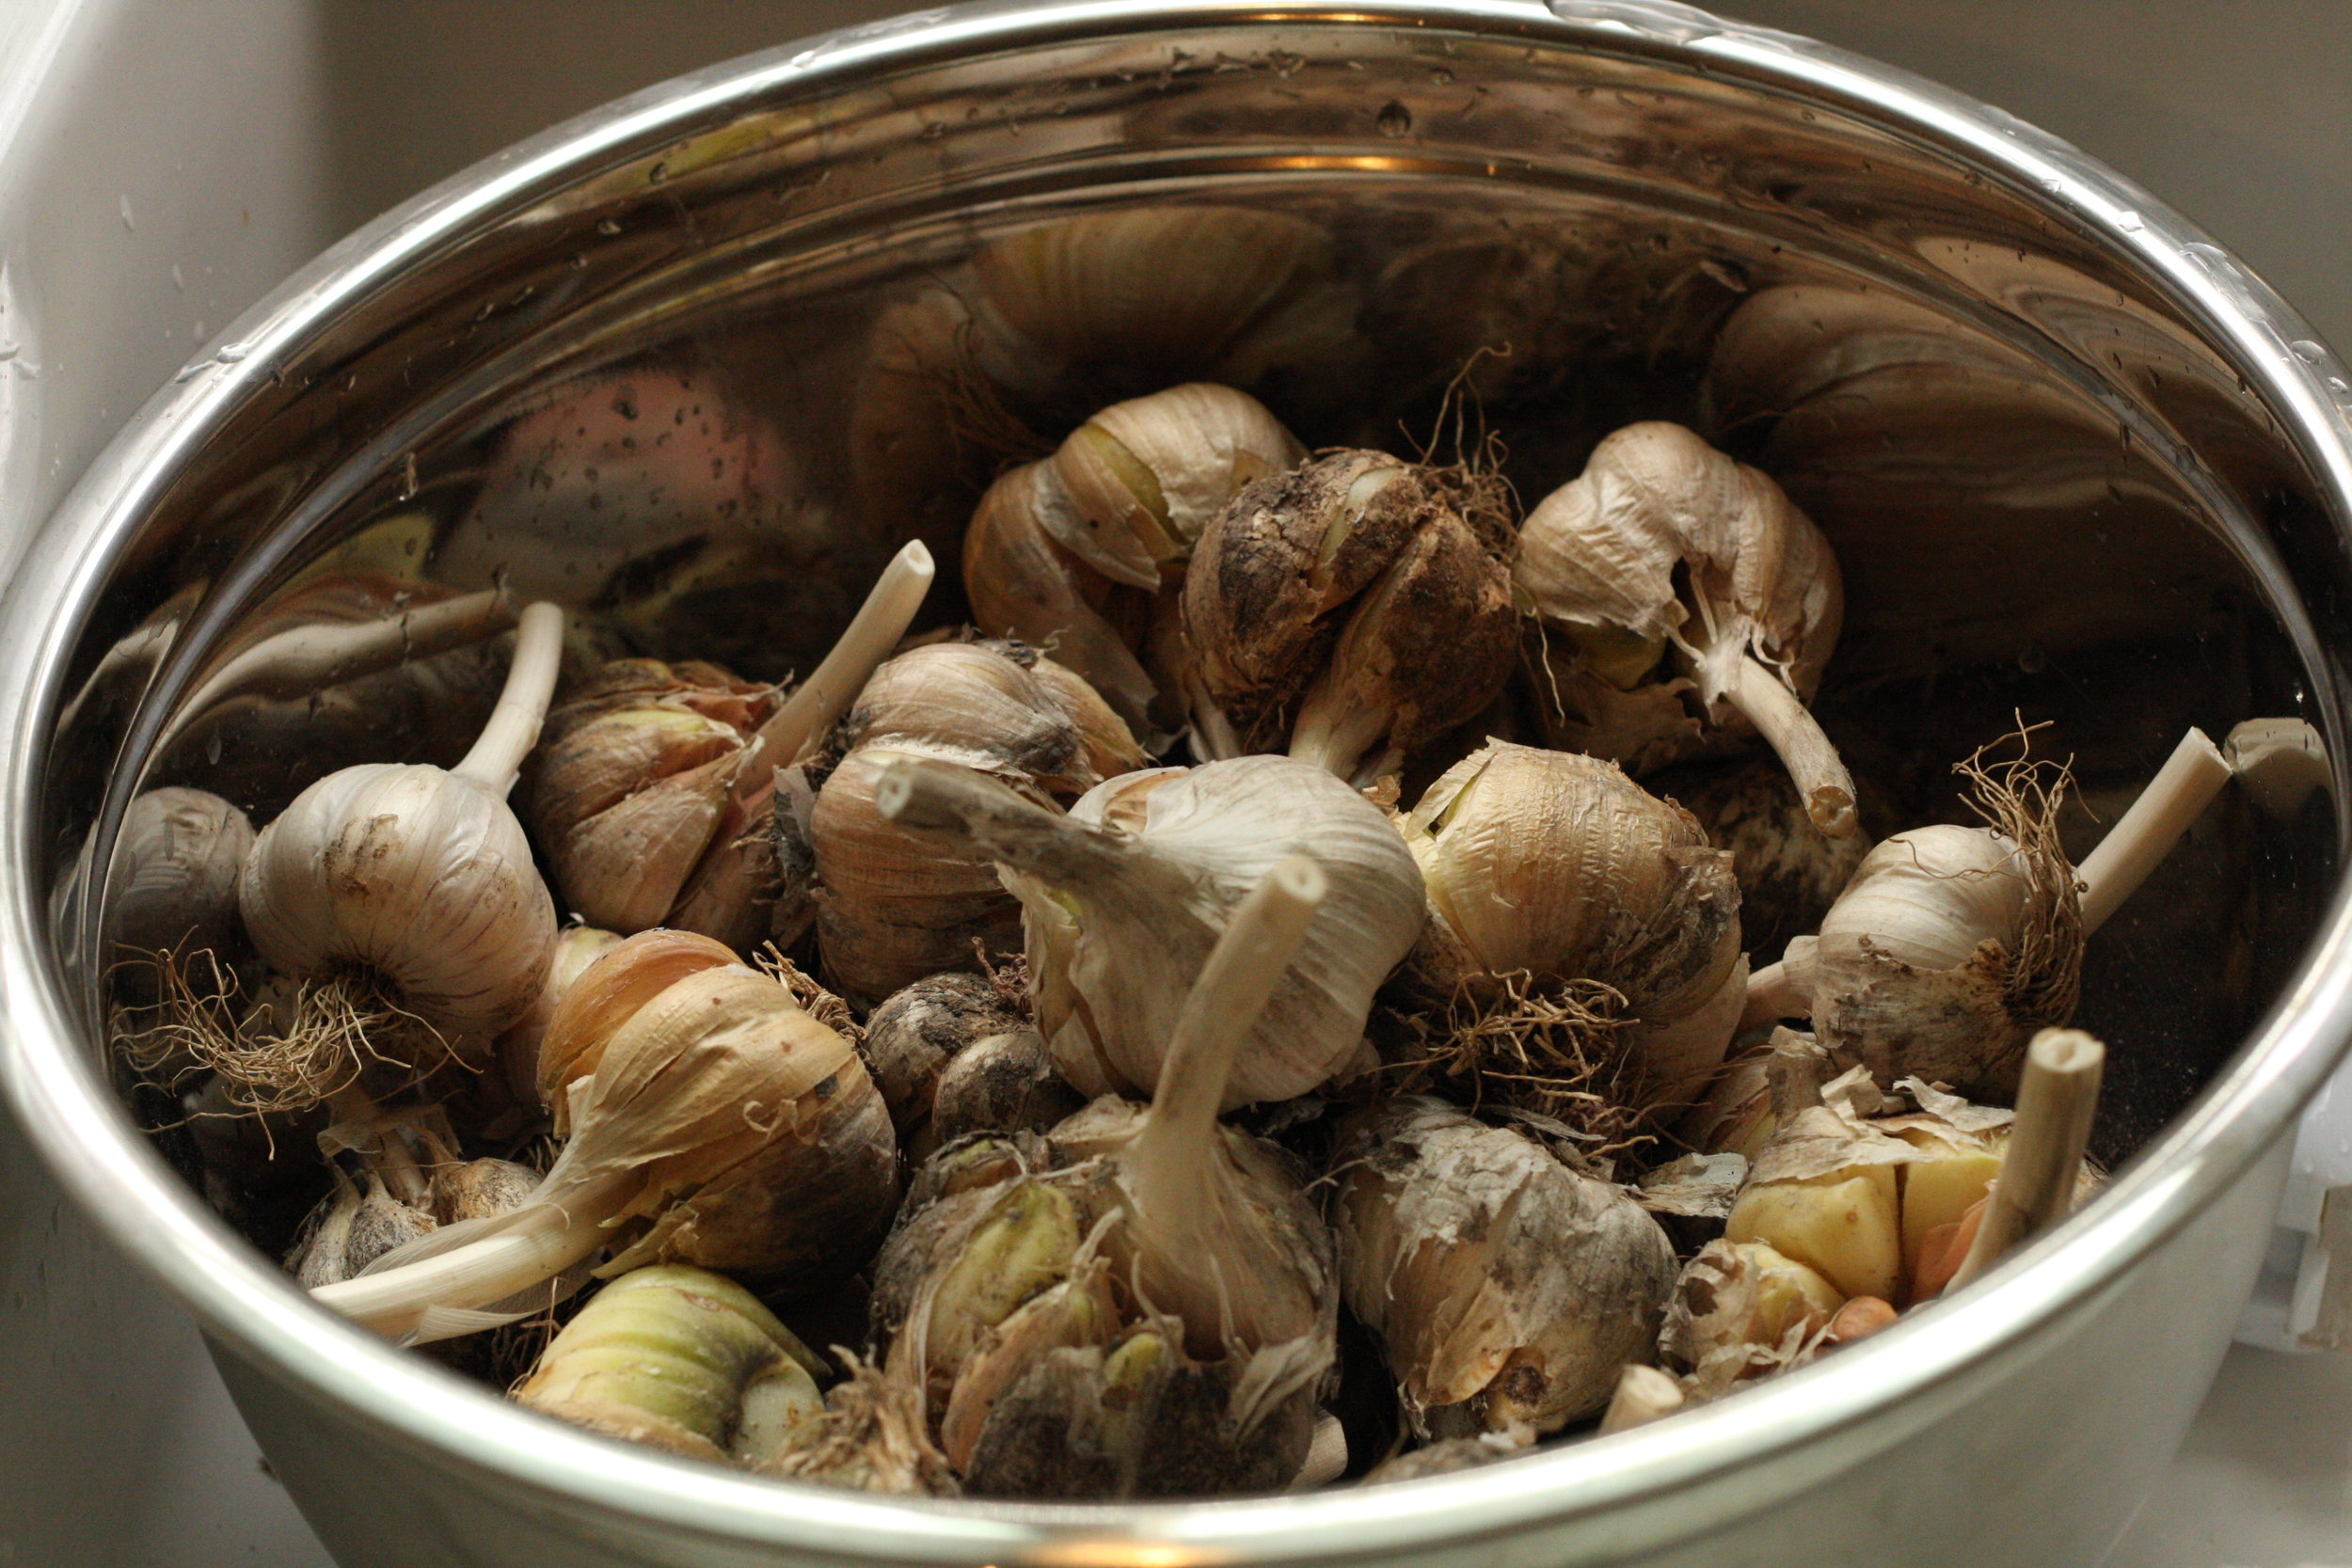
Garlic is ready to be harvested when the tops of the leaves turn brown and start falling over. Gently pull up the whole plant, with the bulb at the bottom. Allow to "cure" in a dry, well ventilated place for a few days (like a covered back porch).
How to Preserve Garlic
1. Gather your garlic heads/bulbs and place them in a large bowl.
*Note: I usually sell all my "good looking" garlic bulbs and keep the "uglies" for our own personal use. These bulbs in the photo are the "uglies" - they don't look as pretty, but they are still just fine to use!
2. Fill the bowl with water. If the garlic is very dirty, you can refill and rinse the bulbs a few times until the water is cleaner.
Allow the bulbs to soak for about 10 minutes to soften the papery "skins".

3. After about 10 minutes, begin removing the skins from the individual cloves until they look like the cloves in the photo below. Do not cut off the ends. If the clove is very damaged, discard it.
*Note: This part is time consuming, so invite a friend over to help you while you chat... or put on your favorite show on Netflix. ;)
Rinse the cloves in a colander/sieve a few times, until they are very clean. Place on a clean towel to drip dry.

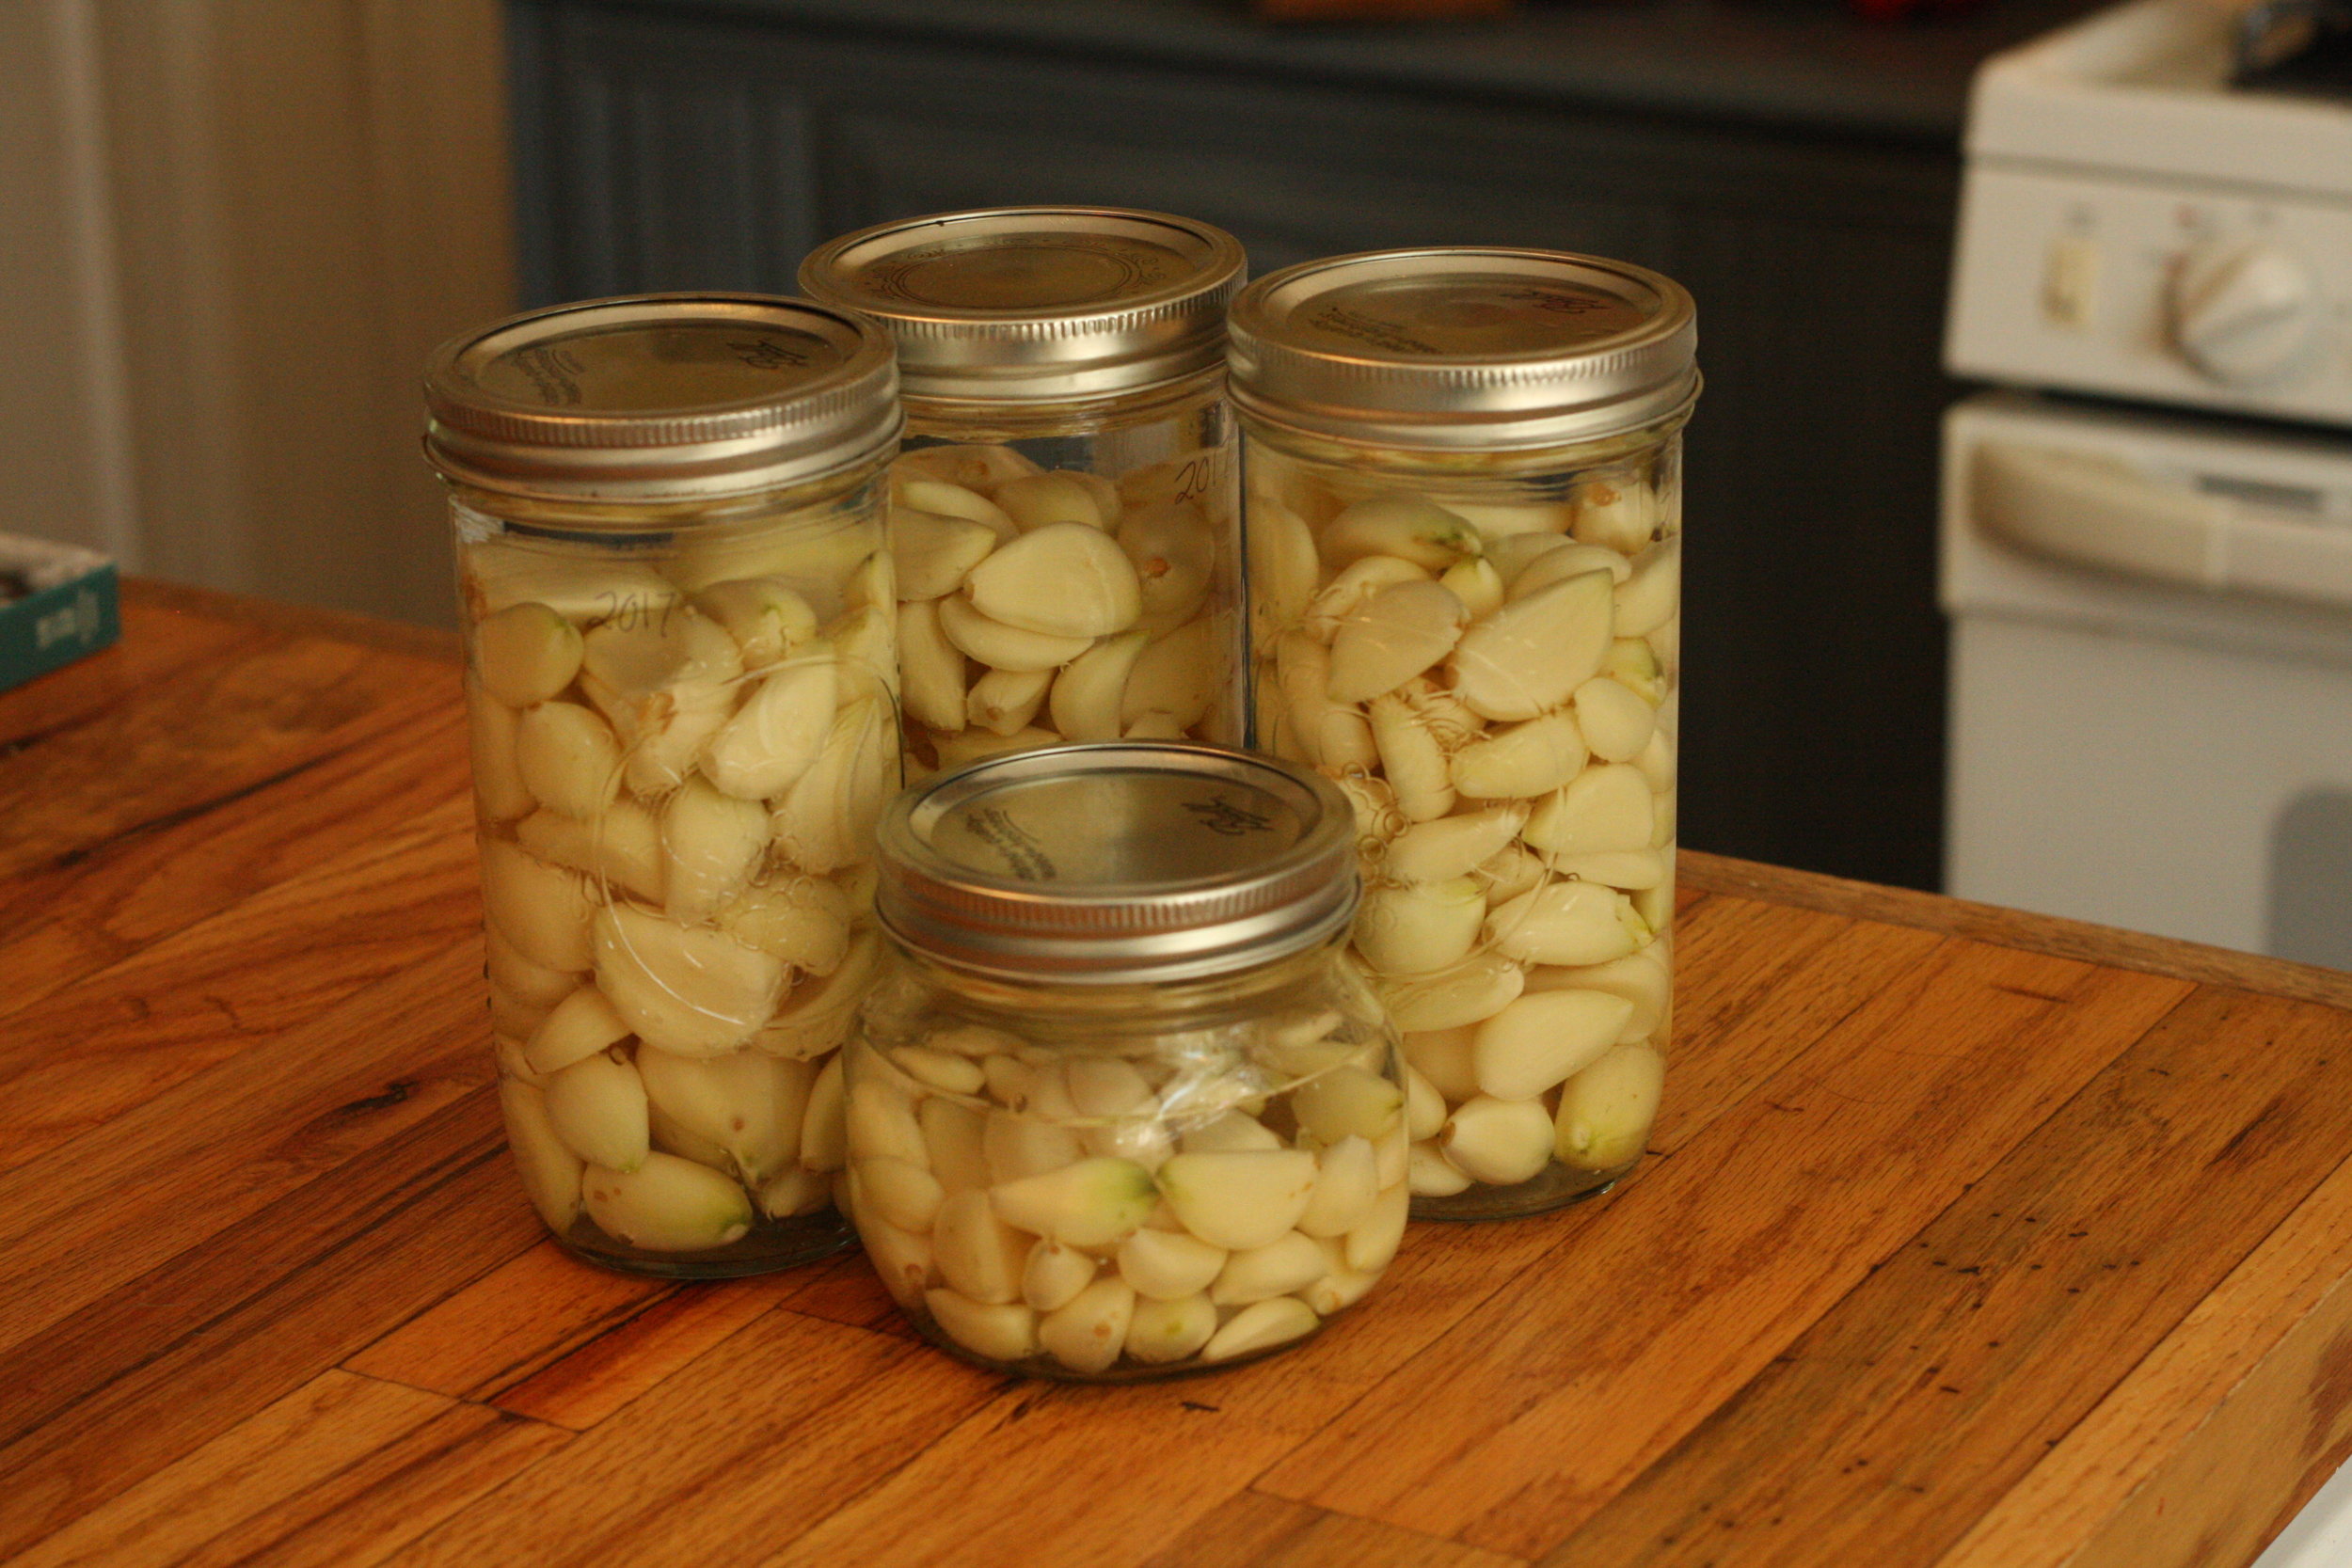
4. Choose a jar large enough to fit the cloves and fill it up with the garlic cloves, leaving about an inch of headspace.
Then pour pickling vinegar into the jar until all the cloves are covered in vinegar.

5. Place a lid on the jar and store the "pickled garlic" in the fridge. That's right - no canning!
Even though the garlic is soaking in vinegar, it really does not develop a "vinegary" flavor, as long as the cloves are intact (this is why we don't remove the stem end of the clove).
The preserved garlic will last a long time, at least one year. We are working through a jar of garlic that is over 2 years old and there are no flavor or quality issues.
How to Use Your Preserved Garlic
You can use your preserved garlic in any recipe that calls for fresh garlic. All you have to do is:
Remove a clove from the jar (always use a clean utensil, like a fork or spoon, so the contents of the jar stay clean)
Rinse it off with water if you don't want to add a vinegar flavor to the dish. If you don't mind the vinegar flavor (say you're making fresh salsa), you don't have to rinse.
Use it just like fresh garlic - mince, chop, slice or crush.
I'll be completely honest - I used to omit garlic from many of my recipes because I was too lazy to peel the paper off the garlic cloves. It was just one more time consuming (and messy!) step when I was already feeling rushed.
Now, I love the convenience of being able to reach in my fridge and grab exactly what I need.
Hope this method makes your life a little bit easier too! Enjoy!
*Note: Occasionally, you may notice a few garlic cloves turn blue or green. Maybe you've seen this happen to garlic in a jar of pickles too.
Don't freak out! It does not effect the flavor or safety of the clove. No one knows exactly why it happens, but it's something to do with enzymes breaking down. Again, it's perfectly safe to consume, but if you feel weird about it, just pitch it!
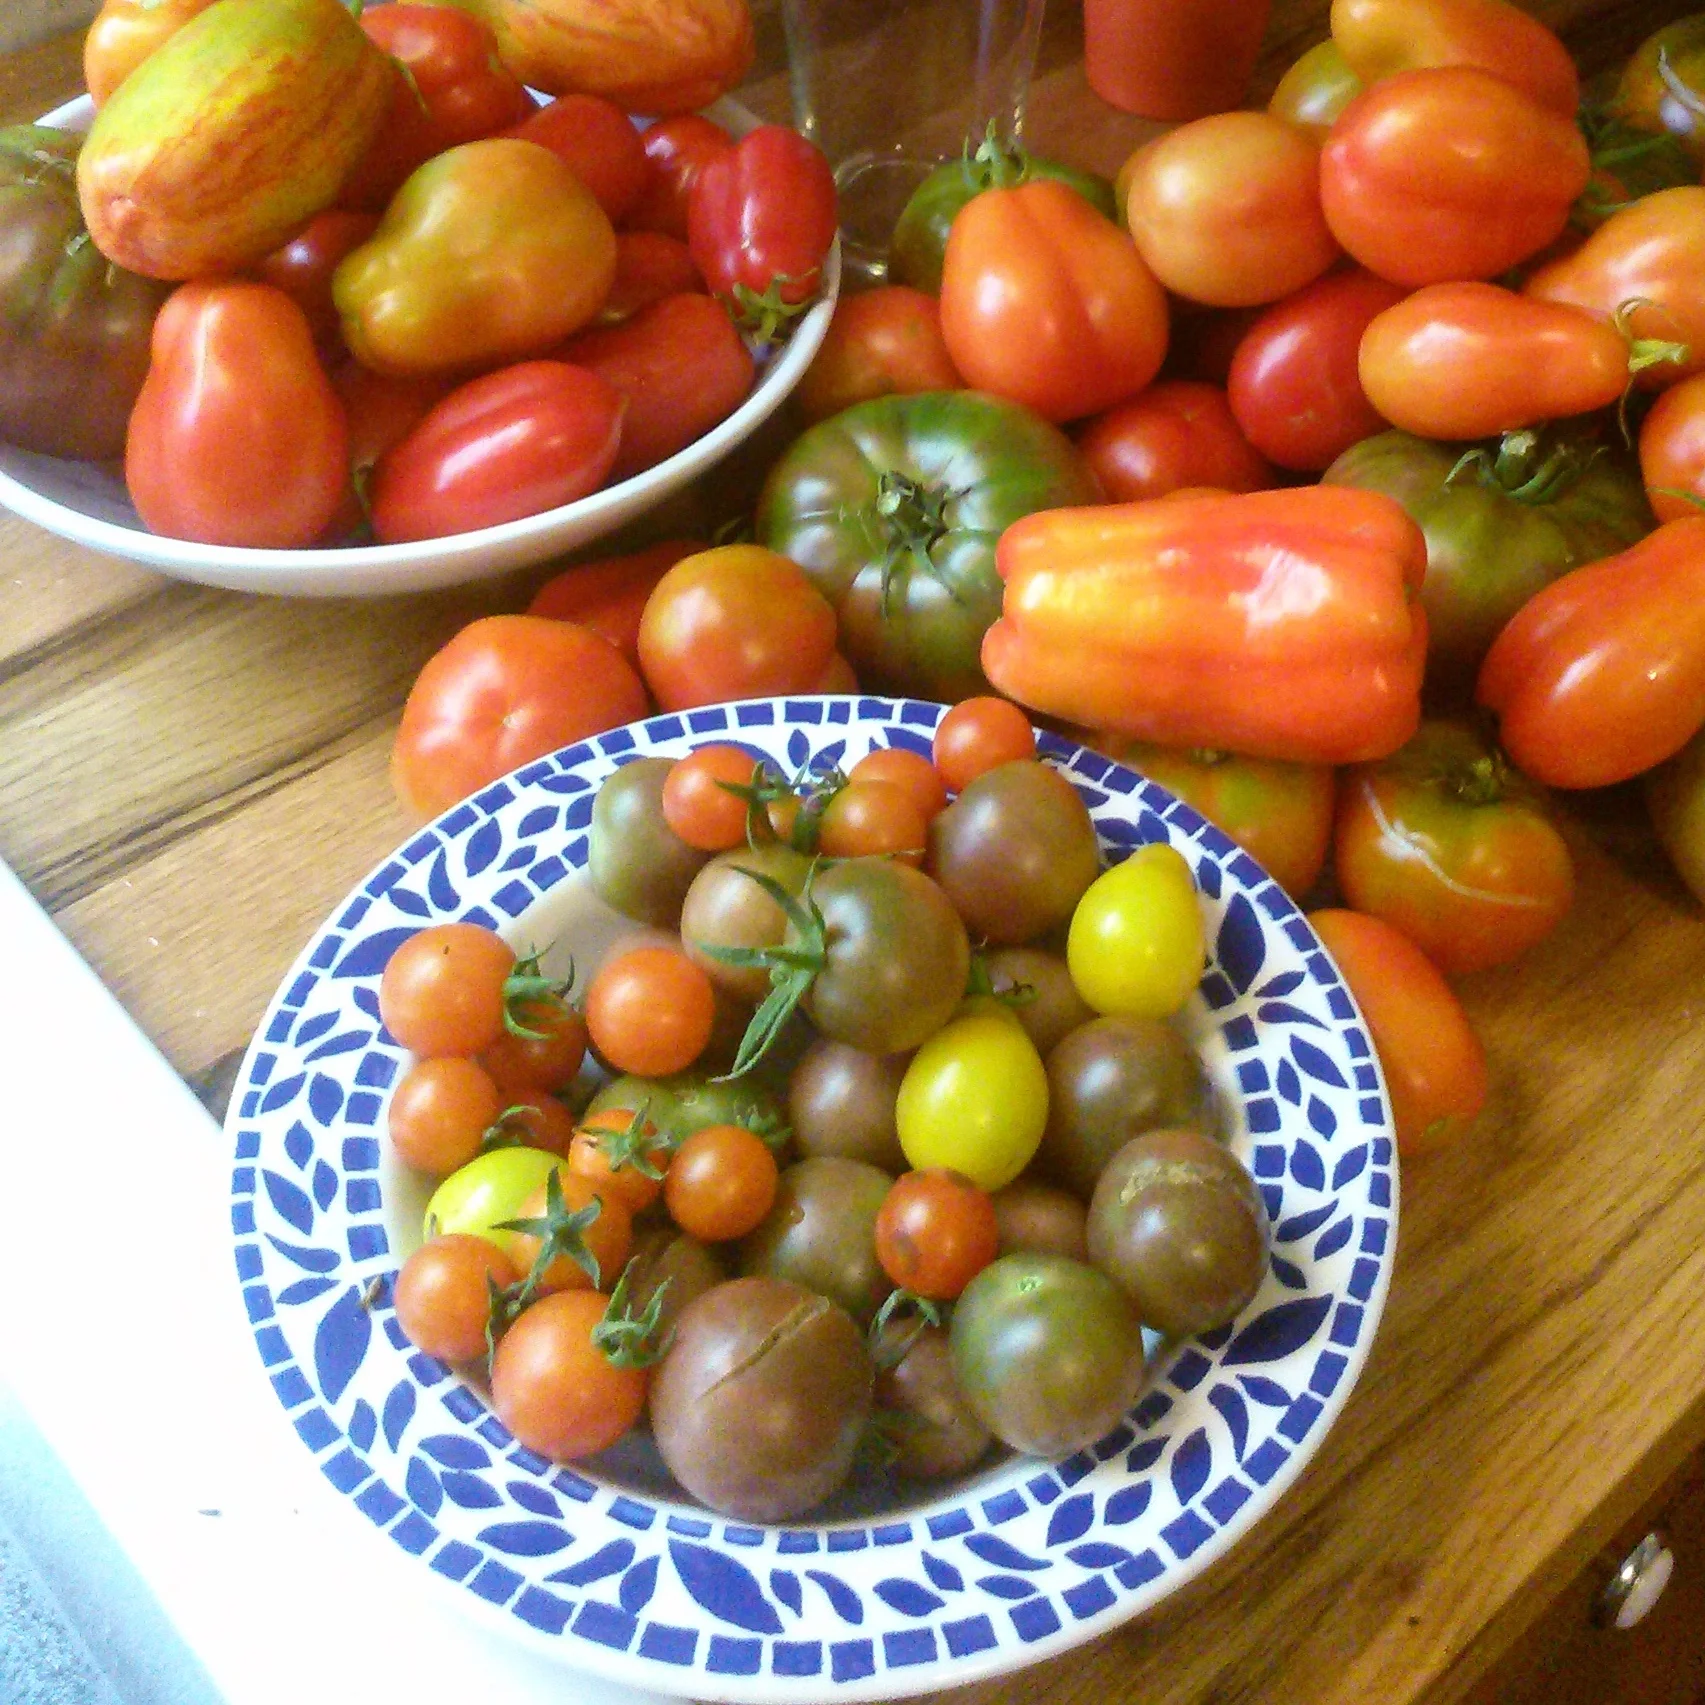
How to Take Cuttings from Tomato Plants
A fun experiment that really pays off… in tomatoes!
Did you know you can easily double or triple your tomato plant stock in about two weeks?
It's true! All you have to do it take cuttings of your existing plants. The whole process takes about 1 minute of hands-on time and can yield great results!
This is called "propagating" or "cloning" your plants. The resulting plant will have the same exact genetics as the original plant you cut from.
What does this mean for you? If you are visiting a friend/neighbor's house and see a tomato variety you'd love to try, you can ask permission to take a cutting... and grow that same plant in your own garden! Just be sure to take your cuttings early enough in the season so the plants have time to grow and produce fruit before the end of the season.
Taking cuttings is incredibly simple and easy. Here is what you will need:
A healthy tomato plant
A clean, sharp pruners/clippers or a scalpel
A water glass or jar full of water
A warm spot in your house
Optional: A 4 inch pot filled with moistened sterilized potting soil
Optional: Rooting Hormone powder or gel
Step One: Take Your Cutting
Examine the plant and look for a "sucker" to cut off the main stem.
Make a clean cut and immediately place the cutting in a glass/jar of fresh water. Keep the leaves out of the water.
Alternatively, dip the freshly cut stem end in the rooting hormone gel/powder and gently insert the stem into the 4" pot. Be sure to remove any leaves that may touch the soil, reserving just the top leaves. Water gently.

Step Two: Waiting
Place your cutting in a warm spot. A sunny window sill is perfect.
Be sure to check the glass/jar daily and refill/change water as needed.
In about 7 days, you should notice roots beginning to form! Allow the roots to grow strong and vigorous for a few more days.
If you are using the potting soil method, be sure to keep the soil evenly moist - not too dry, not too soggy. It may be helpful to cover the plant and pot with a plastic baggie to create a "humidity dome" to aid propagation. Rooting into soil will take longer, roughly 2-4 weeks.


Step Three: Planting
Once you have strong roots (about 2 weeks in water, 2-4 weeks in potting soil), your plant is ready to start the transition to living outdoors.
Plants will need to be "hardened off", which means you slowly introduce them to outdoor conditions, a few hours at a time. If you just throw them outside after living indoors for so long, they might not survive.
For both methods (growing in water or growing in pots), take the plant outside for about 2-3 hours on the first day and gradually build up to having the plant outside the whole day (this should take about a week).
Once plant is hardened, it can be planted into the garden. Bury the plant up to the first set of leaves to encourage a strong root system.
Be sure to use my method for protecting your precious plants from cutworms!
Step Four: Enjoy the Fruits of Your Labor
You did it! You successfully multiplied your planting stock and doubled/tripled your production. Nice work!

Have you ever tried taking cuttings of tomatoes? How about other plants? I'd love to hear about it.
Taking cuttings is an easy, fun and inexpensive way to multiply your plant stock quickly. Have fun!
-Lori