
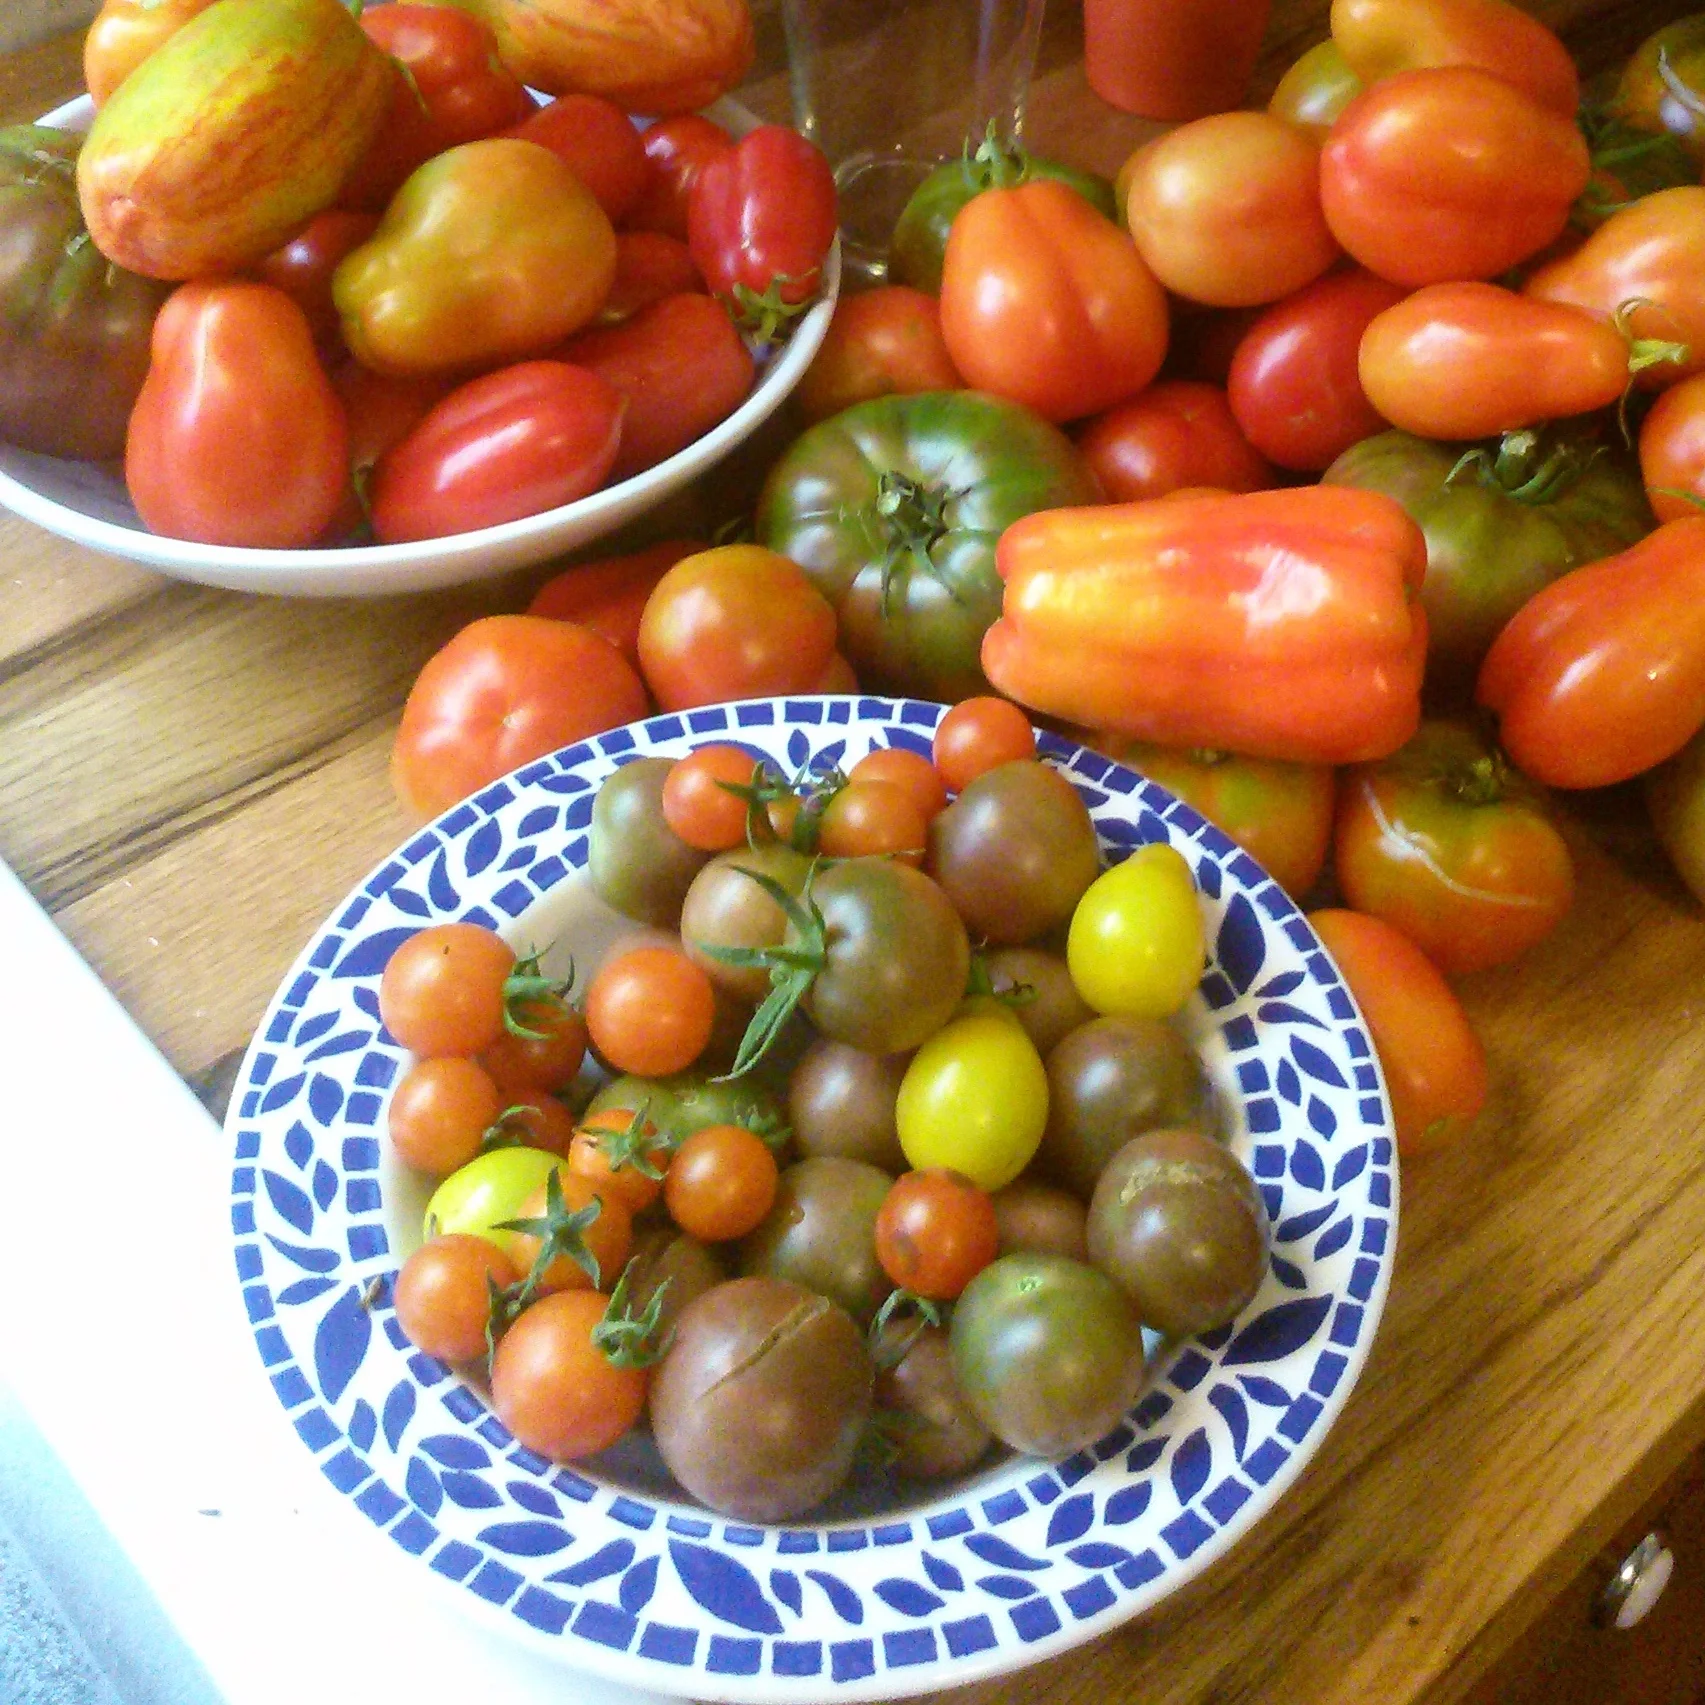
How to Protect Your Plants from Cutworms
A quick and easy trick to protect your gardening investment.
How to Protect Your Plants from Cutworms
If you're a vegetable gardener, you know what I'm talking about. You've been there.
You spend hours at the garden center picking out the perfect plants, then hours in your garden lovingly planting your "babies". You're filled with hope, enthusiasm and excitement. This is going to be the best garden ever!
And then... the next morning... disaster! What just happened? Why are all your plants gone?
Check out the video below to find out what's happening and what you can do to prevent it!
Want to know what the little buggers look like? If you see them, destroy them!
![20160507_105239[1].jpg](https://images.squarespace-cdn.com/content/v1/582b872529687fd6acb7423d/1525358689189-WX8C0KHB17BYXVCWD77D/20160507_105239%5B1%5D.jpg)
I hope this helps! Let me know if it works for you!
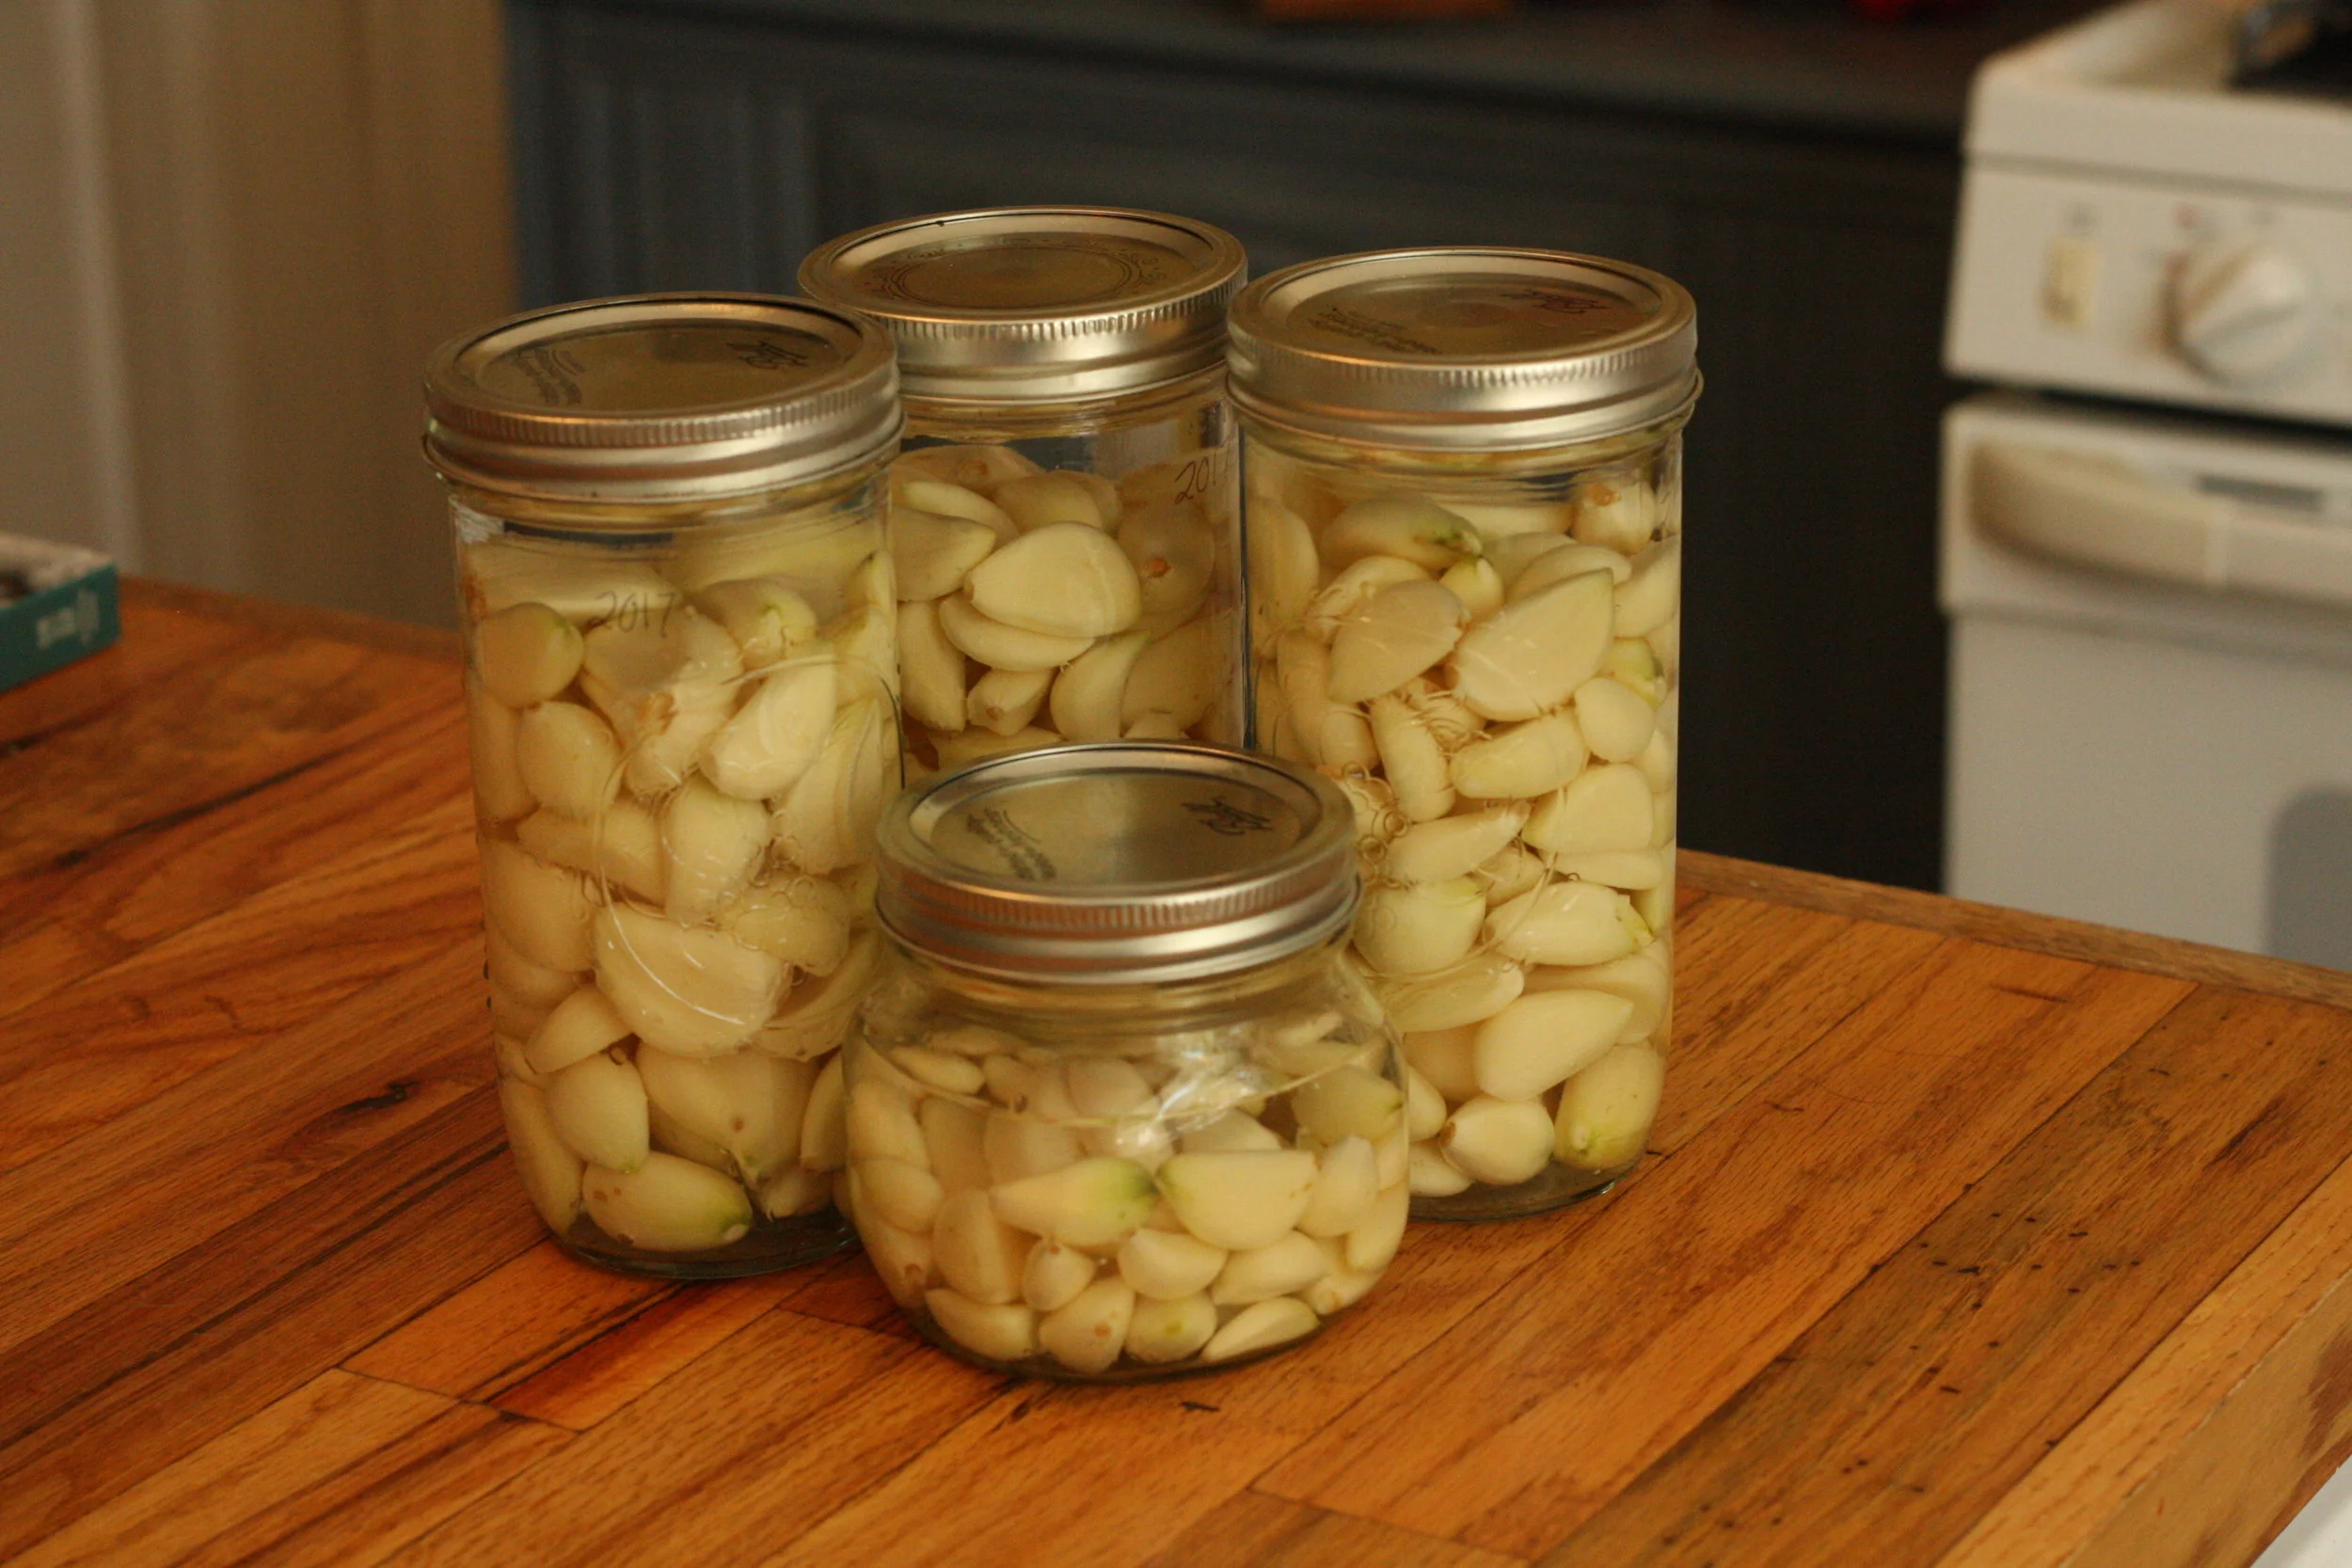
How to Preserve Garlic: A Fast, Easy Method!
An easy preservation method that helps speed up dinner prep! In less than one afternoon, you can preserve more than a year’s worth of garlic.
How to Preserve Garlic
About 6 years ago, a fellow gardening enthusiast asked me if I wanted any garlic plants. Having never planted garlic before, I said "Sure! I'll give it a try!"
Dan brought over a 5 gallon bucket stuffed FULL of tall thin green shoots and told me they would turn into garlic. I was skeptical, but had nothing to lose, so I planted all of them.
Let's just say since that first harvest, I've never bought garlic from the store again. Ha! Every year I'm overrun with it.
Thankfully, I figured out a super easy preservation method for garlic. I spend one afternoon each year preserving a year's worth of garlic, so that when I'm ready to cook with it, it's ready to go!
I've been using this method for over 4 years now and I LOVE it.
You can use this method with garlic purchased at a Farmer's Market or store... or using garlic from your own garden.
Garlic is ready to be harvested when the tops of the leaves turn brown and start falling over. Gently pull up the whole plant, with the bulb at the bottom. Allow to "cure" in a dry, well ventilated place for a few days (like a covered back porch).
How to Preserve Garlic
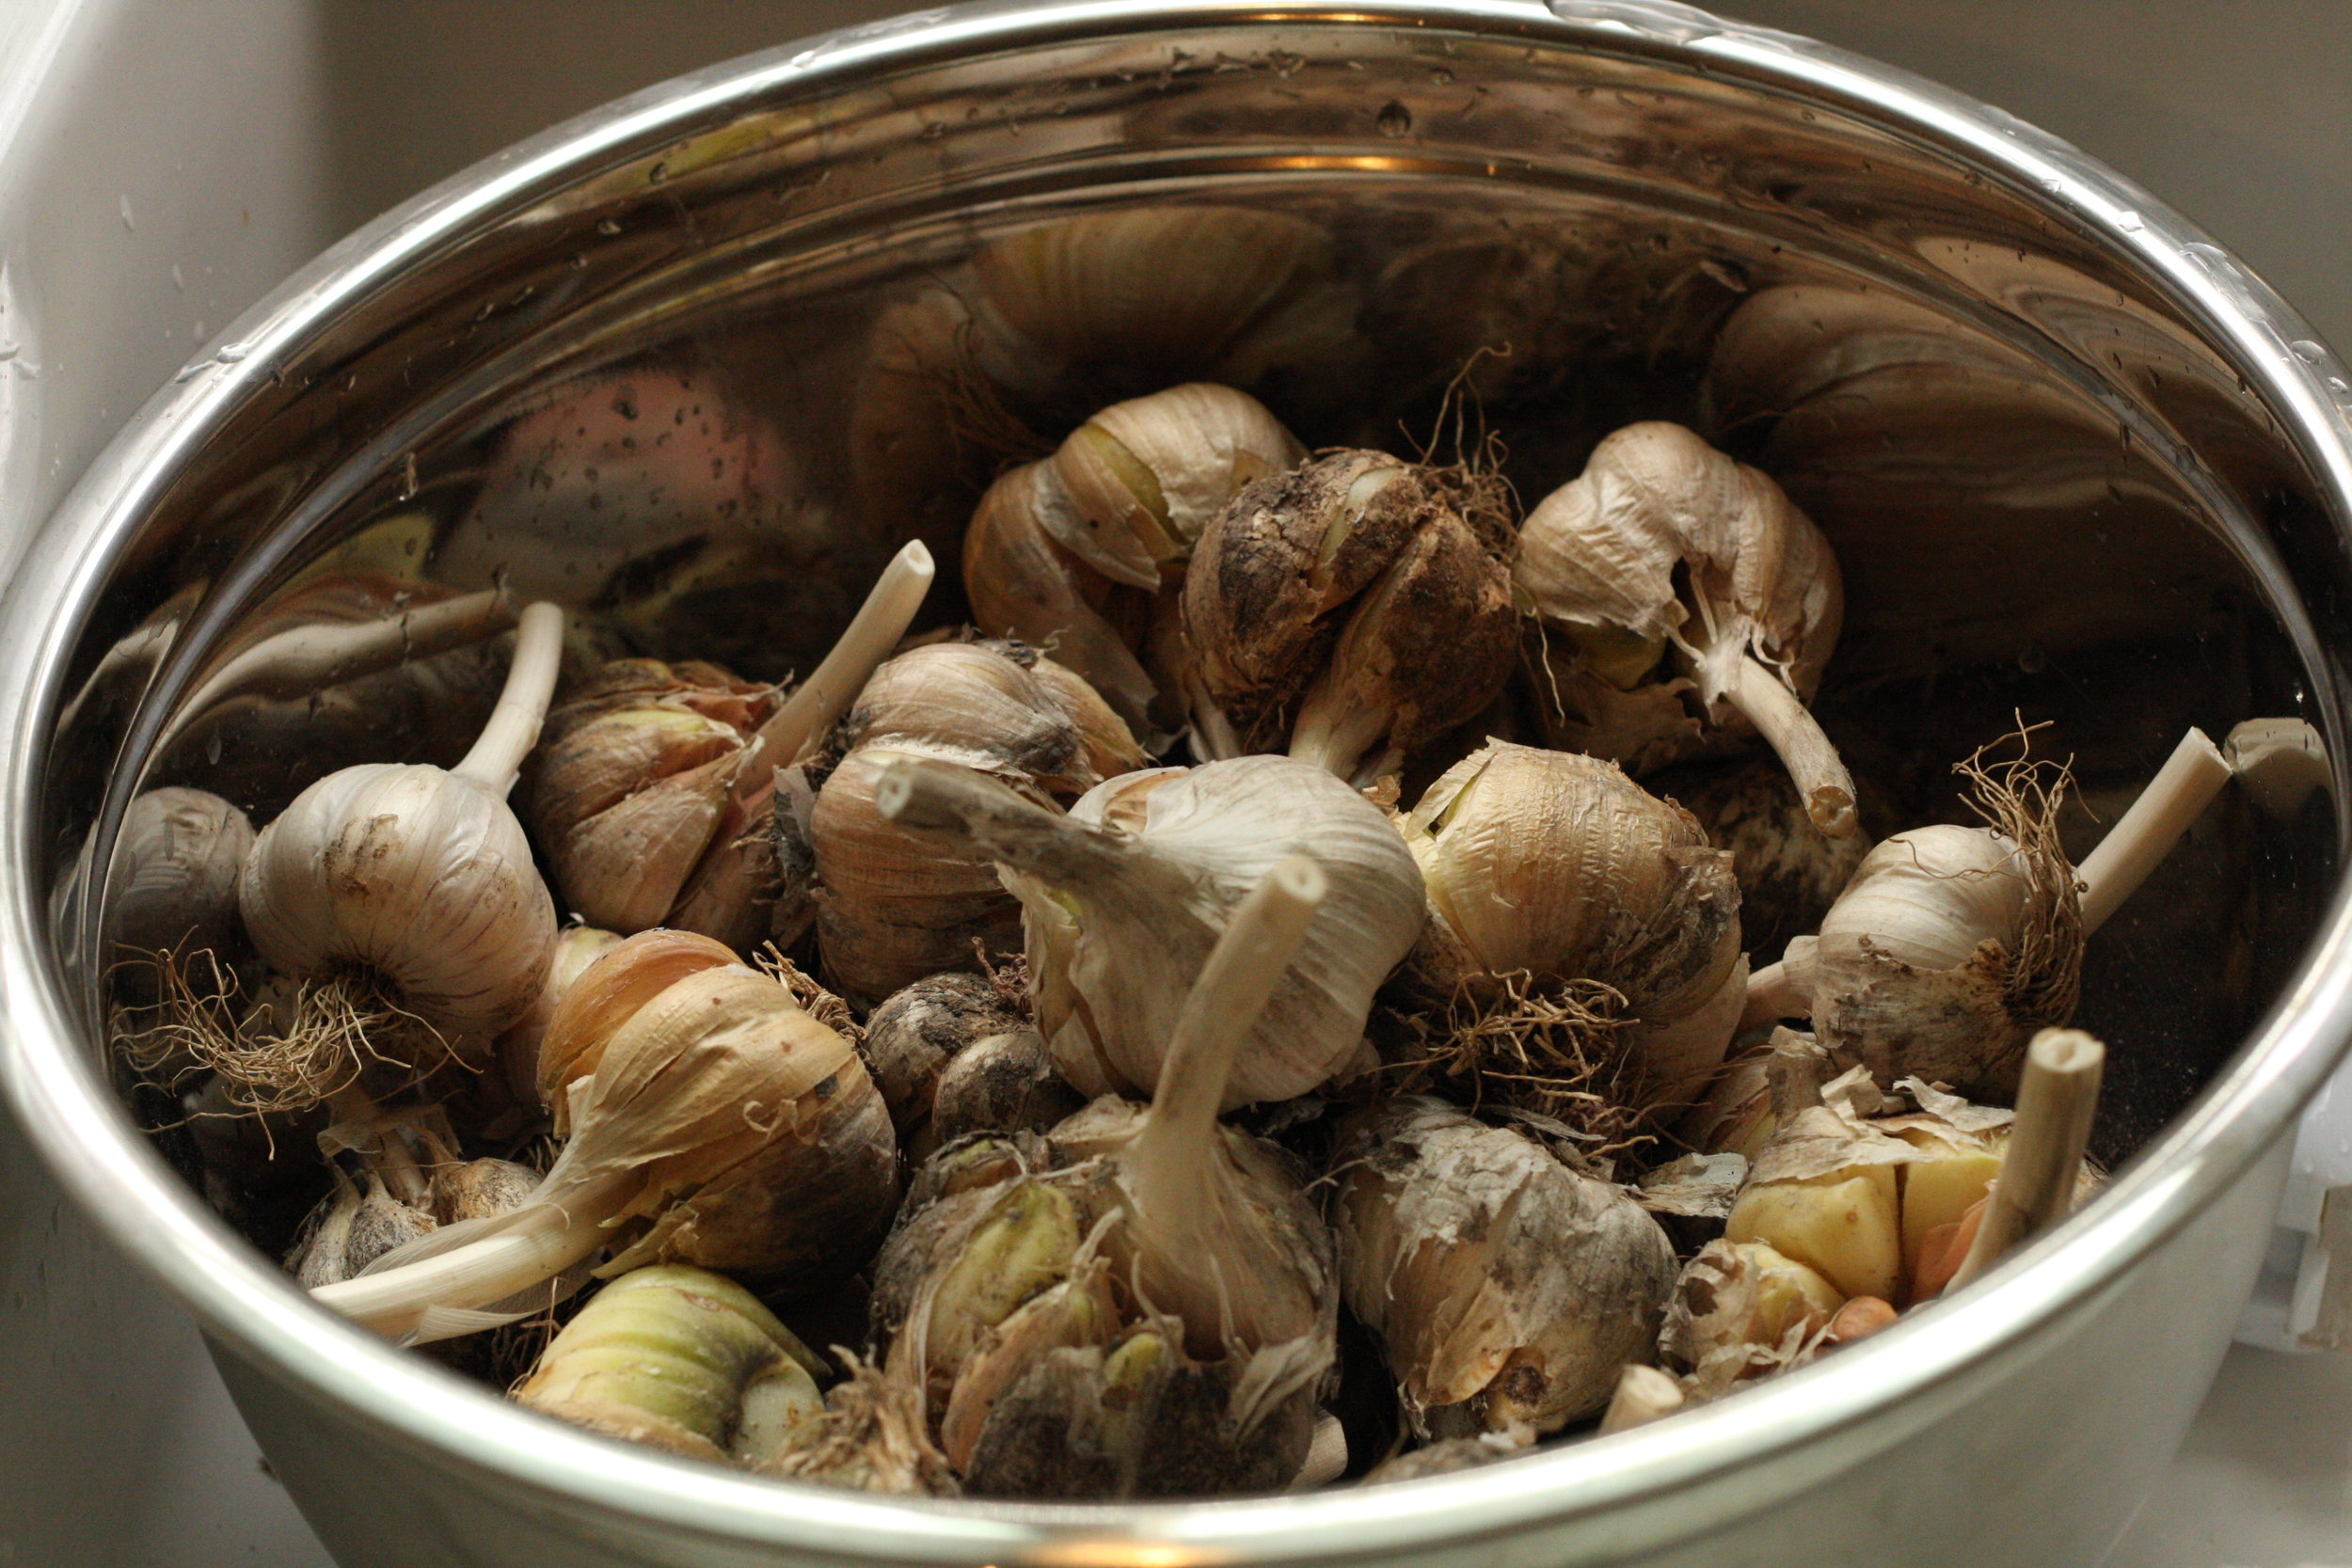
1. Gather your garlic heads/bulbs and place them in a large bowl.
*Note: I usually sell all my "good looking" garlic bulbs and keep the "uglies" for our own personal use. These bulbs in the photo are the "uglies" - they don't look as pretty, but they are still just fine to use!
2. Fill the bowl with water. If the garlic is very dirty, you can refill and rinse the bulbs a few times until the water is cleaner.
Allow the bulbs to soak for about 10 minutes to soften the papery "skins".

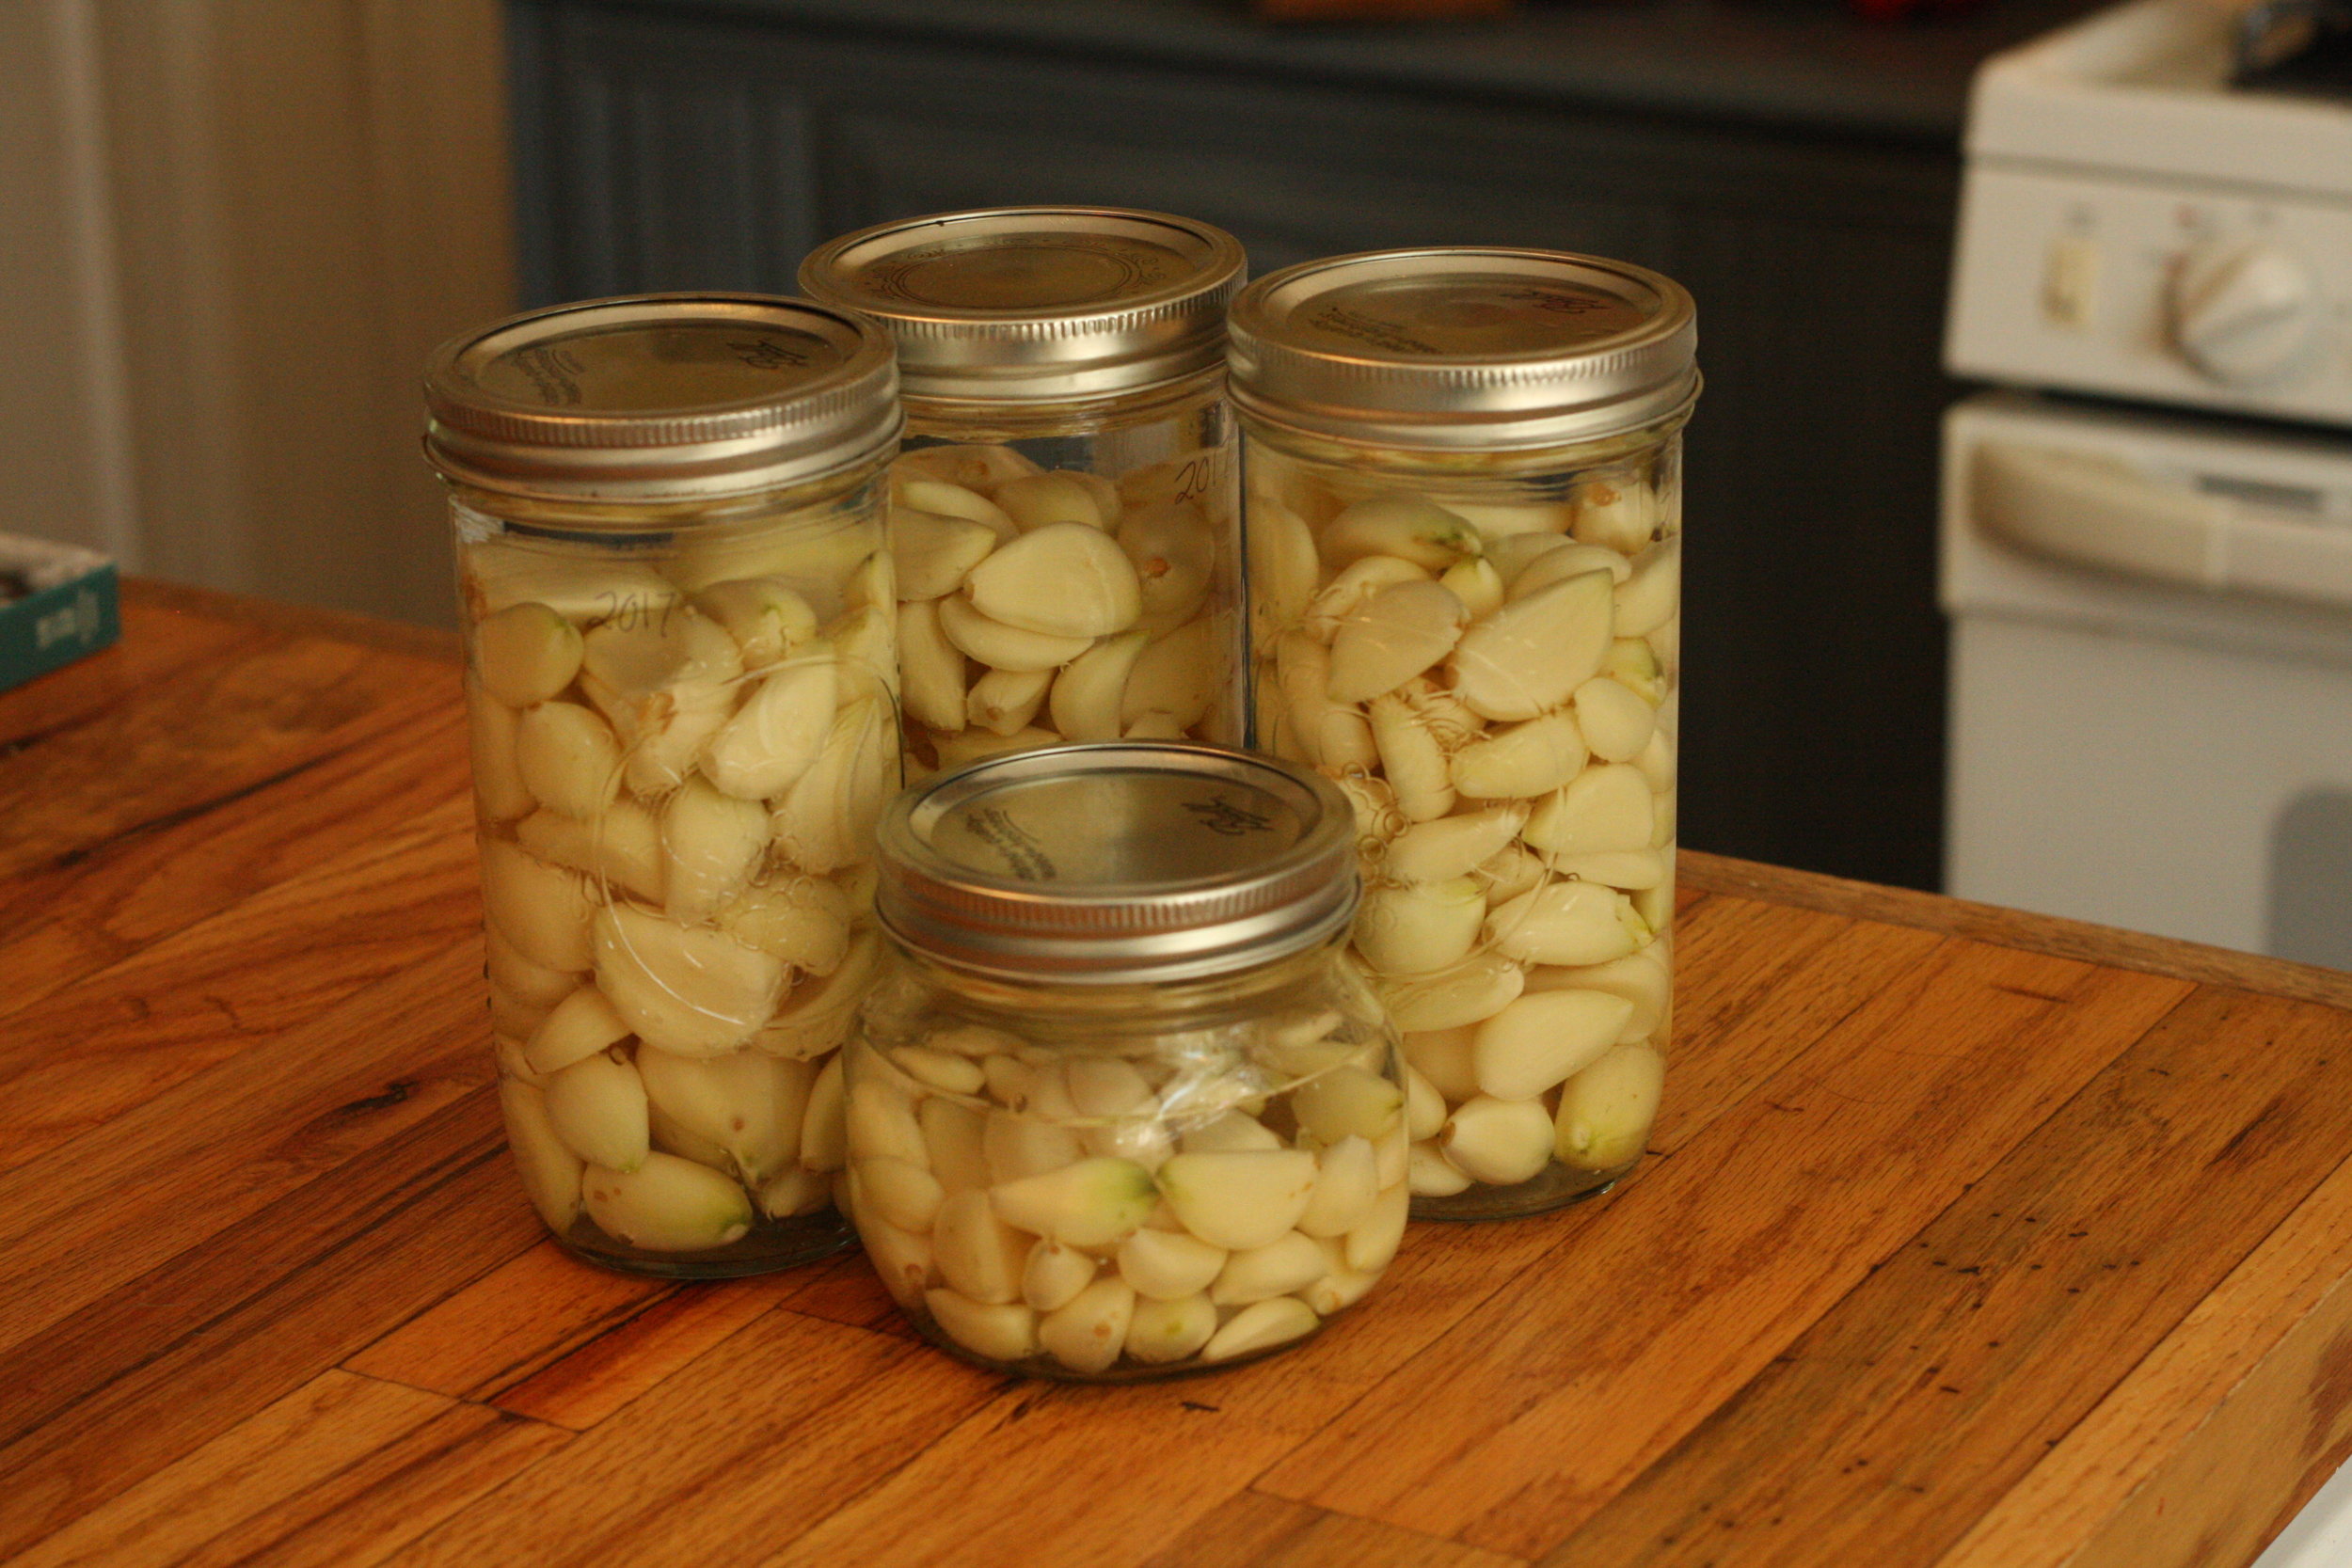
3. After about 10 minutes, begin removing the skins from the individual cloves until they look like the cloves in the photo below. Do not cut off the ends. If the clove is very damaged, discard it.
*Note: This part is time consuming, so invite a friend over to help you while you chat... or put on your favorite show on Netflix. ;)
Rinse the cloves in a colander/sieve a few times, until they are very clean. Place on a clean towel to drip dry.

4. Choose a jar large enough to fit the cloves and fill it up with the garlic cloves, leaving about an inch of headspace.
Then pour pickling vinegar into the jar until all the cloves are covered in vinegar.

5. Place a lid on the jar and store the "pickled garlic" in the fridge. That's right - no canning!
Even though the garlic is soaking in vinegar, it really does not develop a "vinegary" flavor, as long as the cloves are intact (this is why we don't remove the stem end of the clove).
The preserved garlic will last a long time, at least one year. We are working through a jar of garlic that is over 2 years old and there are no flavor or quality issues.
How to Use Your Preserved Garlic
You can use your preserved garlic in any recipe that calls for fresh garlic. All you have to do is:
Remove a clove from the jar (always use a clean utensil, like a fork or spoon, so the contents of the jar stay clean)
Rinse it off with water if you don't want to add a vinegar flavor to the dish. If you don't mind the vinegar flavor (say you're making fresh salsa), you don't have to rinse.
Use it just like fresh garlic - mince, chop, slice or crush.
I'll be completely honest - I used to omit garlic from many of my recipes because I was too lazy to peel the paper off the garlic cloves. It was just one more time consuming (and messy!) step when I was already feeling rushed.
Now, I love the convenience of being able to reach in my fridge and grab exactly what I need.
Hope this method makes your life a little bit easier too! Enjoy!
*Note: Occasionally, you may notice a few garlic cloves turn blue or green. Maybe you've seen this happen to garlic in a jar of pickles too.
Don't freak out! It does not effect the flavor or safety of the clove. No one knows exactly why it happens, but it's something to do with enzymes breaking down. Again, it's perfectly safe to consume, but if you feel weird about it, just pitch it!
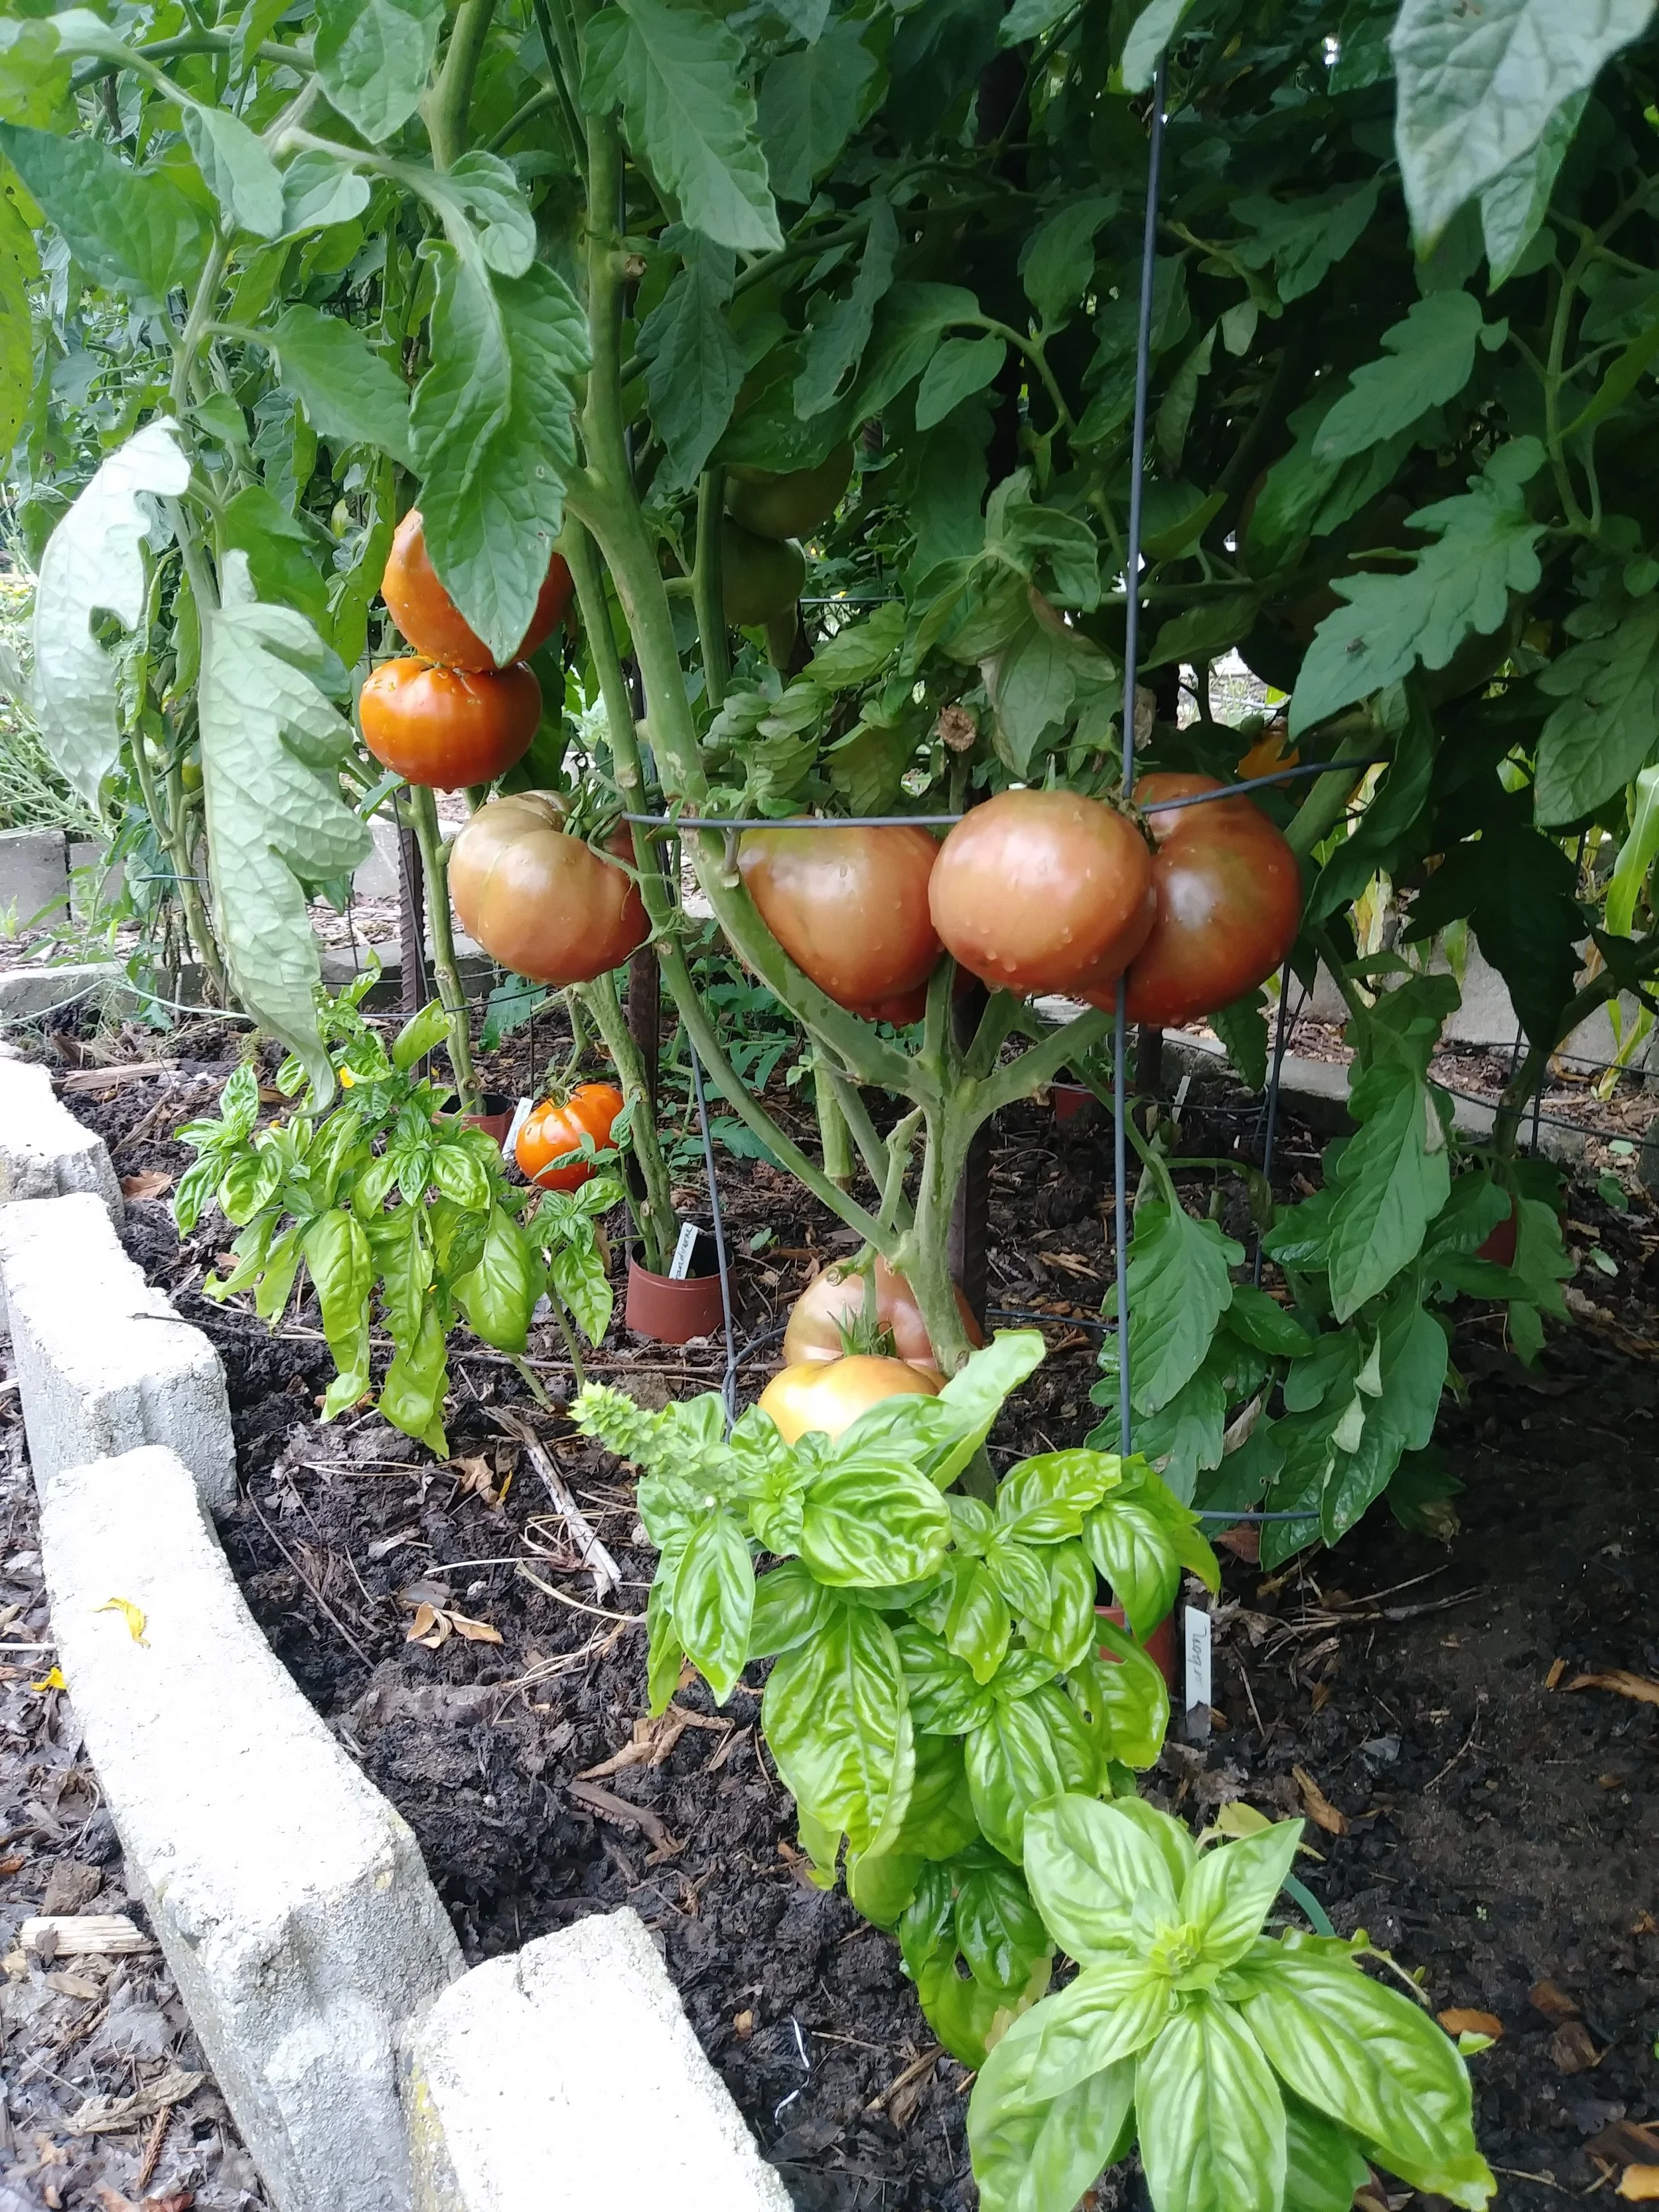
How to Take Cuttings from Tomato Plants
A fun experiment that really pays off… in tomatoes!
Did you know you can easily double or triple your tomato plant stock in about two weeks?
It's true! All you have to do it take cuttings of your existing plants. The whole process takes about 1 minute of hands-on time and can yield great results!
This is called "propagating" or "cloning" your plants. The resulting plant will have the same exact genetics as the original plant you cut from.
What does this mean for you? If you are visiting a friend/neighbor's house and see a tomato variety you'd love to try, you can ask permission to take a cutting... and grow that same plant in your own garden! Just be sure to take your cuttings early enough in the season so the plants have time to grow and produce fruit before the end of the season.
Taking cuttings is incredibly simple and easy. Here is what you will need:
A healthy tomato plant
A clean, sharp pruners/clippers or a scalpel
A water glass or jar full of water
A warm spot in your house
Optional: A 4 inch pot filled with moistened sterilized potting soil
Optional: Rooting Hormone powder or gel
Step One: Take Your Cutting
Examine the plant and look for a "sucker" to cut off the main stem.
Make a clean cut and immediately place the cutting in a glass/jar of fresh water. Keep the leaves out of the water.
Alternatively, dip the freshly cut stem end in the rooting hormone gel/powder and gently insert the stem into the 4" pot. Be sure to remove any leaves that may touch the soil, reserving just the top leaves. Water gently.

Step Two: Waiting
Place your cutting in a warm spot. A sunny window sill is perfect.
Be sure to check the glass/jar daily and refill/change water as needed.
In about 7 days, you should notice roots beginning to form! Allow the roots to grow strong and vigorous for a few more days.
If you are using the potting soil method, be sure to keep the soil evenly moist - not too dry, not too soggy. It may be helpful to cover the plant and pot with a plastic baggie to create a "humidity dome" to aid propagation. Rooting into soil will take longer, roughly 2-4 weeks.


Step Three: Planting
Once you have strong roots (about 2 weeks in water, 2-4 weeks in potting soil), your plant is ready to start the transition to living outdoors.
Plants will need to be "hardened off", which means you slowly introduce them to outdoor conditions, a few hours at a time. If you just throw them outside after living indoors for so long, they might not survive.
For both methods (growing in water or growing in pots), take the plant outside for about 2-3 hours on the first day and gradually build up to having the plant outside the whole day (this should take about a week).
Once plant is hardened, it can be planted into the garden. Bury the plant up to the first set of leaves to encourage a strong root system.
Be sure to use my method for protecting your precious plants from cutworms!
Step Four: Enjoy the Fruits of Your Labor
You did it! You successfully multiplied your planting stock and doubled/tripled your production. Nice work!

Have you ever tried taking cuttings of tomatoes? How about other plants? I'd love to hear about it.
Taking cuttings is an easy, fun and inexpensive way to multiply your plant stock quickly. Have fun!
-Lori
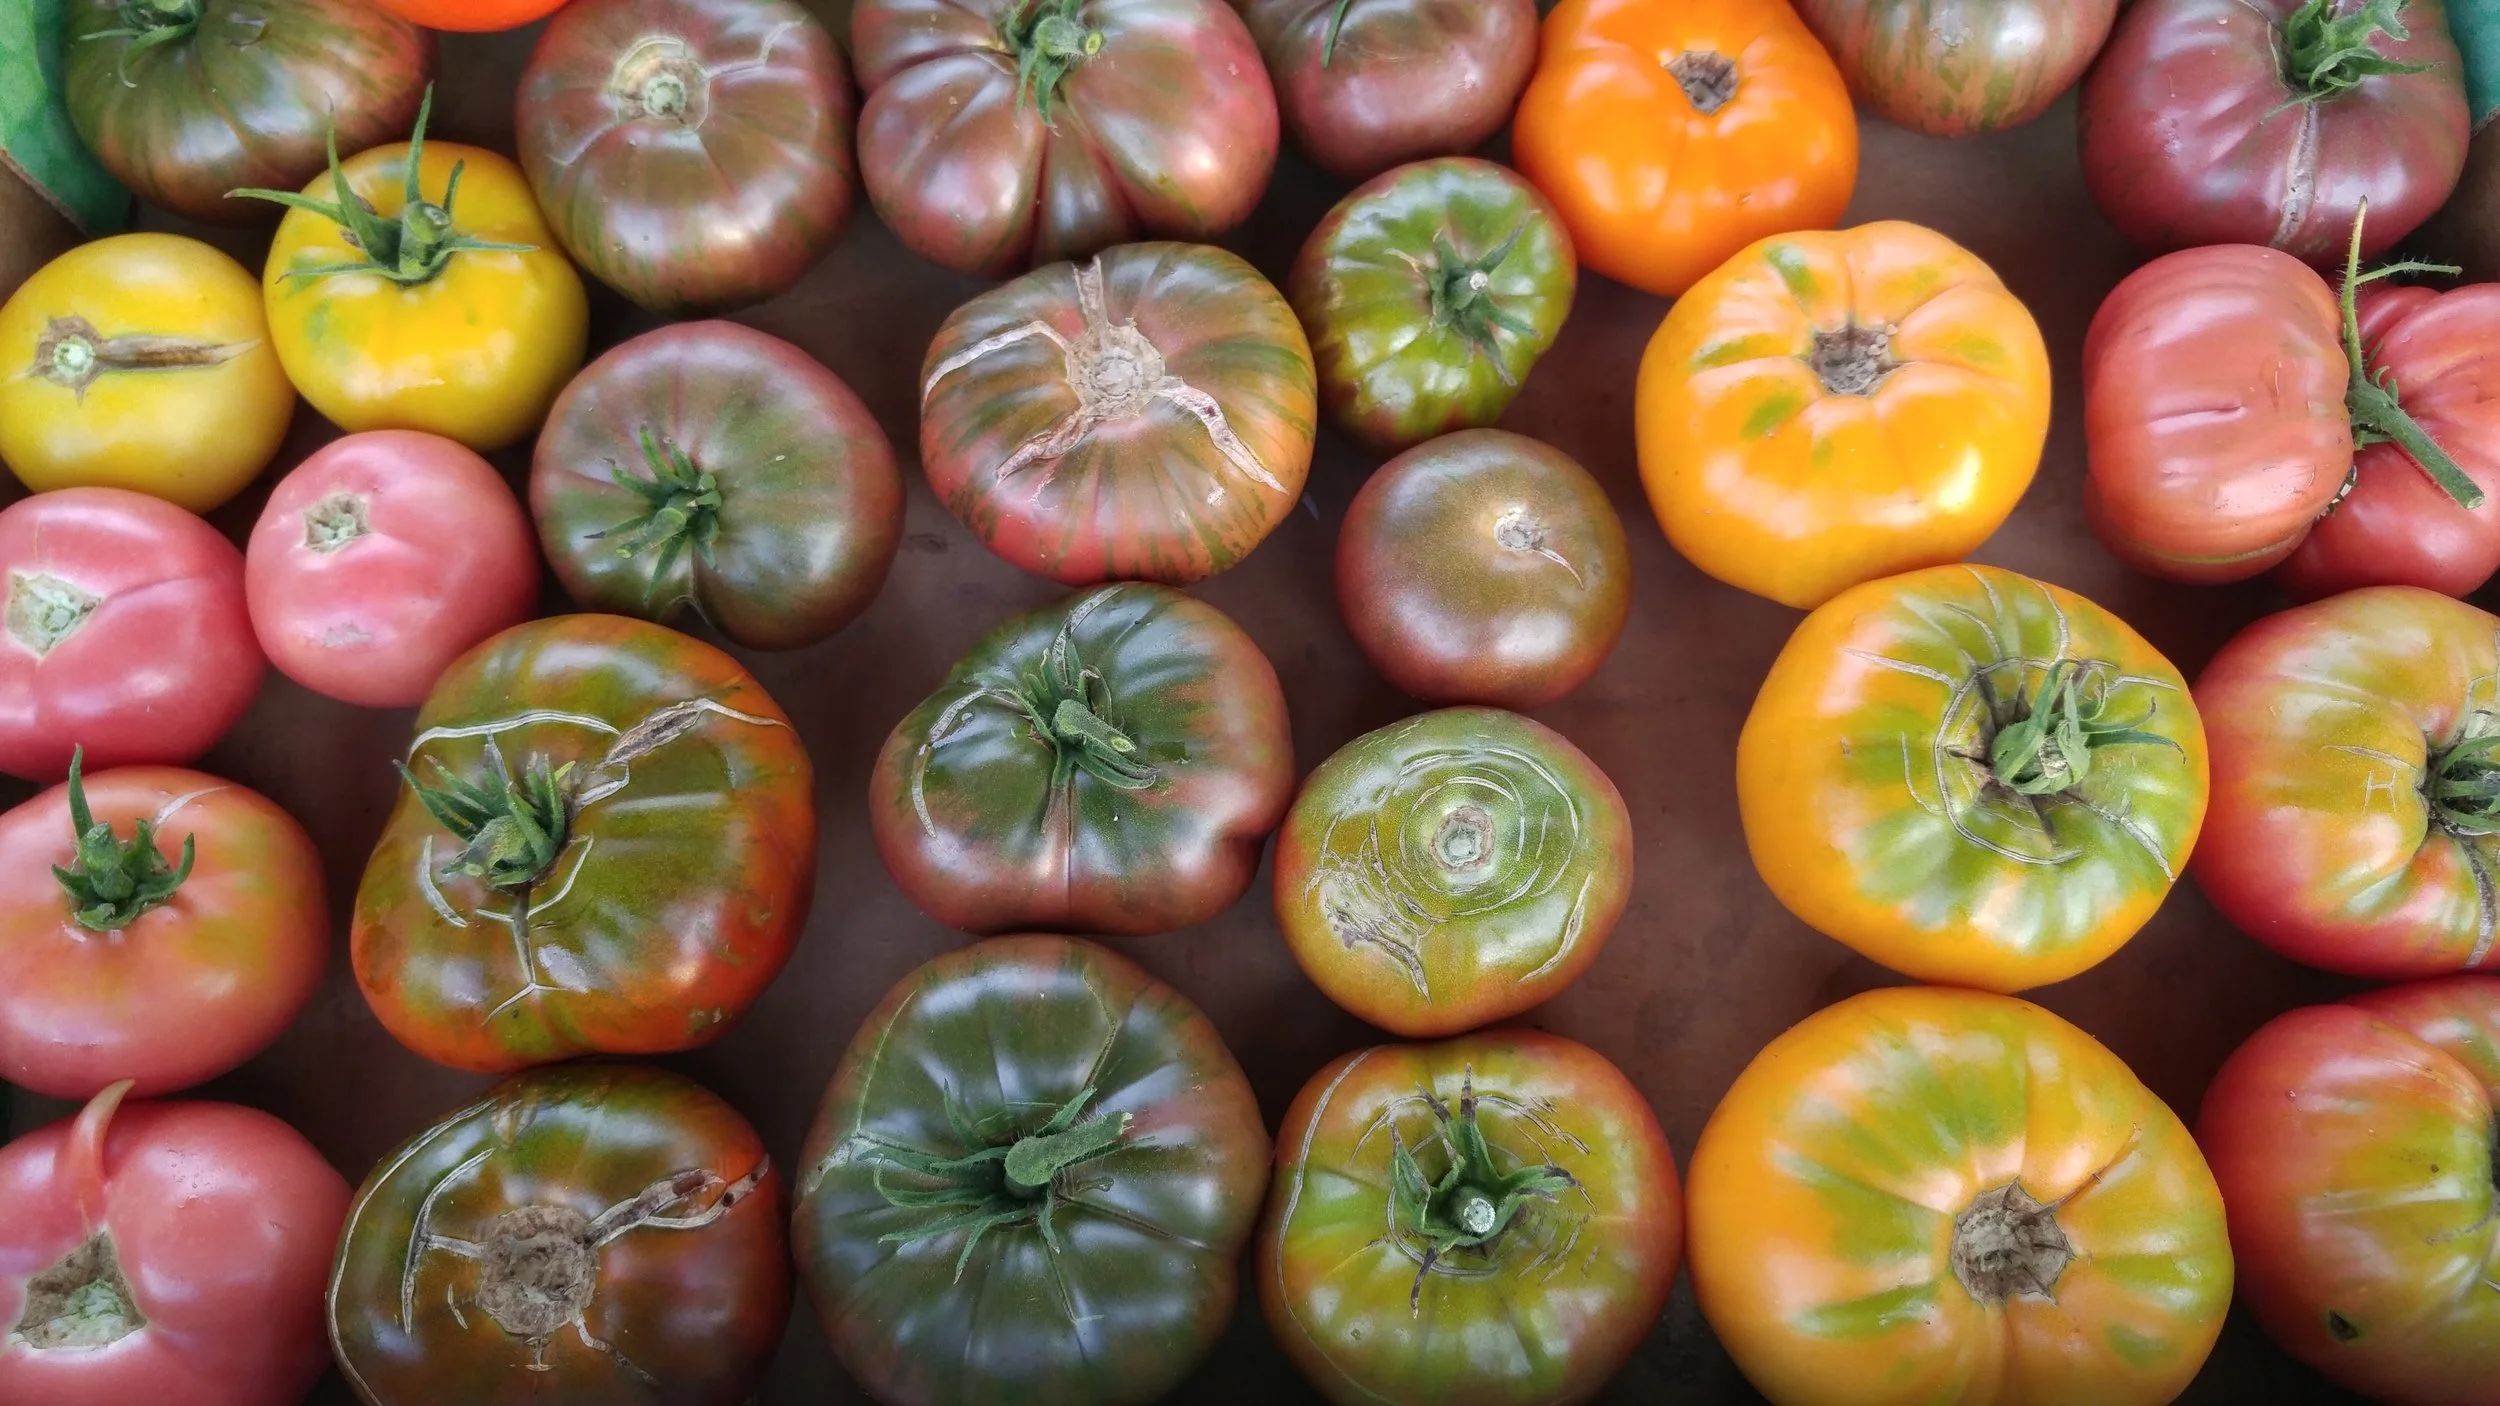
How to Plant and Support Your Tomatoes
My two methods of planting and supporting tomatoes for optimal results.
It's that time of year! Time to get that garden planted!
Today, I want to share with you a few tricks I have learned over the years to achieve optimal results with my tomato plants.
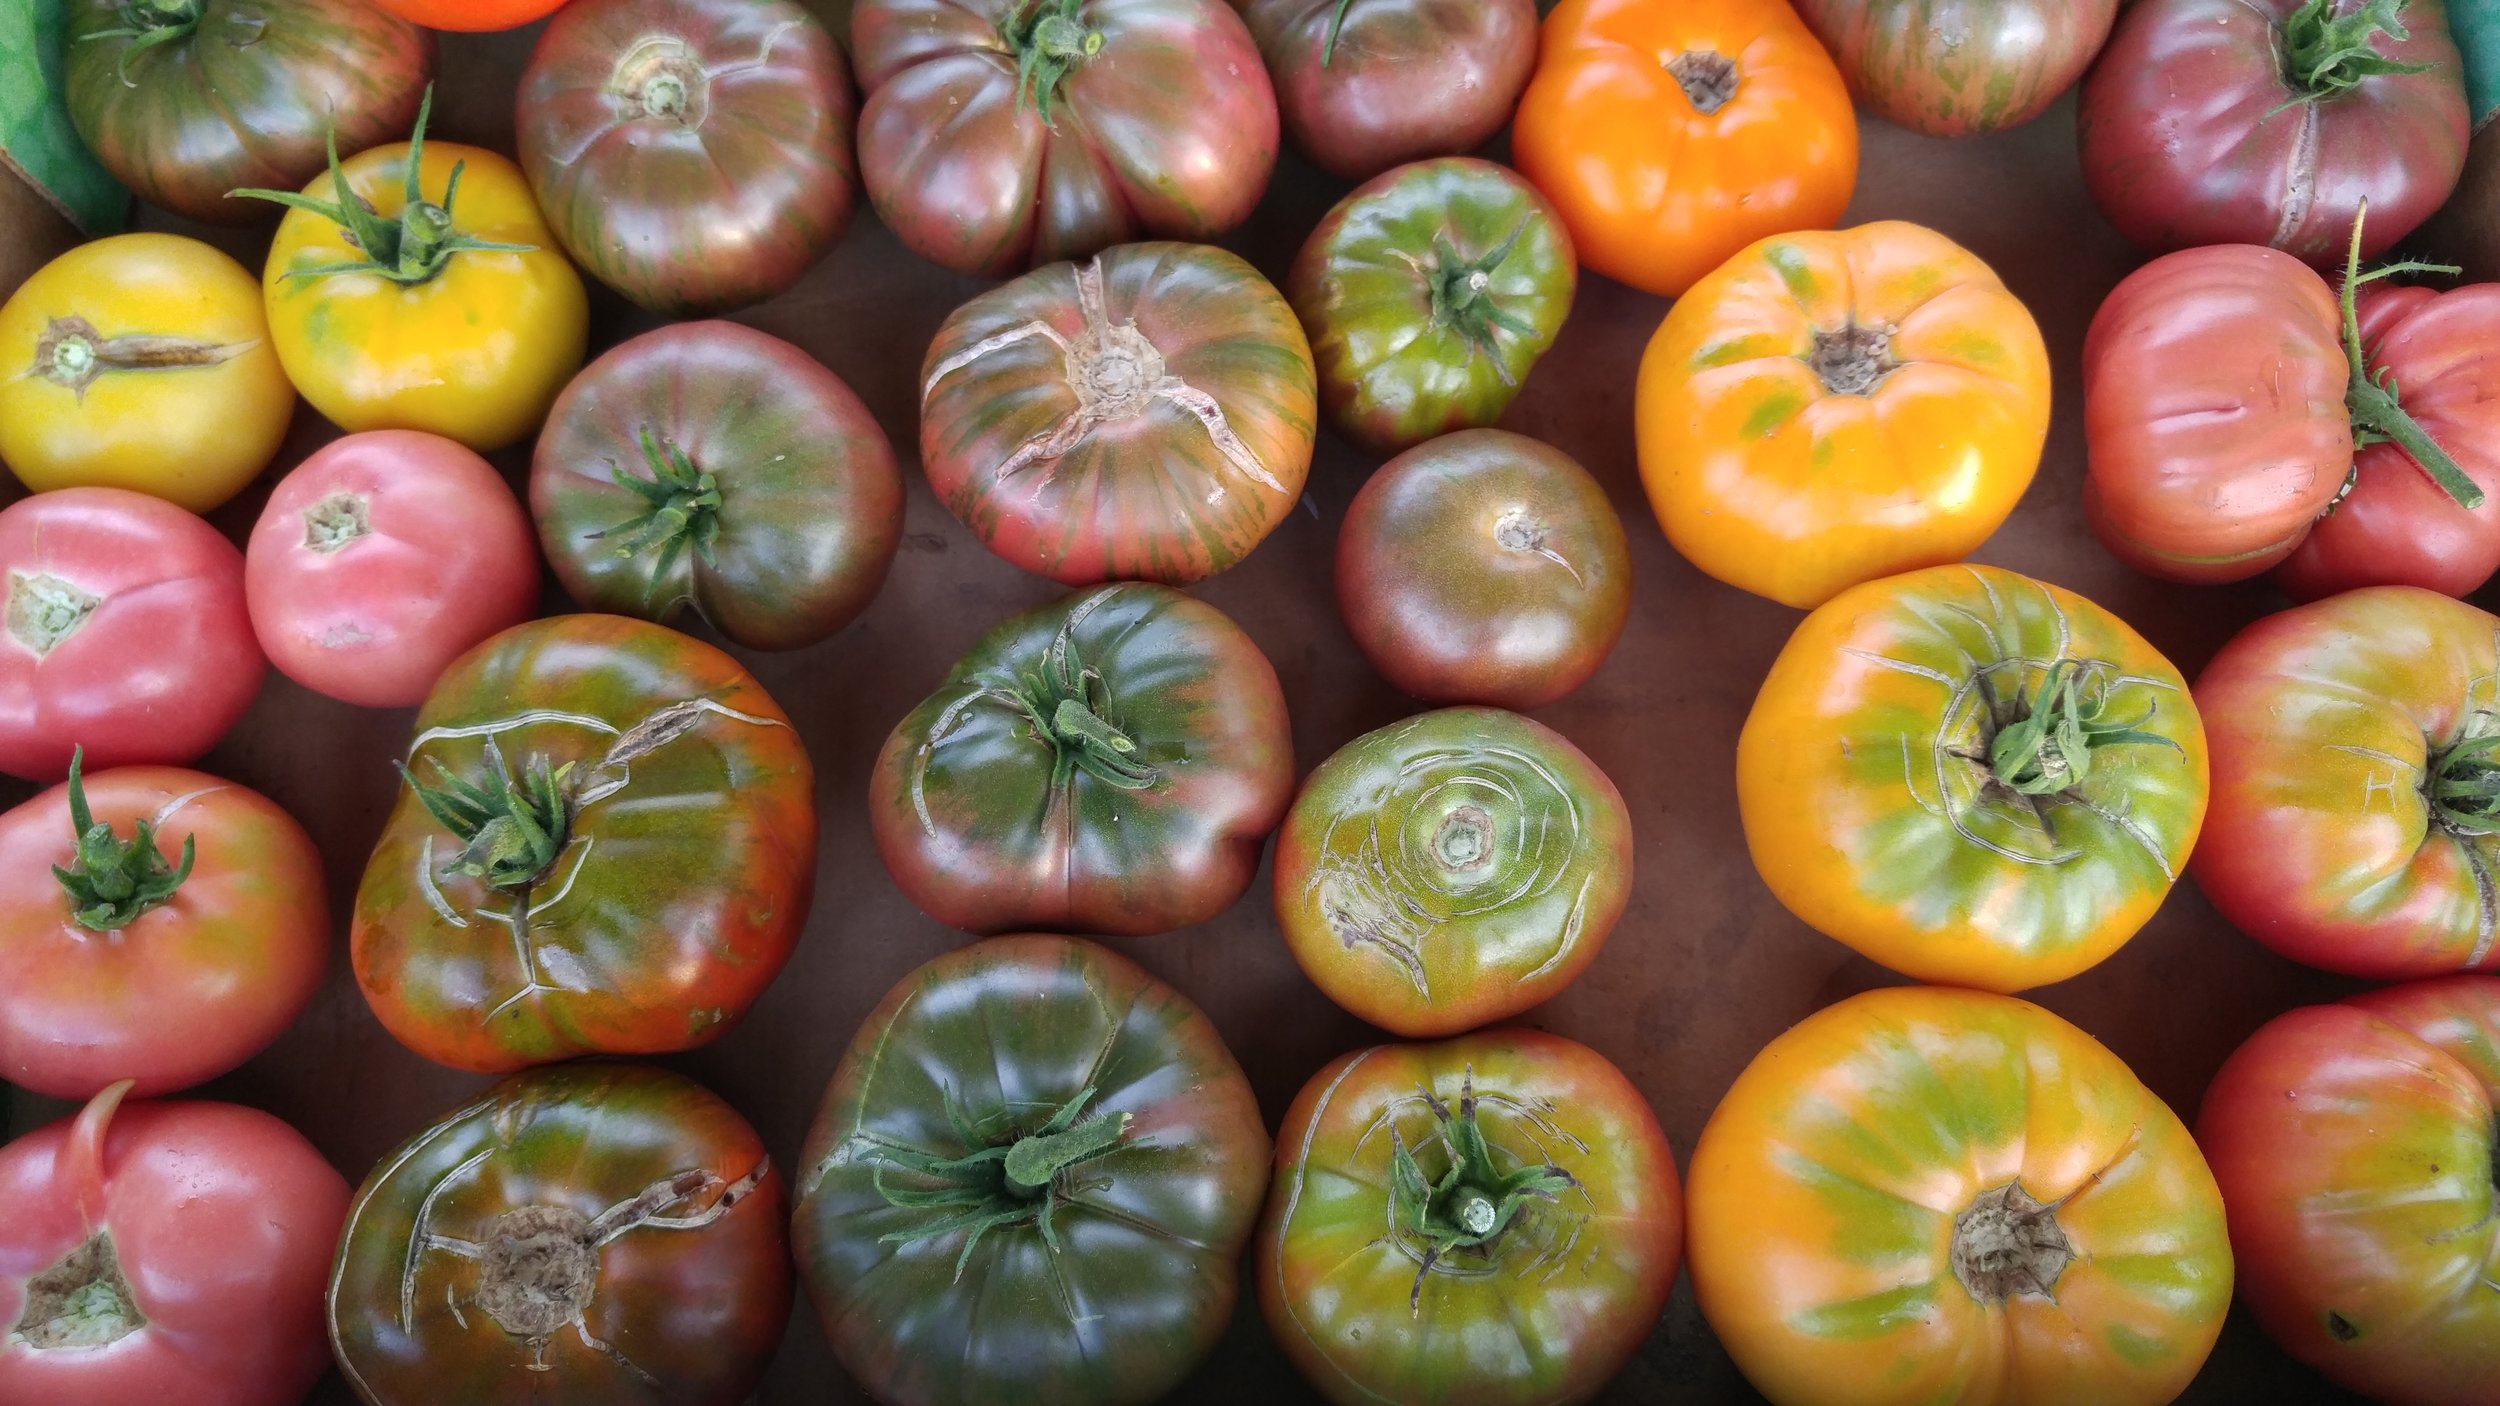
But first, time for a little tomato education!
Tomatoes come in 2 types: Determinate and Indeterminate. Knowing what type you are growing will help you figure out how to best grow them.
DETERMINATE:
Also called "bush" type tomatoes.
These plant grow in a more compact form and generally only reach about 3 feet tall.
The fruit ripens around the same time, which makes these varieties ideal for canning or freezing sessions when you need a lot of tomatoes at once.
These plants are idea for container gardening.
Examples of Determinate tomatoes: "Roma", "Wisconsin 55", "Rutgers"
INDETERMINATE:
Also called "vining" type tomatoes.
These plants will grow tall, anywhere from 3-8 feet. Some cherry types may even grow 12-15 feet!
The fruit ripens gradually over the season, so you are not overwhelmed with tomatoes all at once.
These plants require strong support, in the form of tomato cages or trellis systems.
Examples of Indeterminate tomatoes: "Brandywine", "Early Detroit", "Pineapple", "Cherokee Purple", all cherry types
Most tomato plants fall into the Indeterminate category, so you will most likely need to purchase some tomato cages or trellising. I would still offer support to Determinate plants, but it's not totally necessary.
In the videos below, I will show you 2 methods I have used successfully for growing tomatoes. Perhaps they will work for you as well!
USING TOMATO CAGES
I use this method for ALL my non-cherry type tomatoes (Determinate and Indeterminate).
I found I can use small tomato cages for the Determinate tomatoes, but need to use the largest cages I can get my hands on for everything else!
The metal rebar stakes are what makes it work. Before I used them, my tomatoes cages would collapse under the weight of the plant in the middle of August, leading to lots of ruined/rotted fruit.
USING A TRELLIS SYSTEM
Some Indeterminate tomatoes, especially cherry types, grow like a vine and benefit from being grown on a trellis, instead of a tomato cage.
We call this our "Cattle Panel Trellising System". It works so well, I want to spread the word! The panels come in 16 x4 foot sections or 8x4 foot sections.
They also work great for growing cucumbers, pole beans, peas... any plant that likes to climb. The panels are very sturdy, easy to stack and store, and should last you a lifetime.
So there you have it! I've shown you two methods that work on our farm.
How do you support and grow your tomatoes? I would love to hear from you!
If you are getting ready to plant your garden this weekend and need tomatoes, be sure to check out our fun selection of Heirloom tomato plants!
-Lori

Potato, Corn and Cheese Chowder: The Perfect Fall Potato Soup Recipe
The perfect potato soup for a cold day!
Potato, Corn and Cheese Chowder
Oh friends, fall is here.
In my head, fall is always bright and sunny and beautiful, filled with sights and smells of apples, cinnamon, spice, pumpkins, falling leaves, and cornstalks. In my mind, fall is a wonderland.
But yesterday, reality hit hard. Cold, driving rain that lasted 2 days. Depressing darkness. Mud, muck and wet leaves. And us with no heat in the house (don't ask- it will be fixed soon!).
What to do? Make soup, of course. There is nothing better to warm the body and soul, am I right? I know I'm not the only soup fan out there! When I shared this photo on social media yesterday, I had multiple requests for the recipe... so here you go.
I found this recipe years ago in a magazine and I've adapted it to suit our tastes over the years. It's a favorite around our house because we can make it with almost entirely locally sourced ingredients. The potatoes, onions, corn and herbs come right from our own garden. The milk, cream and bacon come from our neighboring farm down the road.
This soup tastes like fall in Michigan. There is something so grounding and comforting about locally grown food.
I hope you enjoy the recipe... and feel free to change it up to meet the needs of your family! That is the lovely thing about soup - recipes are forgiving, flexible and easily customized.
![IMG_20171024_165539_636[1].jpg](https://images.squarespace-cdn.com/content/v1/582b872529687fd6acb7423d/1508947946895-M5600TZ0PKX5A9G6GLMS/IMG_20171024_165539_636%5B1%5D.jpg)
Potato, Corn and Cheese Chowder
Serves about 4 people
Active Prep Time: 15 minutes
Cooking Time: 1 hour
3 large potatoes, diced into 1/2" pieces
3 cups water
1 bay leaf
1 tsp salt
1 medium onion, finely diced
1 tbsp butter, olive oil, beef tallow, lard or bacon fat (the best!!!)
3 tbsp all-purpose flour
1 1/2 cups whole milk or cream or half & half... or a blend of these
1 1/2 cups frozen, fresh or canned corn
2-4 tbsp chopped fresh chives
2-4 tbsp chopped fresh parsley
1/2 tsp cumin
salt and pepper to taste
pre-cooked bacon crumbles (optional, but seriously, why wouldn't you?)
4 oz of grated cheese
A FEW NOTES:
I usually double this recipe so we can have leftovers. I haven't tried freezing it, but that has never been an issue because it gets gobbled up so quickly.
If you are adding bacon, you can cook the bacon first, then use the bacon fat to saute the onion and make the roux. I usually have small containers of pre-cooked, chopped bacon crumbles in my freezer, so I use that. Cooking bacon adds another step and more time.
You can use any type of potato (Russet, Yukon Gold, red skin...). I always keep the skins on because I am much too lazy to peel potatoes.
1. Bring water, potatoes, bay leaf and salt to a boil in a large soup pot. Cook potatoes until they are softened and easily pierced with a fork.
2. While waiting for potatoes to cook, saute the onion in a separate pot (2 qt pot works well) in the butter/oil/fat until soft and translucent. *See note above about cooking bacon.
3. Add flour to the sauteed onions and mix well to coat the onions with flour. Very slowly, pour milk/cream into the pot, stirring constantly with a fork or whisk to make a roux (a thickener made by mixing flour and fat).
4. Once the roux has thickened, pour it into the soup pot with the cooked potatoes.
5. Stir in the corn, herbs and spices (be sure to taste test when adding salt and pepper). Simmer gently for at least 15 minutes, but preferably longer to allow flavors to meld. Do not allow soup to boil.
6. Add cheese just before serving or allow people to sprinkle the cheese on their own bowl.
Enjoy!
*Do you have any favorite fall soup recipes to share? I'd love to hear them!*
-Lori