
How to Take Cuttings from Tomato Plants
A fun experiment that really pays off… in tomatoes!
Did you know you can easily double or triple your tomato plant stock in about two weeks?
It's true! All you have to do it take cuttings of your existing plants. The whole process takes about 1 minute of hands-on time and can yield great results!
This is called "propagating" or "cloning" your plants. The resulting plant will have the same exact genetics as the original plant you cut from.
What does this mean for you? If you are visiting a friend/neighbor's house and see a tomato variety you'd love to try, you can ask permission to take a cutting... and grow that same plant in your own garden! Just be sure to take your cuttings early enough in the season so the plants have time to grow and produce fruit before the end of the season.
Taking cuttings is incredibly simple and easy. Here is what you will need:
A healthy tomato plant
A clean, sharp pruners/clippers or a scalpel
A water glass or jar full of water
A warm spot in your house
Optional: A 4 inch pot filled with moistened sterilized potting soil
Optional: Rooting Hormone powder or gel
Step One: Take Your Cutting
Examine the plant and look for a "sucker" to cut off the main stem.
Make a clean cut and immediately place the cutting in a glass/jar of fresh water. Keep the leaves out of the water.
Alternatively, dip the freshly cut stem end in the rooting hormone gel/powder and gently insert the stem into the 4" pot. Be sure to remove any leaves that may touch the soil, reserving just the top leaves. Water gently.

Step Two: Waiting
Place your cutting in a warm spot. A sunny window sill is perfect.
Be sure to check the glass/jar daily and refill/change water as needed.
In about 7 days, you should notice roots beginning to form! Allow the roots to grow strong and vigorous for a few more days.
If you are using the potting soil method, be sure to keep the soil evenly moist - not too dry, not too soggy. It may be helpful to cover the plant and pot with a plastic baggie to create a "humidity dome" to aid propagation. Rooting into soil will take longer, roughly 2-4 weeks.


Step Three: Planting
Once you have strong roots (about 2 weeks in water, 2-4 weeks in potting soil), your plant is ready to start the transition to living outdoors.
Plants will need to be "hardened off", which means you slowly introduce them to outdoor conditions, a few hours at a time. If you just throw them outside after living indoors for so long, they might not survive.
For both methods (growing in water or growing in pots), take the plant outside for about 2-3 hours on the first day and gradually build up to having the plant outside the whole day (this should take about a week).
Once plant is hardened, it can be planted into the garden. Bury the plant up to the first set of leaves to encourage a strong root system.
Be sure to use my method for protecting your precious plants from cutworms!
Step Four: Enjoy the Fruits of Your Labor
You did it! You successfully multiplied your planting stock and doubled/tripled your production. Nice work!

Have you ever tried taking cuttings of tomatoes? How about other plants? I'd love to hear about it.
Taking cuttings is an easy, fun and inexpensive way to multiply your plant stock quickly. Have fun!
-Lori

How to Plant and Support Your Tomatoes
My two methods of planting and supporting tomatoes for optimal results.
It's that time of year! Time to get that garden planted!
Today, I want to share with you a few tricks I have learned over the years to achieve optimal results with my tomato plants.
But first, time for a little tomato education!
Tomatoes come in 2 types: Determinate and Indeterminate. Knowing what type you are growing will help you figure out how to best grow them.
DETERMINATE:
Also called "bush" type tomatoes.
These plant grow in a more compact form and generally only reach about 3 feet tall.
The fruit ripens around the same time, which makes these varieties ideal for canning or freezing sessions when you need a lot of tomatoes at once.
These plants are idea for container gardening.
Examples of Determinate tomatoes: "Roma", "Wisconsin 55", "Rutgers"
INDETERMINATE:
Also called "vining" type tomatoes.
These plants will grow tall, anywhere from 3-8 feet. Some cherry types may even grow 12-15 feet!
The fruit ripens gradually over the season, so you are not overwhelmed with tomatoes all at once.
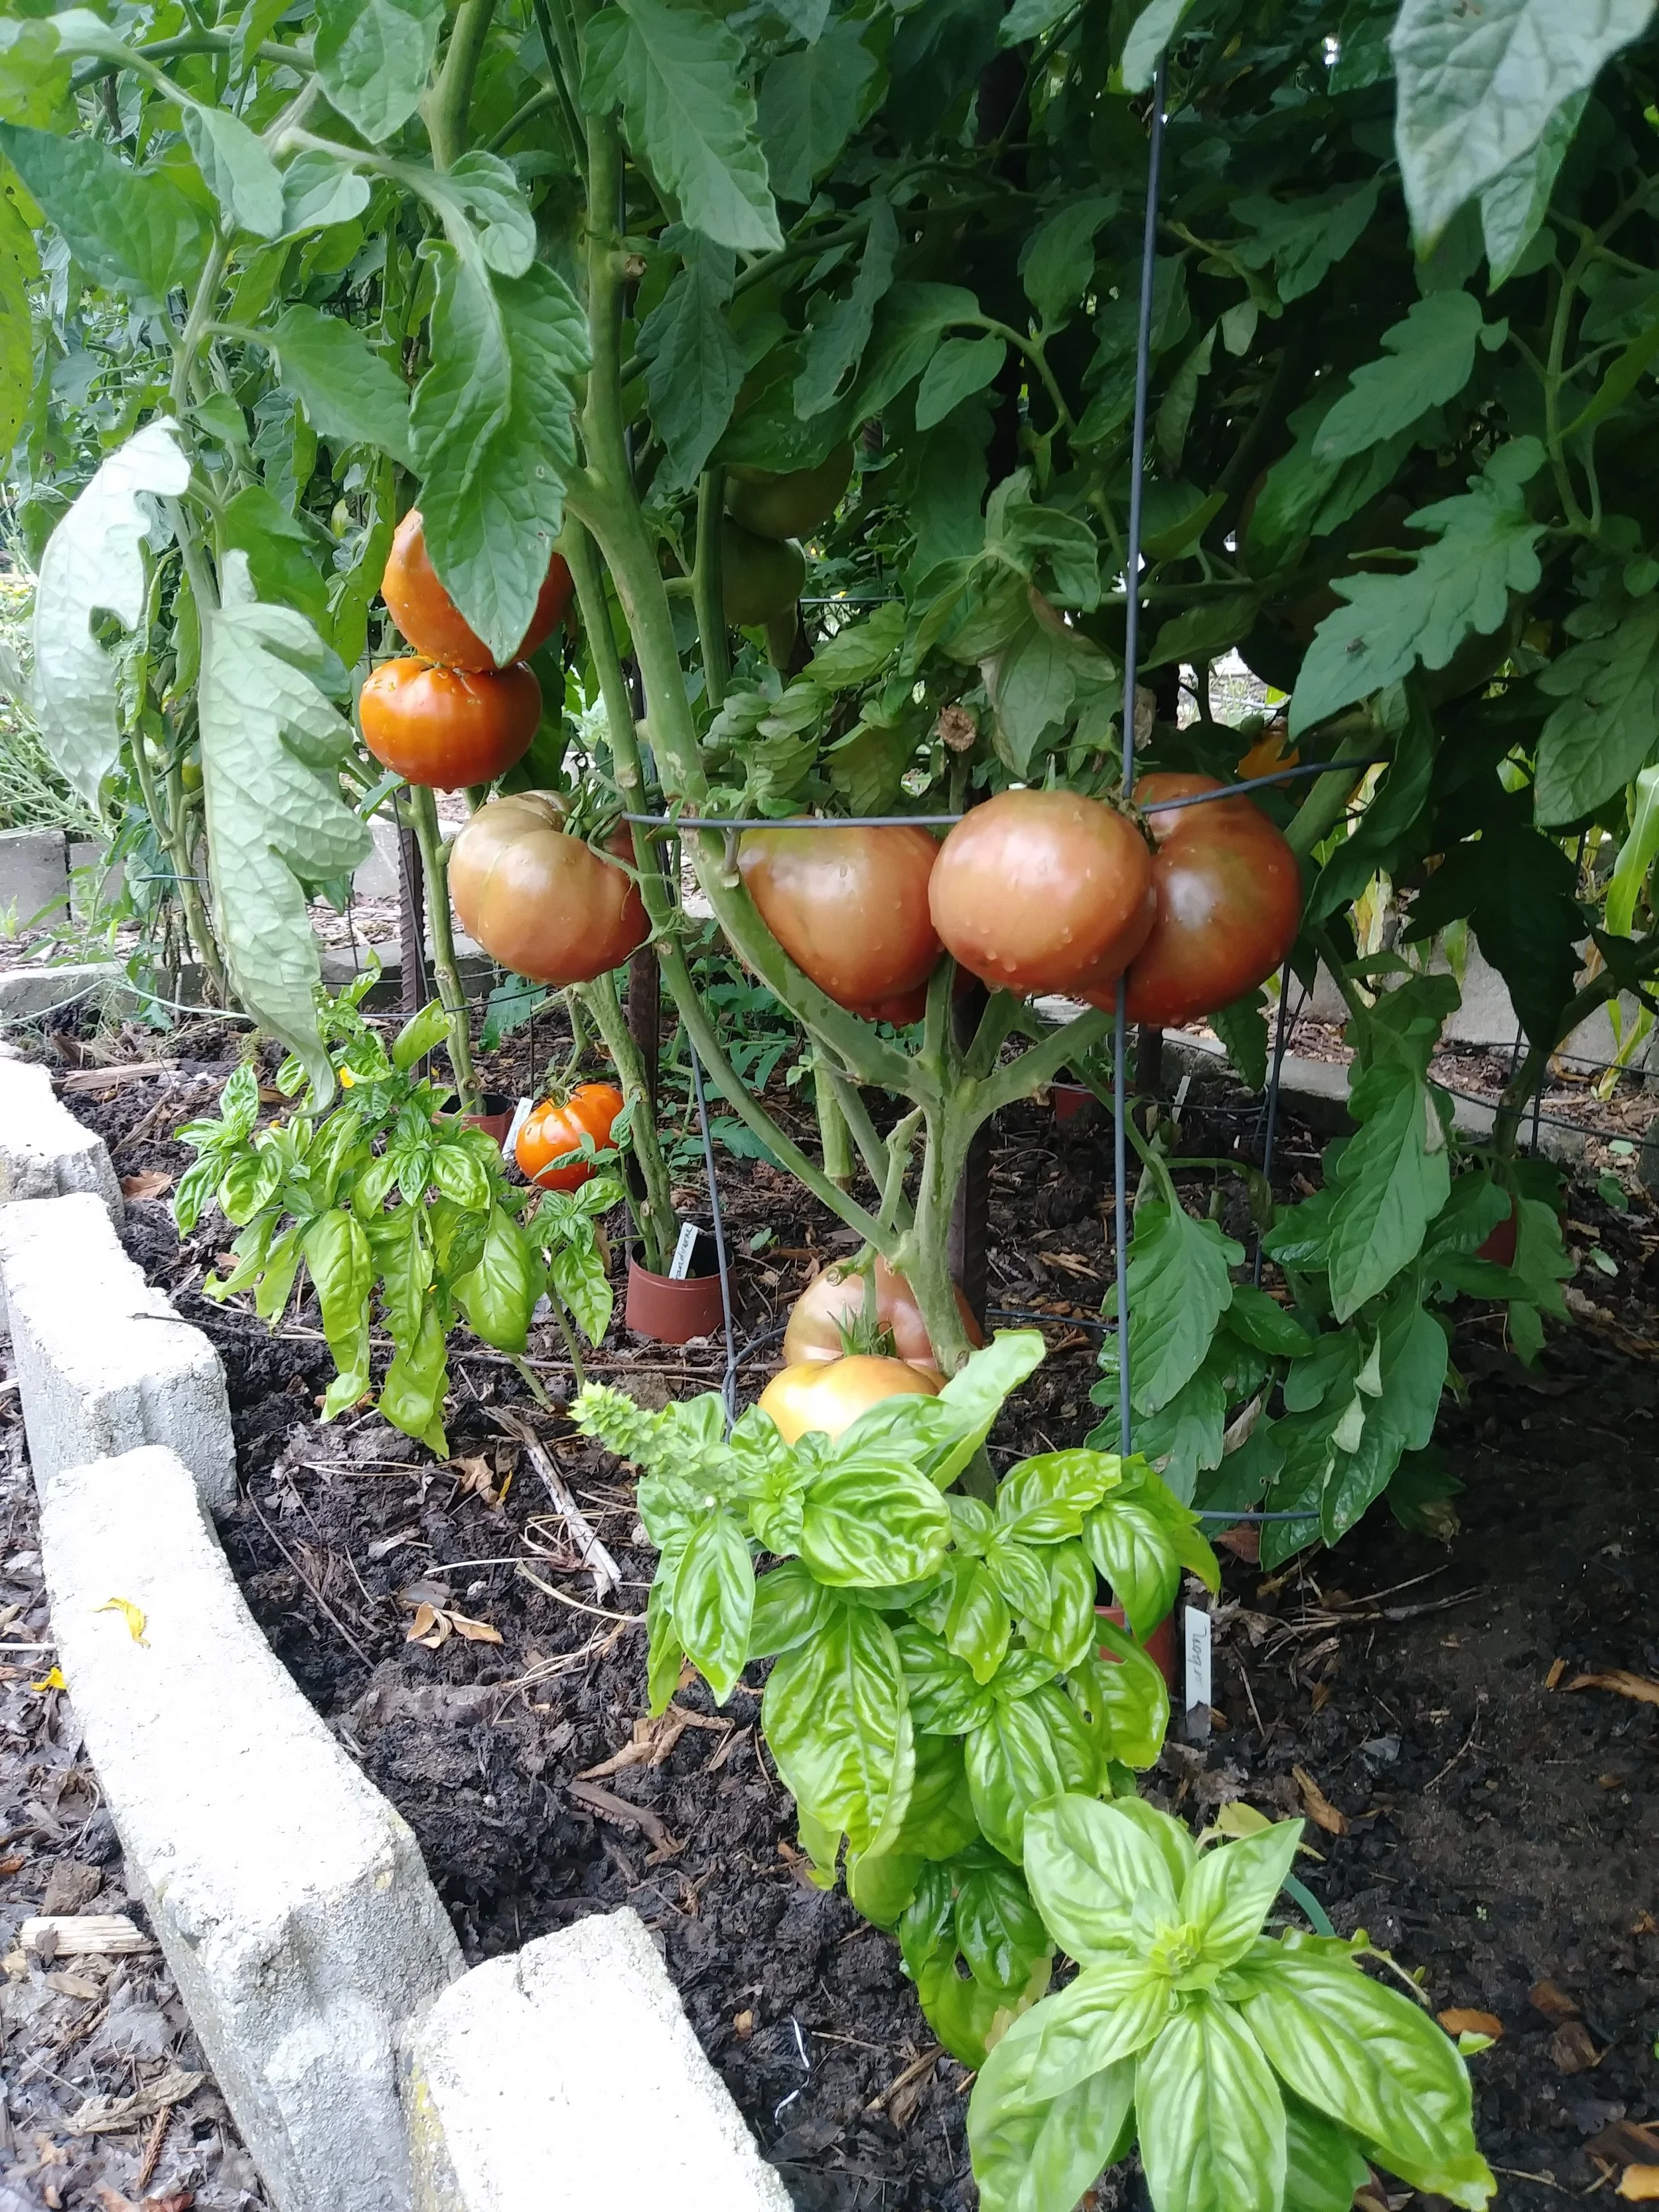
These plants require strong support, in the form of tomato cages or trellis systems.
Examples of Indeterminate tomatoes: "Brandywine", "Early Detroit", "Pineapple", "Cherokee Purple", all cherry types
Most tomato plants fall into the Indeterminate category, so you will most likely need to purchase some tomato cages or trellising. I would still offer support to Determinate plants, but it's not totally necessary.
In the videos below, I will show you 2 methods I have used successfully for growing tomatoes. Perhaps they will work for you as well!
USING TOMATO CAGES
I use this method for ALL my non-cherry type tomatoes (Determinate and Indeterminate).
I found I can use small tomato cages for the Determinate tomatoes, but need to use the largest cages I can get my hands on for everything else!
The metal rebar stakes are what makes it work. Before I used them, my tomatoes cages would collapse under the weight of the plant in the middle of August, leading to lots of ruined/rotted fruit.
USING A TRELLIS SYSTEM
Some Indeterminate tomatoes, especially cherry types, grow like a vine and benefit from being grown on a trellis, instead of a tomato cage.
We call this our "Cattle Panel Trellising System". It works so well, I want to spread the word! The panels come in 16 x4 foot sections or 8x4 foot sections.
They also work great for growing cucumbers, pole beans, peas... any plant that likes to climb. The panels are very sturdy, easy to stack and store, and should last you a lifetime.
So there you have it! I've shown you two methods that work on our farm.
How do you support and grow your tomatoes? I would love to hear from you!
If you are getting ready to plant your garden this weekend and need tomatoes, be sure to check out our fun selection of Heirloom tomato plants!
-Lori

Potato, Corn and Cheese Chowder: The Perfect Fall Potato Soup Recipe
The perfect potato soup for a cold day!
Potato, Corn and Cheese Chowder
Oh friends, fall is here.
In my head, fall is always bright and sunny and beautiful, filled with sights and smells of apples, cinnamon, spice, pumpkins, falling leaves, and cornstalks. In my mind, fall is a wonderland.
But yesterday, reality hit hard. Cold, driving rain that lasted 2 days. Depressing darkness. Mud, muck and wet leaves. And us with no heat in the house (don't ask- it will be fixed soon!).
What to do? Make soup, of course. There is nothing better to warm the body and soul, am I right? I know I'm not the only soup fan out there! When I shared this photo on social media yesterday, I had multiple requests for the recipe... so here you go.
I found this recipe years ago in a magazine and I've adapted it to suit our tastes over the years. It's a favorite around our house because we can make it with almost entirely locally sourced ingredients. The potatoes, onions, corn and herbs come right from our own garden. The milk, cream and bacon come from our neighboring farm down the road.
This soup tastes like fall in Michigan. There is something so grounding and comforting about locally grown food.
I hope you enjoy the recipe... and feel free to change it up to meet the needs of your family! That is the lovely thing about soup - recipes are forgiving, flexible and easily customized.
![IMG_20171024_165539_636[1].jpg](https://images.squarespace-cdn.com/content/v1/582b872529687fd6acb7423d/1508947946895-M5600TZ0PKX5A9G6GLMS/IMG_20171024_165539_636%5B1%5D.jpg)
Potato, Corn and Cheese Chowder
Serves about 4 people
Active Prep Time: 15 minutes
Cooking Time: 1 hour
3 large potatoes, diced into 1/2" pieces
3 cups water
1 bay leaf
1 tsp salt
1 medium onion, finely diced
1 tbsp butter, olive oil, beef tallow, lard or bacon fat (the best!!!)
3 tbsp all-purpose flour
1 1/2 cups whole milk or cream or half & half... or a blend of these
1 1/2 cups frozen, fresh or canned corn
2-4 tbsp chopped fresh chives
2-4 tbsp chopped fresh parsley
1/2 tsp cumin
salt and pepper to taste
pre-cooked bacon crumbles (optional, but seriously, why wouldn't you?)
4 oz of grated cheese
A FEW NOTES:
I usually double this recipe so we can have leftovers. I haven't tried freezing it, but that has never been an issue because it gets gobbled up so quickly.
If you are adding bacon, you can cook the bacon first, then use the bacon fat to saute the onion and make the roux. I usually have small containers of pre-cooked, chopped bacon crumbles in my freezer, so I use that. Cooking bacon adds another step and more time.
You can use any type of potato (Russet, Yukon Gold, red skin...). I always keep the skins on because I am much too lazy to peel potatoes.
1. Bring water, potatoes, bay leaf and salt to a boil in a large soup pot. Cook potatoes until they are softened and easily pierced with a fork.
2. While waiting for potatoes to cook, saute the onion in a separate pot (2 qt pot works well) in the butter/oil/fat until soft and translucent. *See note above about cooking bacon.
3. Add flour to the sauteed onions and mix well to coat the onions with flour. Very slowly, pour milk/cream into the pot, stirring constantly with a fork or whisk to make a roux (a thickener made by mixing flour and fat).
4. Once the roux has thickened, pour it into the soup pot with the cooked potatoes.
5. Stir in the corn, herbs and spices (be sure to taste test when adding salt and pepper). Simmer gently for at least 15 minutes, but preferably longer to allow flavors to meld. Do not allow soup to boil.
6. Add cheese just before serving or allow people to sprinkle the cheese on their own bowl.
Enjoy!
*Do you have any favorite fall soup recipes to share? I'd love to hear them!*
-Lori

Drowning in Tomatoes? Try this easy (and delicious!) preserving method.
A simple method for preserving LOTS of tomatoes EASILY!
Drowning in Tomatoes?
It happens every year.
The first of the tomatoes ripen and I'm in my glory.
Fresh salsa!
BLTs!
Caprese Salad!
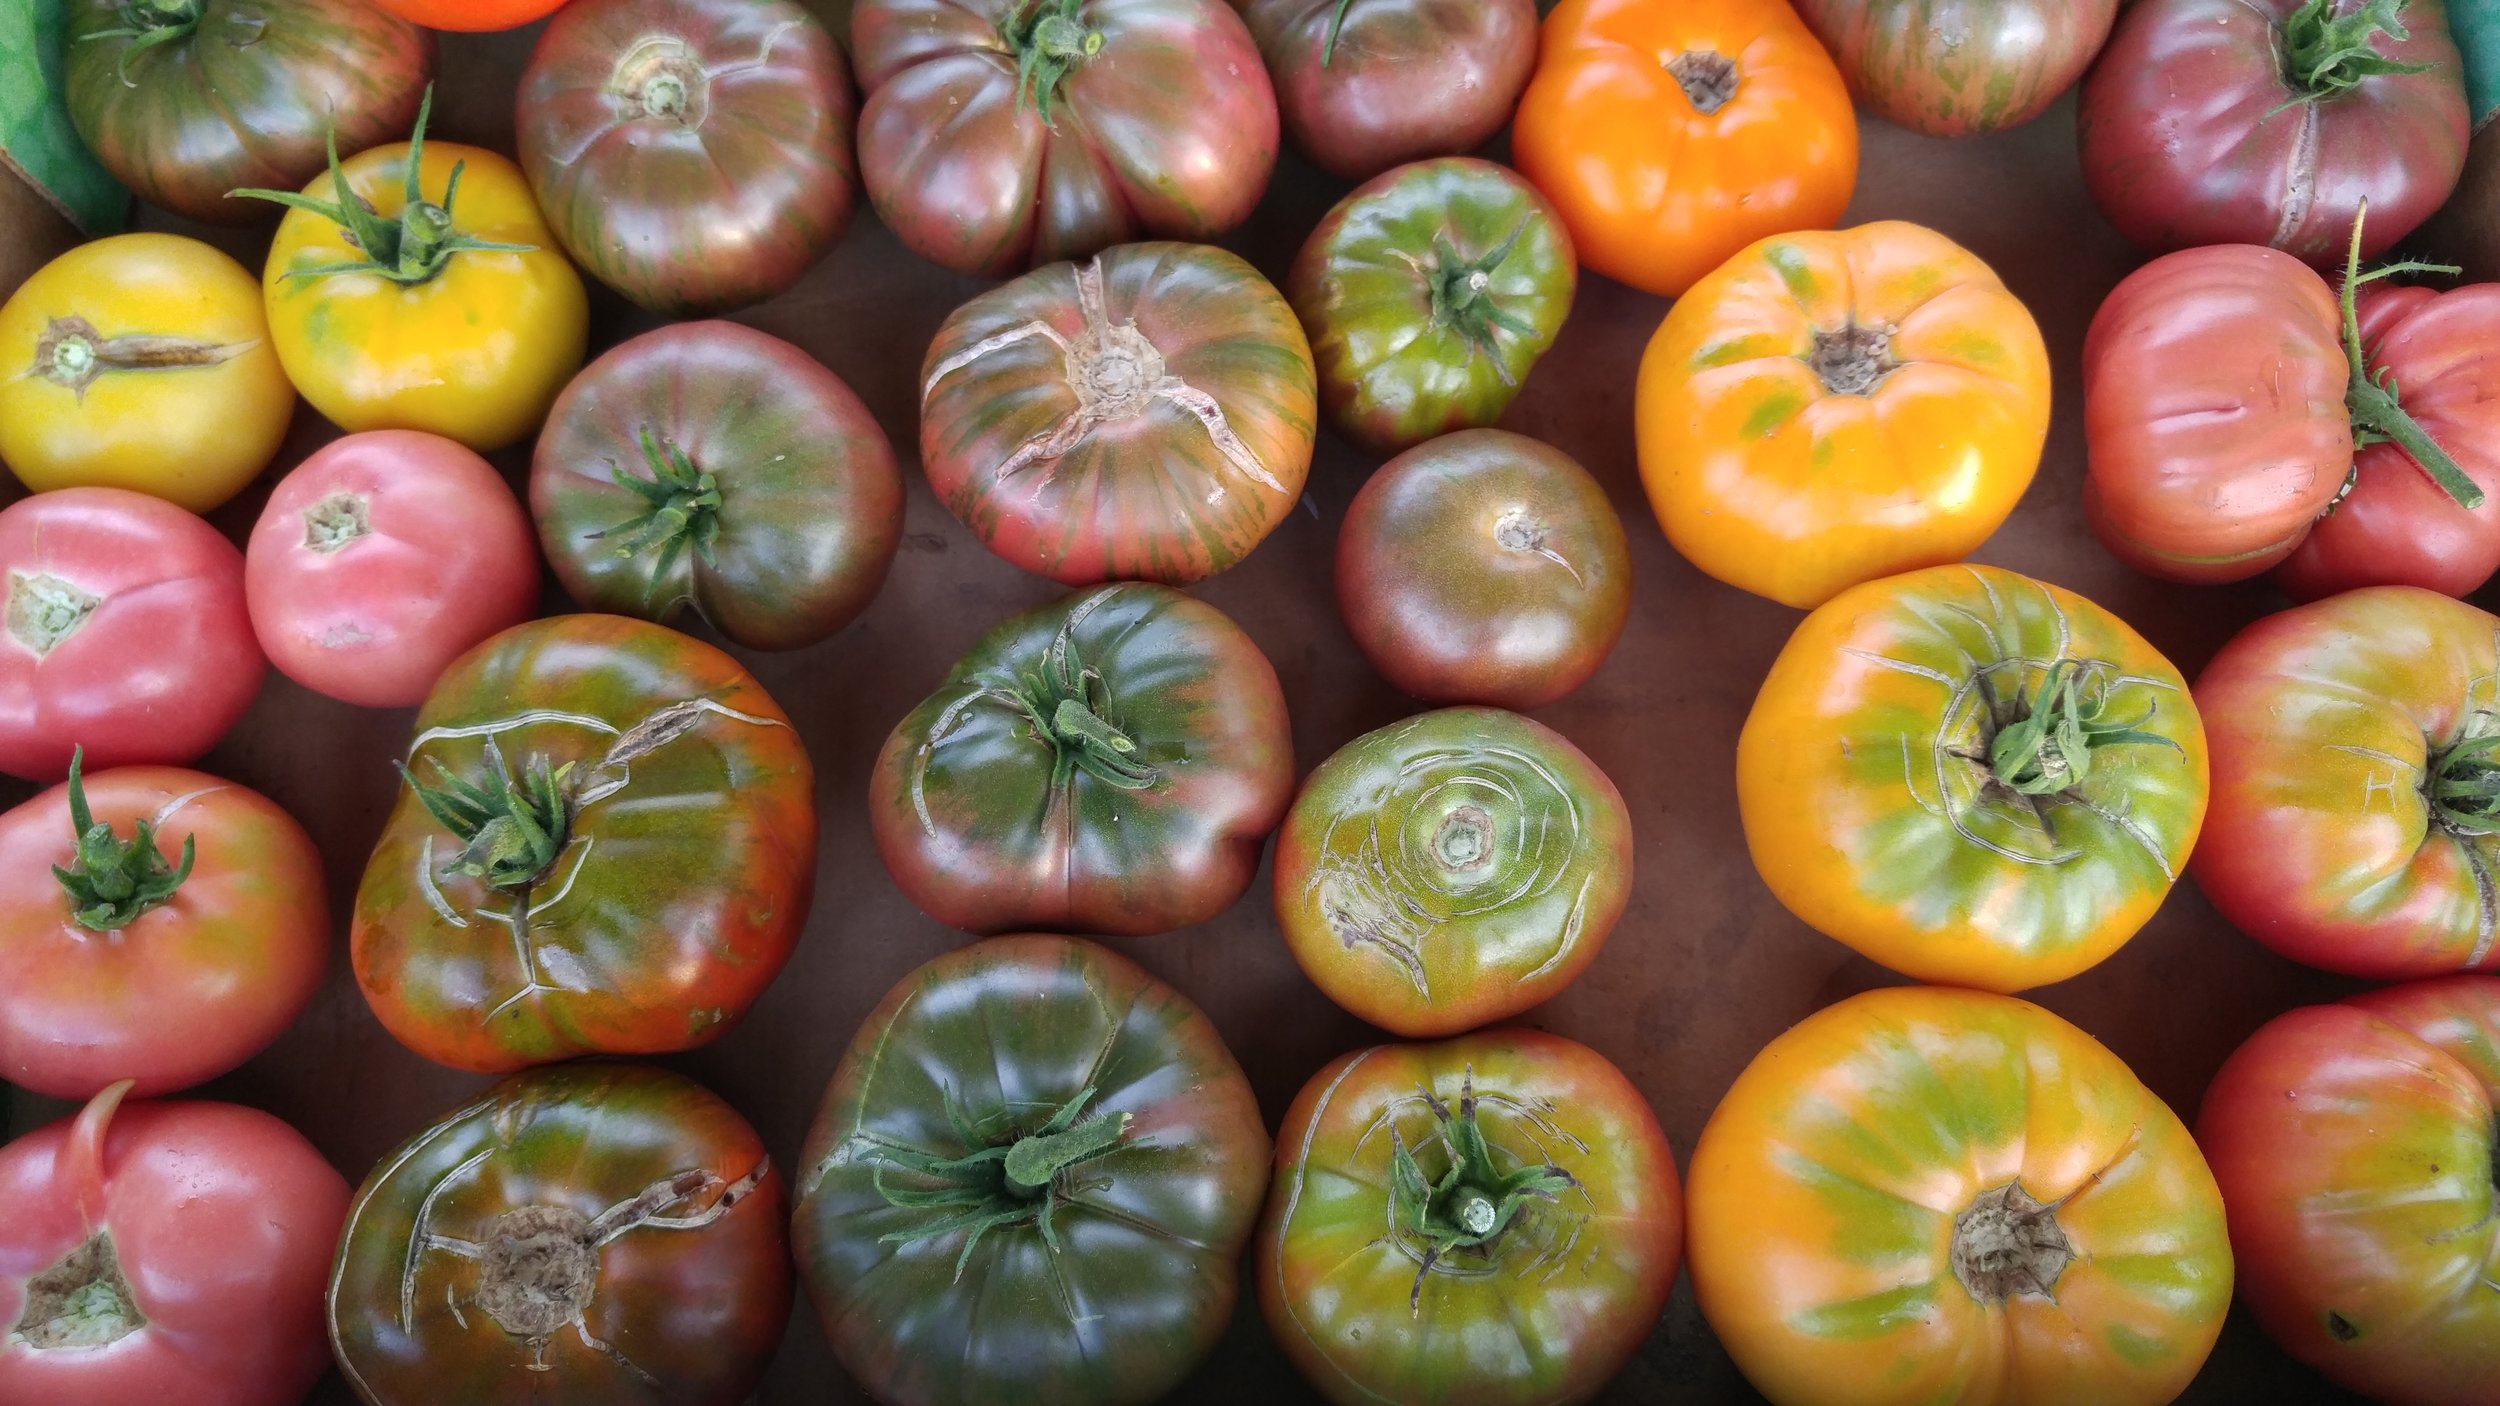
We have tomatoes with nearly every meal. My daughter eats them for snacks. I delight in their beauty and delicious taste. We grow Heirloom varieties and their flavors are incredible.
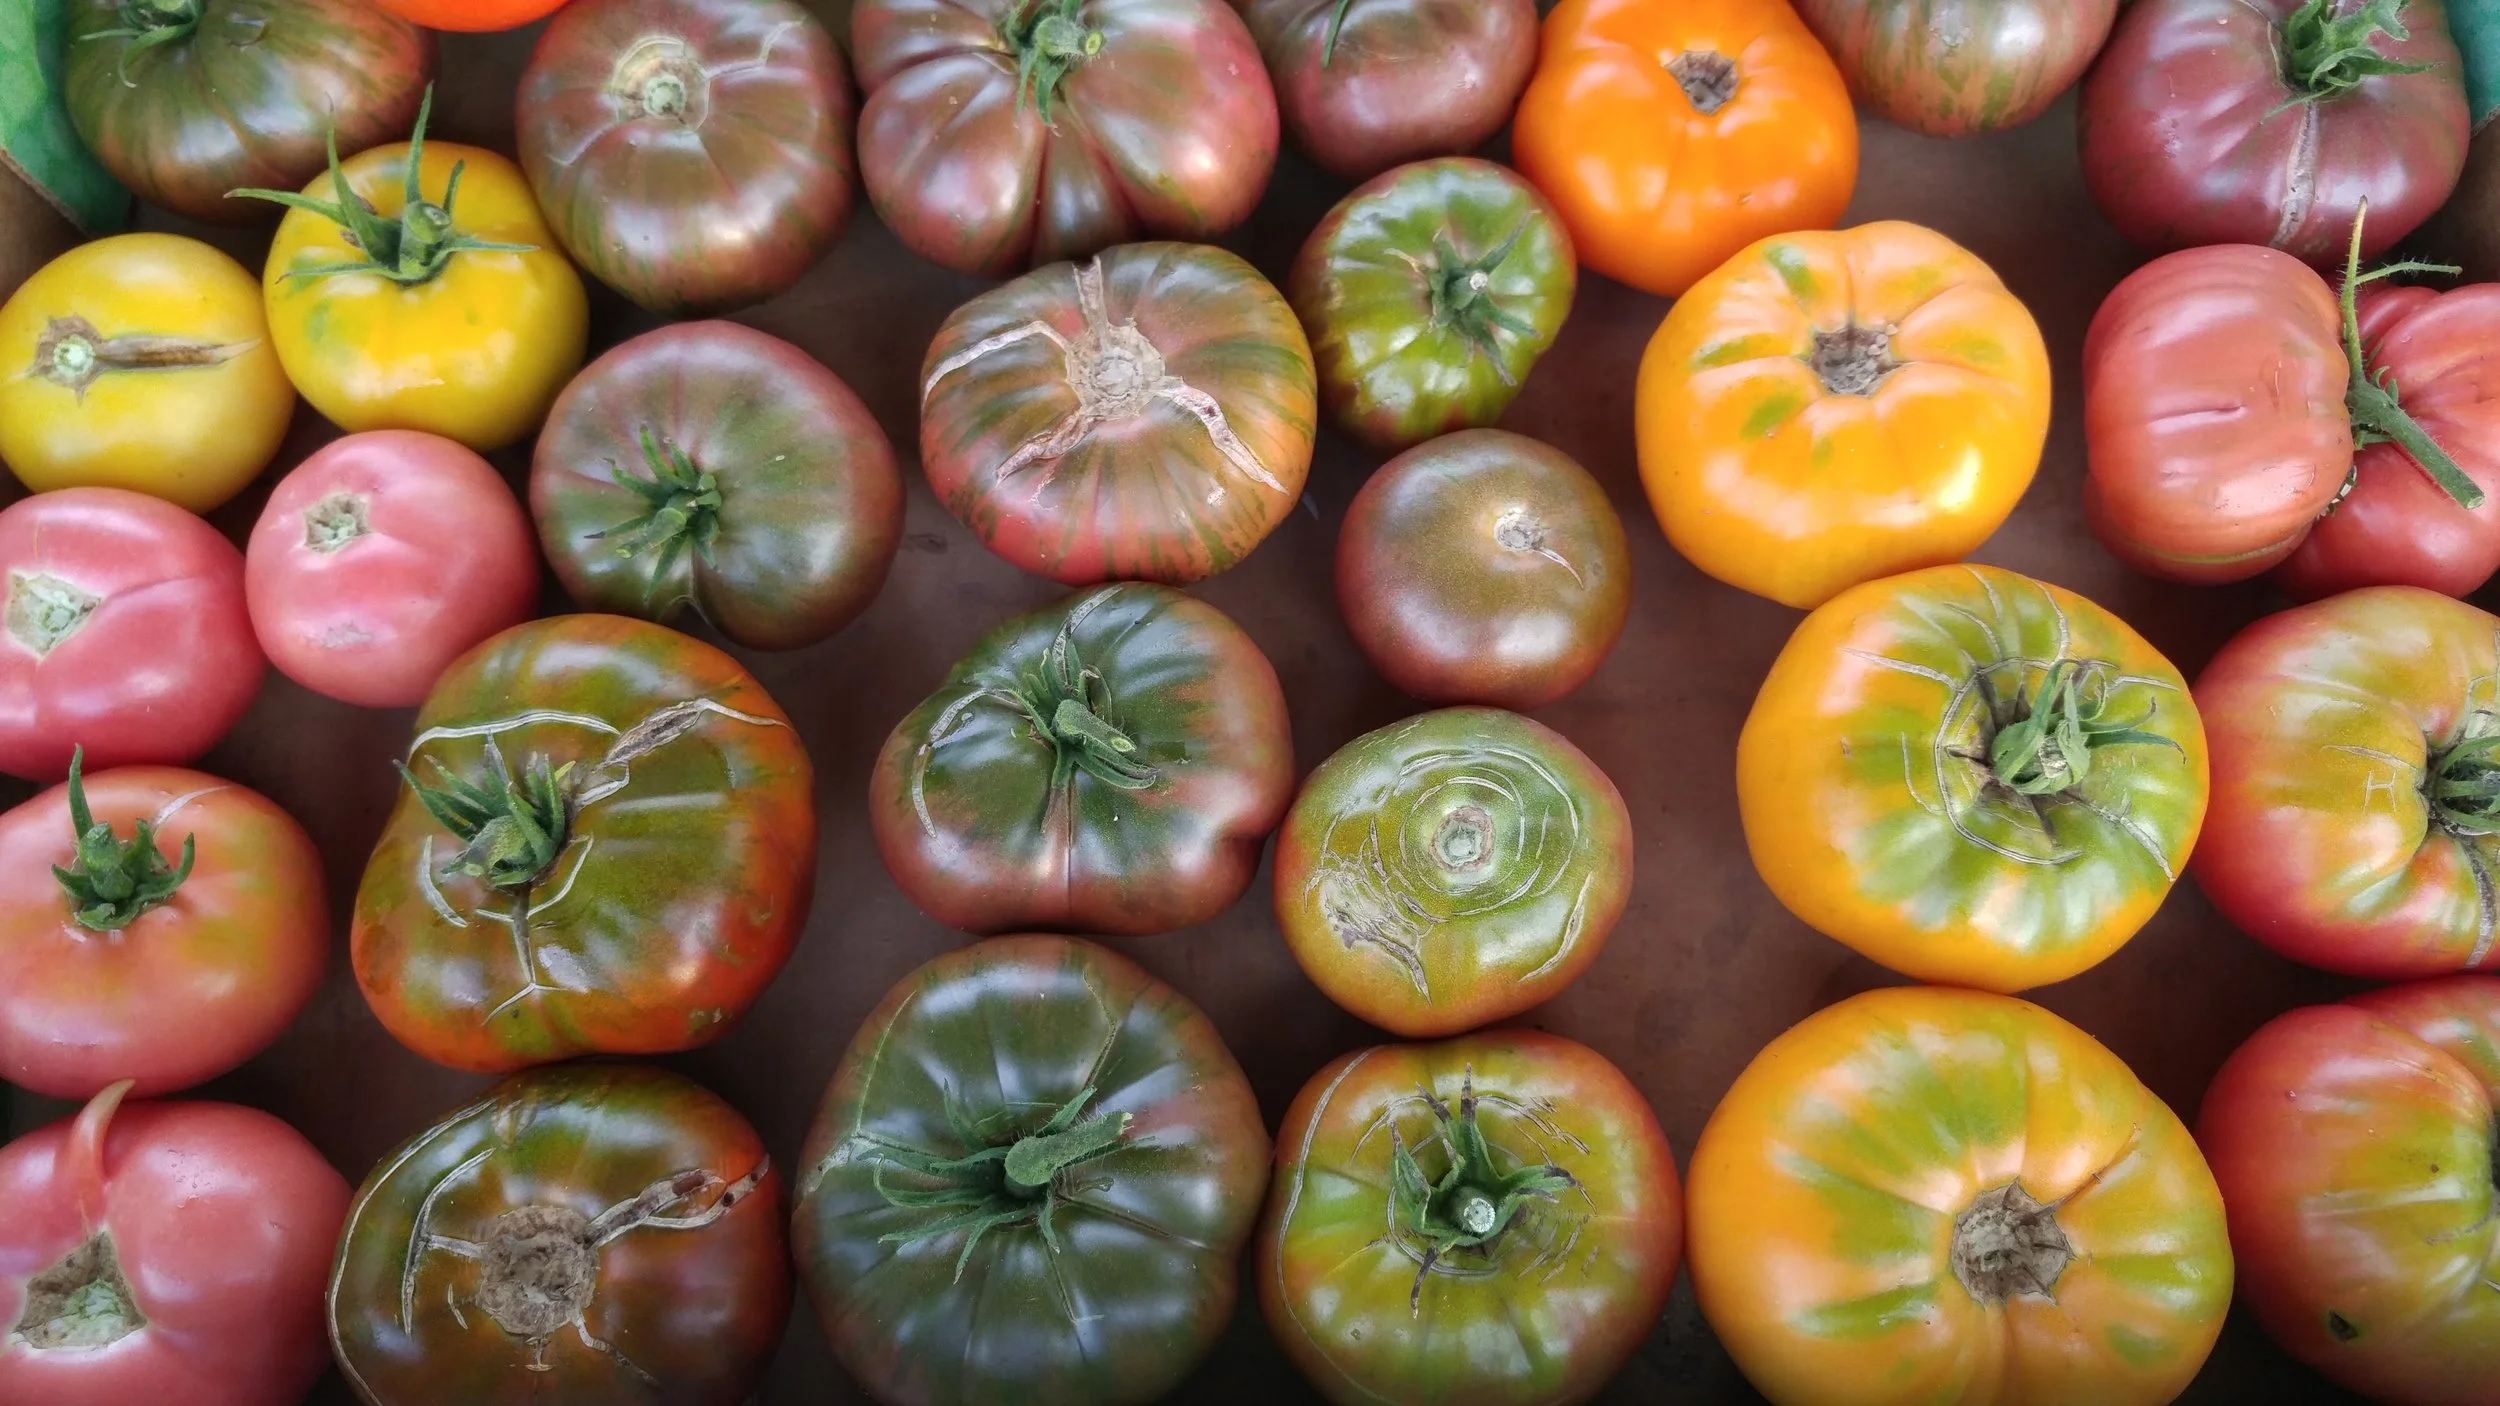
But then... THEY JUST KEEP COMING. Before I know it, every surface in the kitchen is covered in tomatoes. We're drowning in tomatoes!
I need to turn that huge pile of tomatoes into something FAST, before they go bad.
This season, I've been so busy that I just can't seem to find the time for canning tomatoes. So instead, I decided I would make frozen tomato paste this year.
Last summer, I made a few batches of tomato paste and quickly used them all up over the winter. I found myself using the paste for all sorts of meals, such as:
Homemade pizza
Pasta
Curry
Soup
Stew
Frittata (baked egg dish)
Casserole
Anything that needs a little more flavor!
I love this method because it's easy and it uses up massive amounts of tomatoes. It's also a good way to use up blemished tomatoes that might not make the cut for canning or slicing.
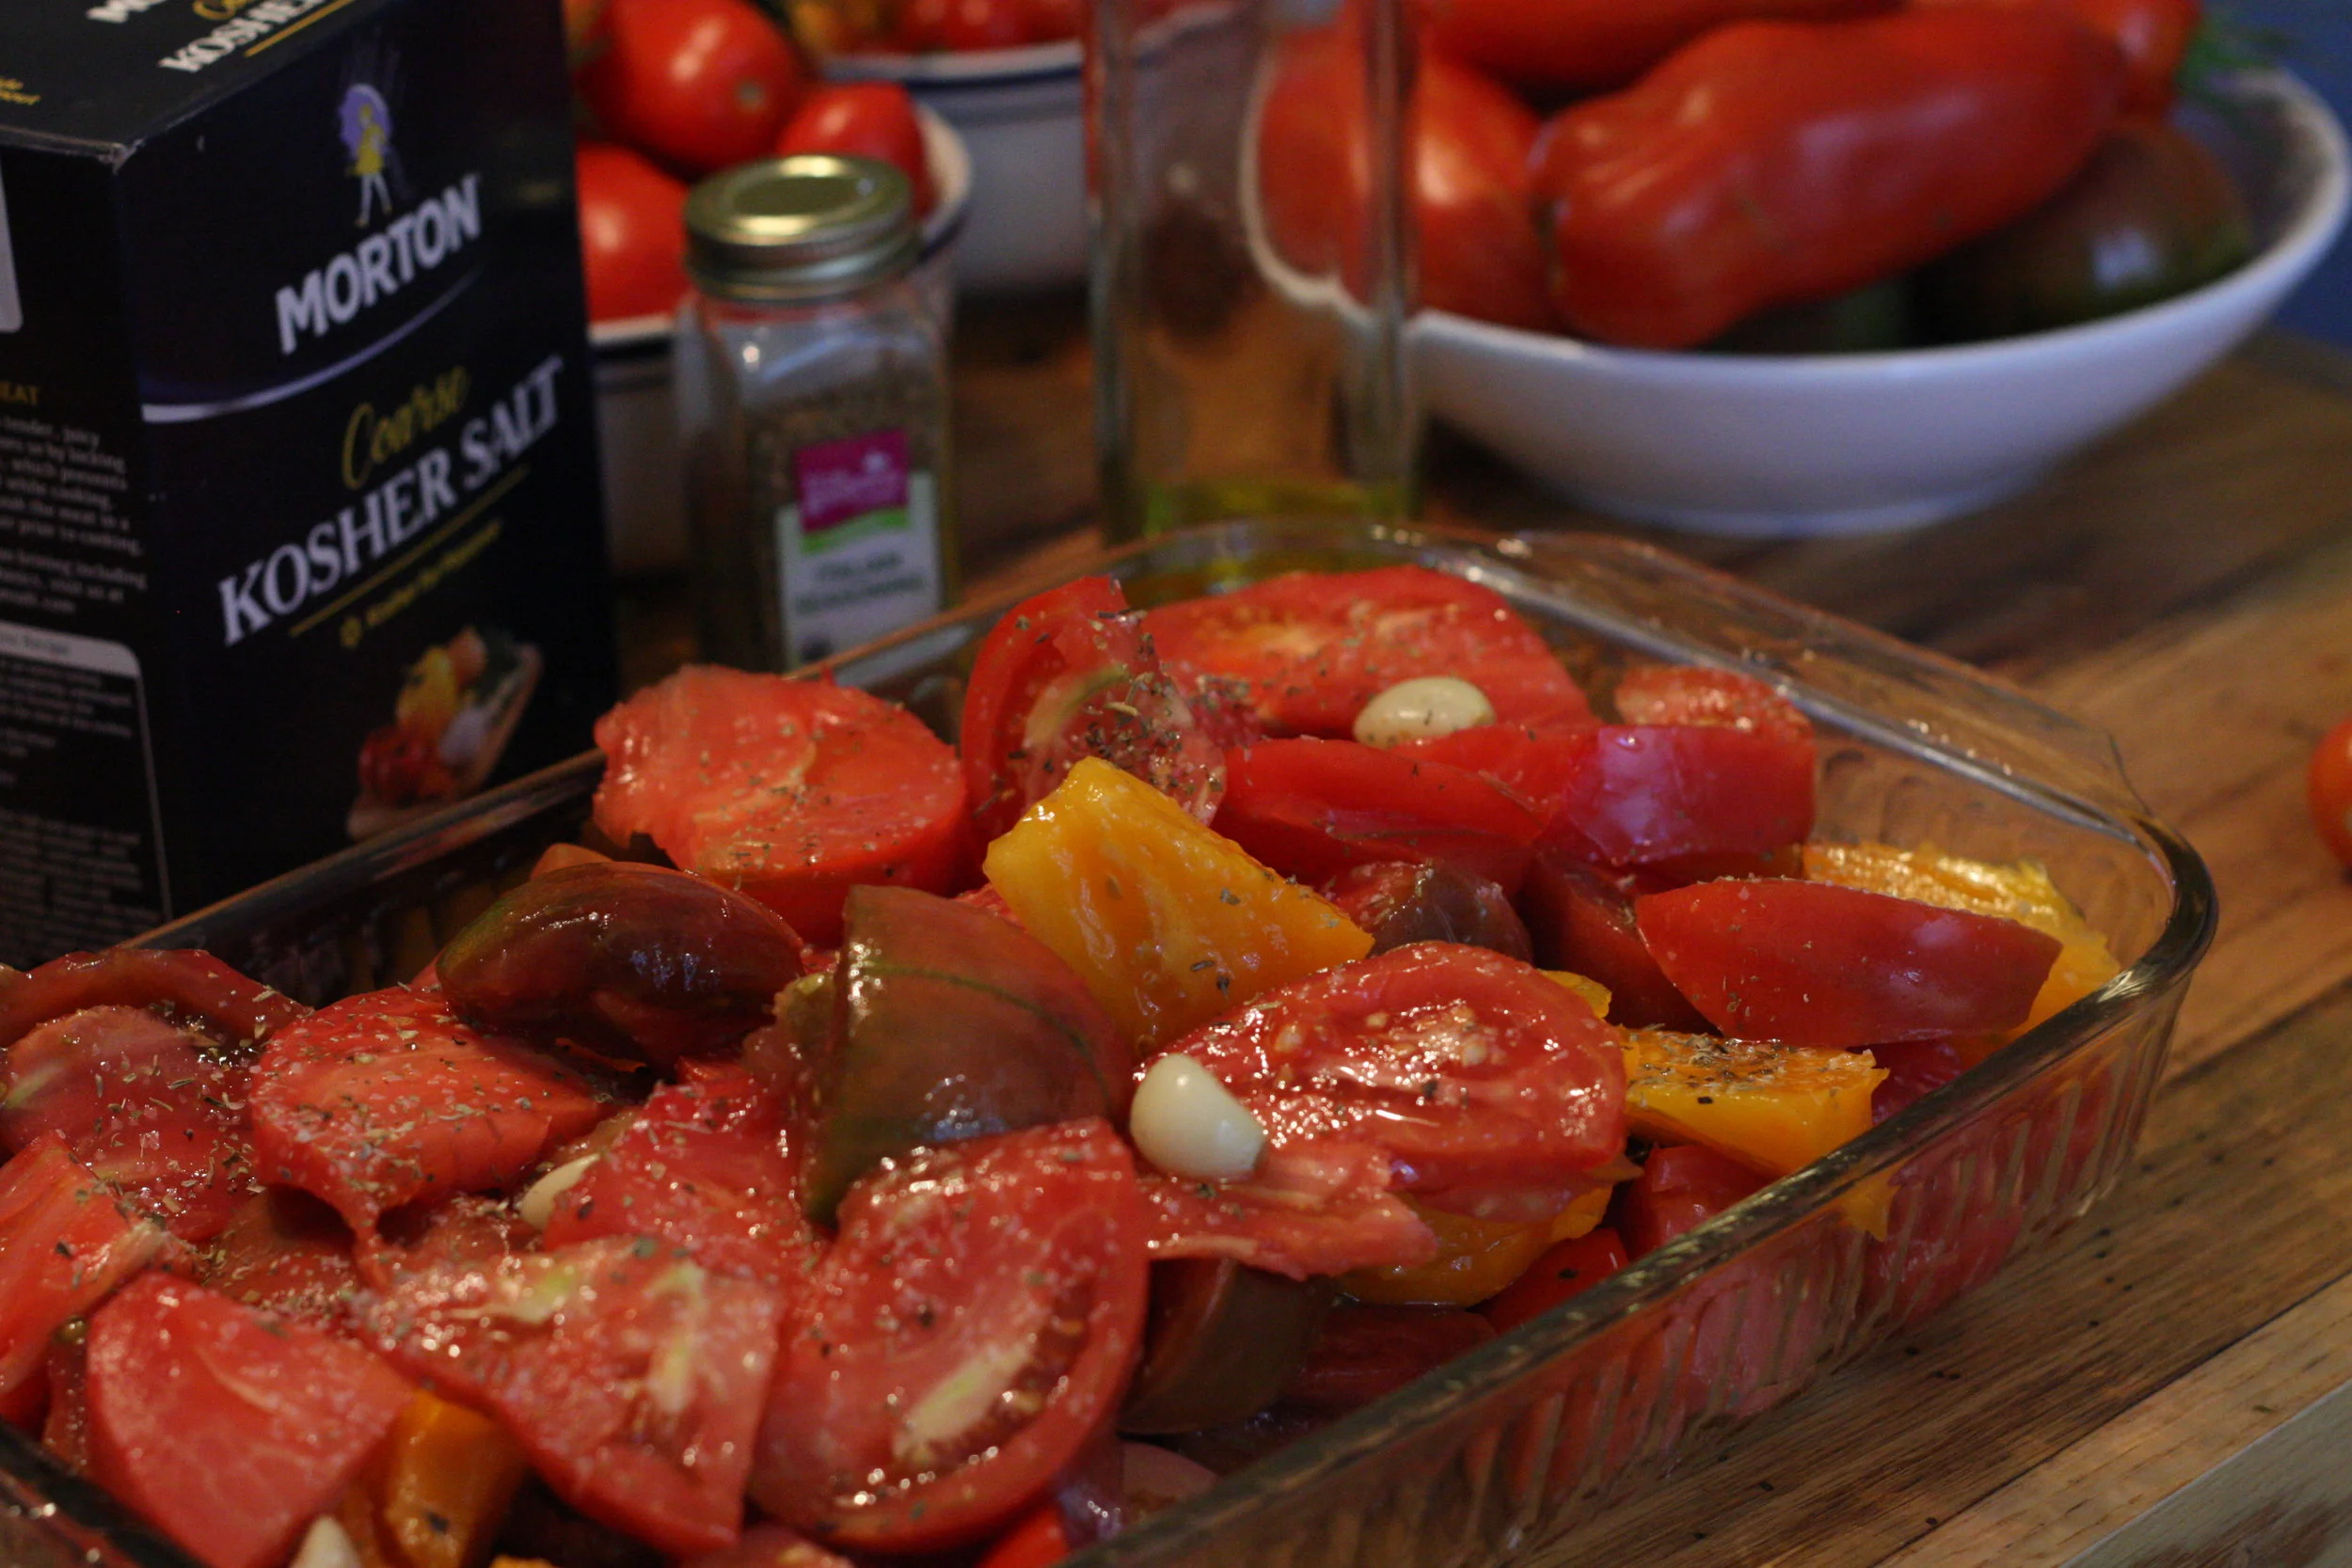
Supplies
Tomatoes (of course!), any kind (including cherry tomatoes)
Salt
Olive Oil
Herbs and spices (optional - I used Italian seasoning, but you can add whatever you like, fresh or dry)
Garlic cloves (optional)
Pan or dish for roasting
A Food Mill- I use an old fashioned hand cranked Foley food mill I found at a garage sale. Ask around - a friend might have one you can borrow. The food mill removes the seeds and skin for you.
Ice Cube Trays
Method
1. Preheat your oven to 400 degrees. Drizzle olive oil into the dish/pan. Roughly cut up your tomatoes right into the dish/pan.
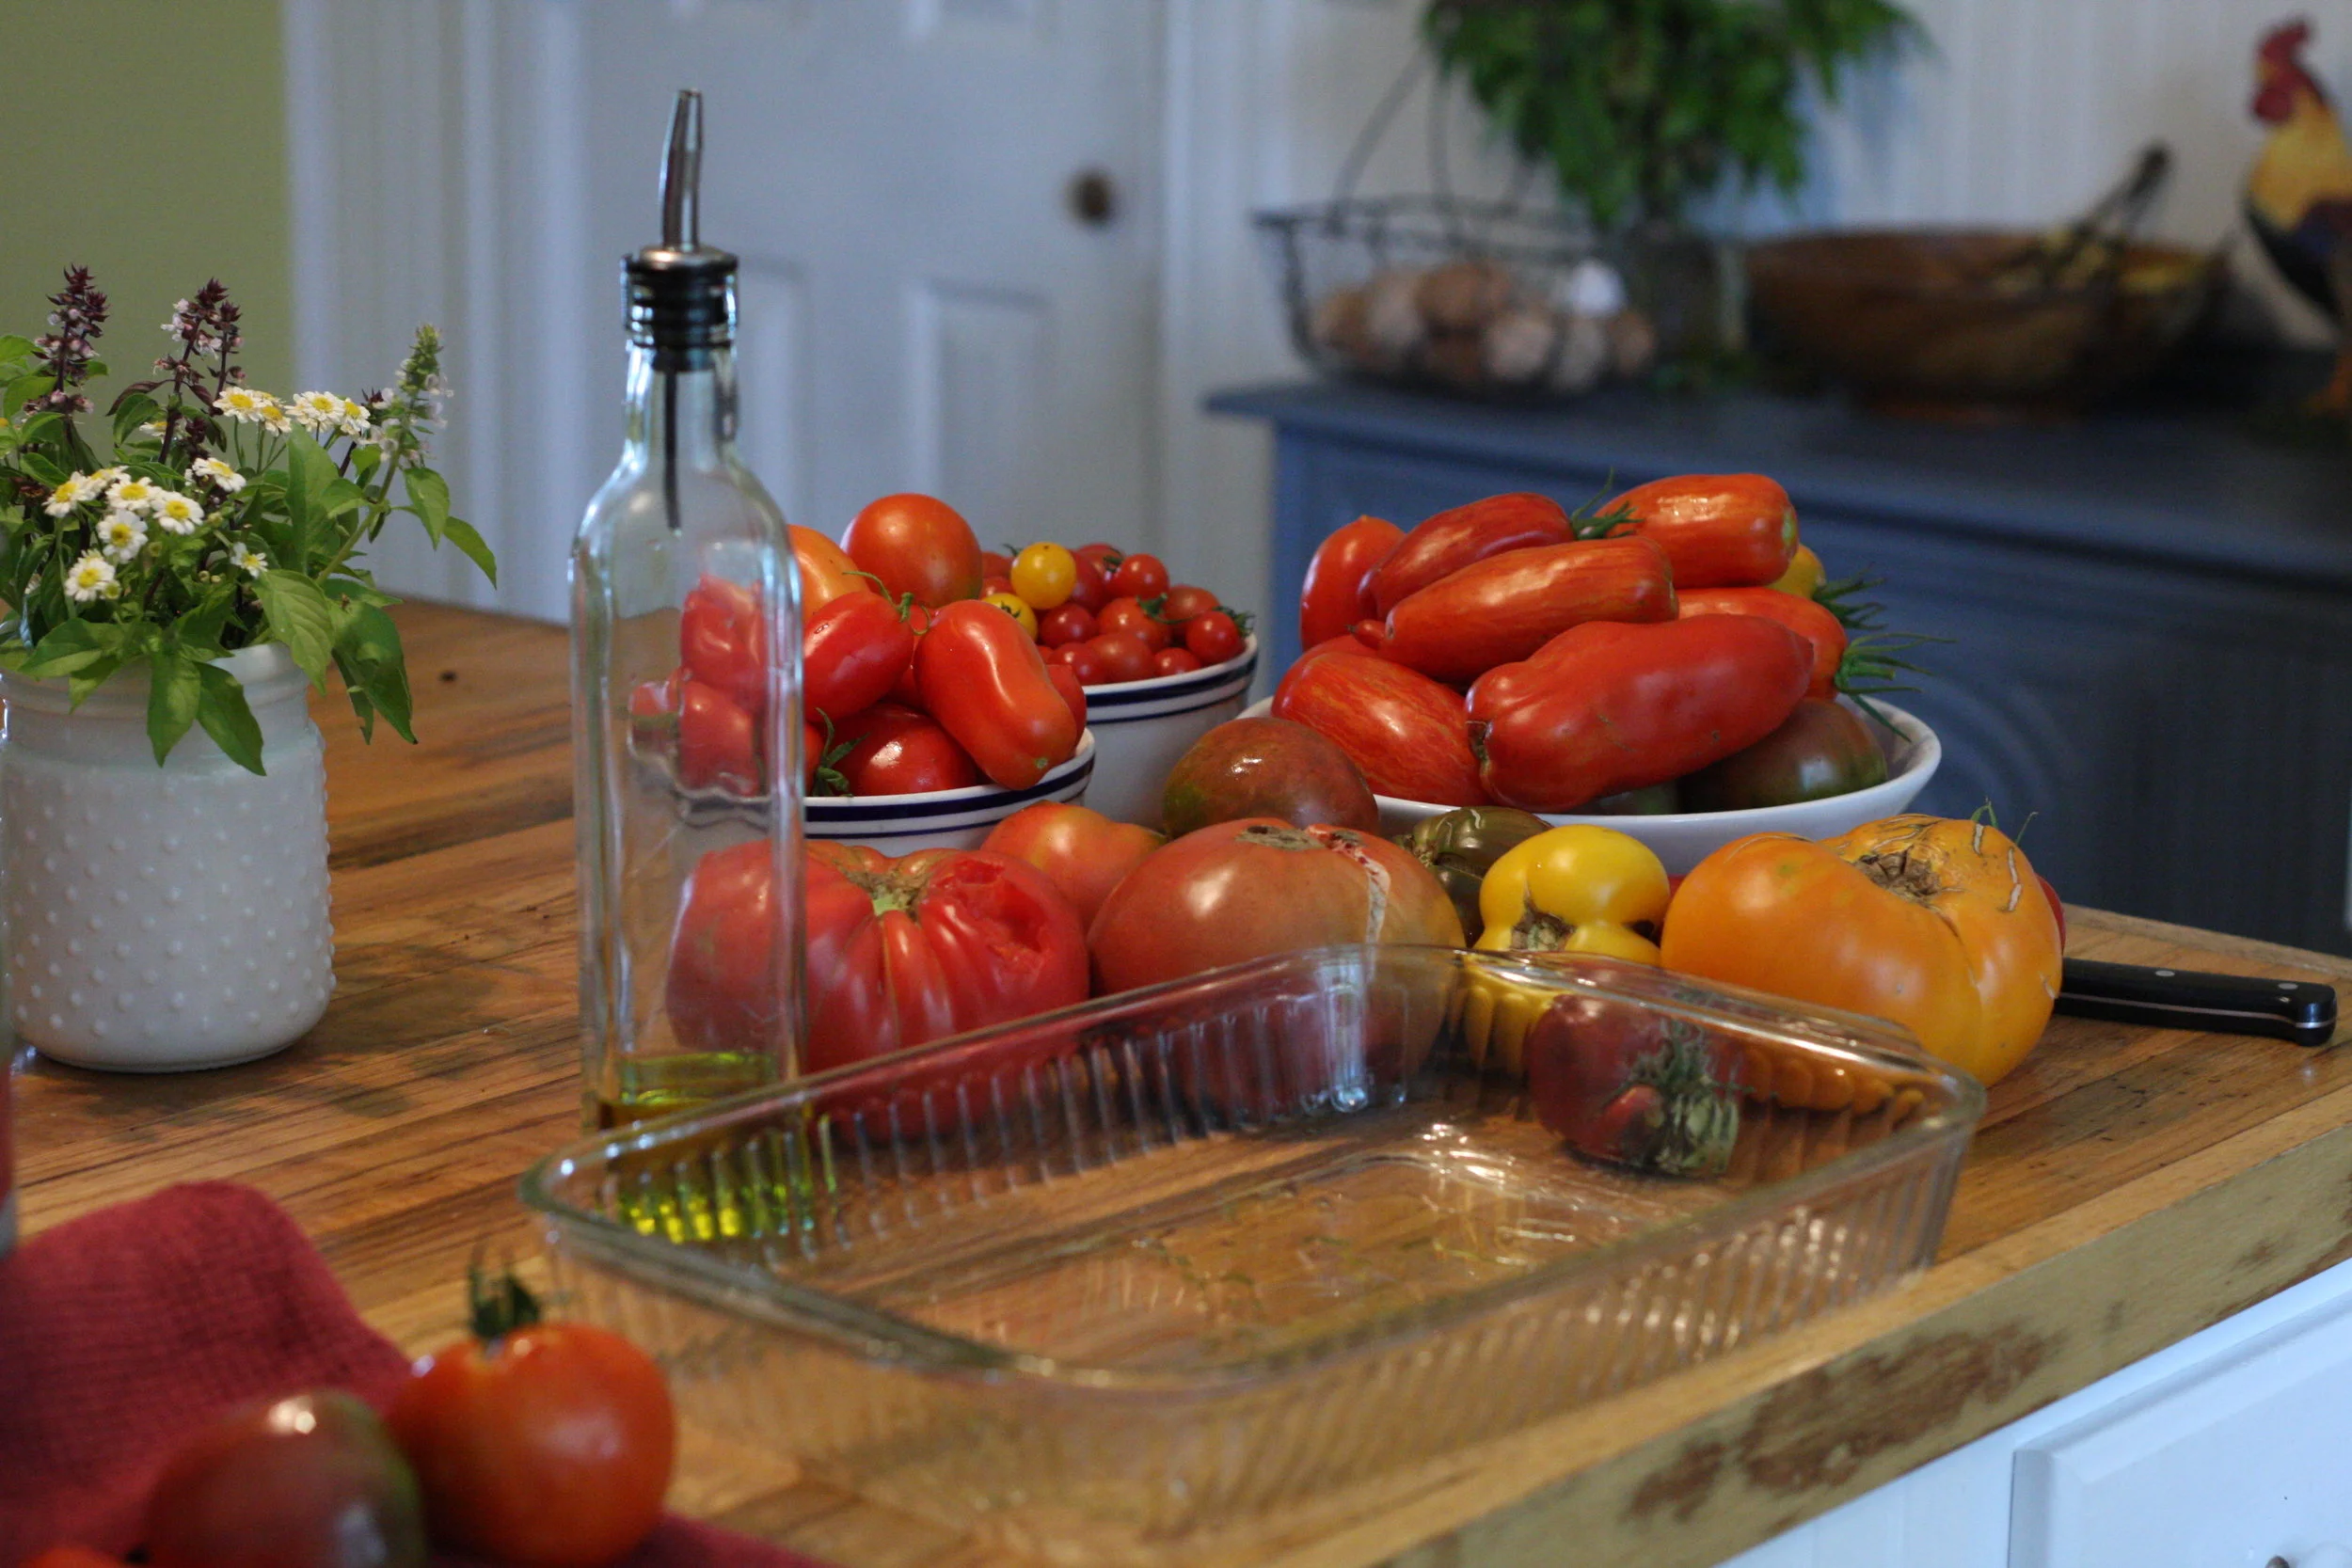
2. Drizzle the tomatoes with a bit more olive oil. Sprinkle with herbs/spices and throw in a few garlic cloves. Top with some salt. Don't be shy.
3. Roast tomatoes until they start to darken on the top. You can stir them occasionally. Try not to drool as the smell of roasted tomatoes and garlic fills your whole house. I could even smell it from 100 yards outside the house!
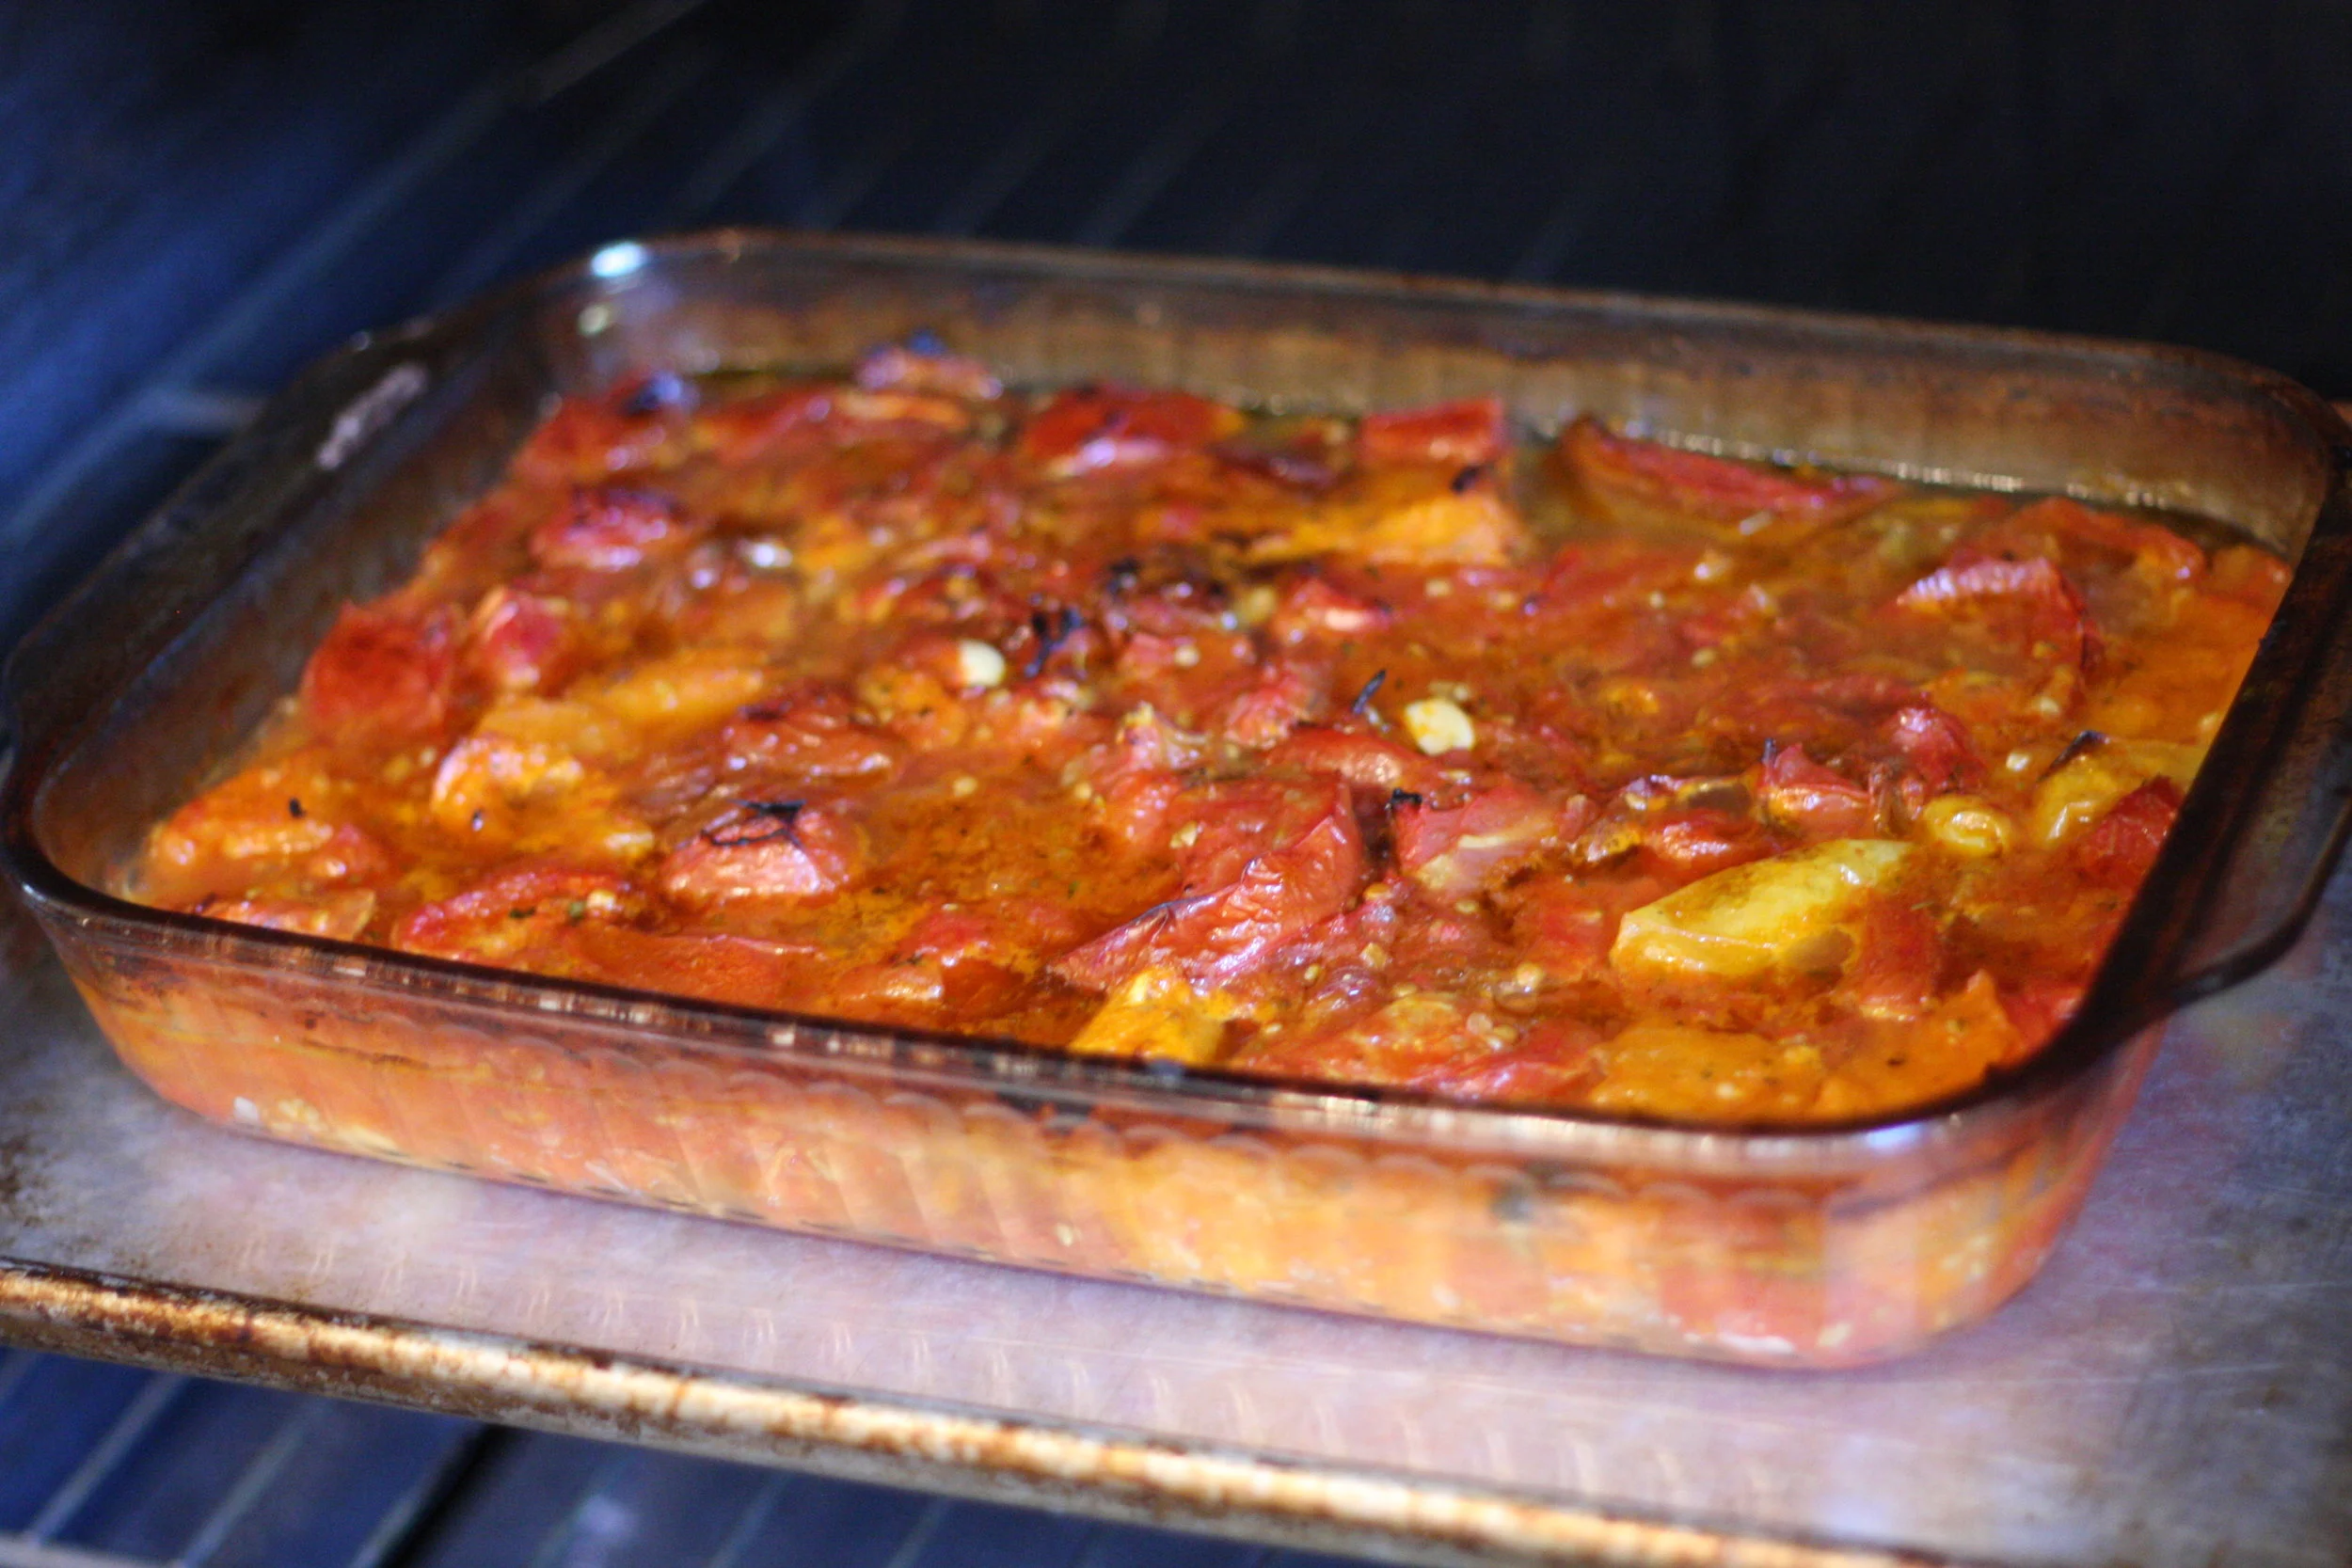
4. Remove roasted tomatoes from oven and allow to cool a bit. Prepare your food mill. Mine sets right over top another pot.
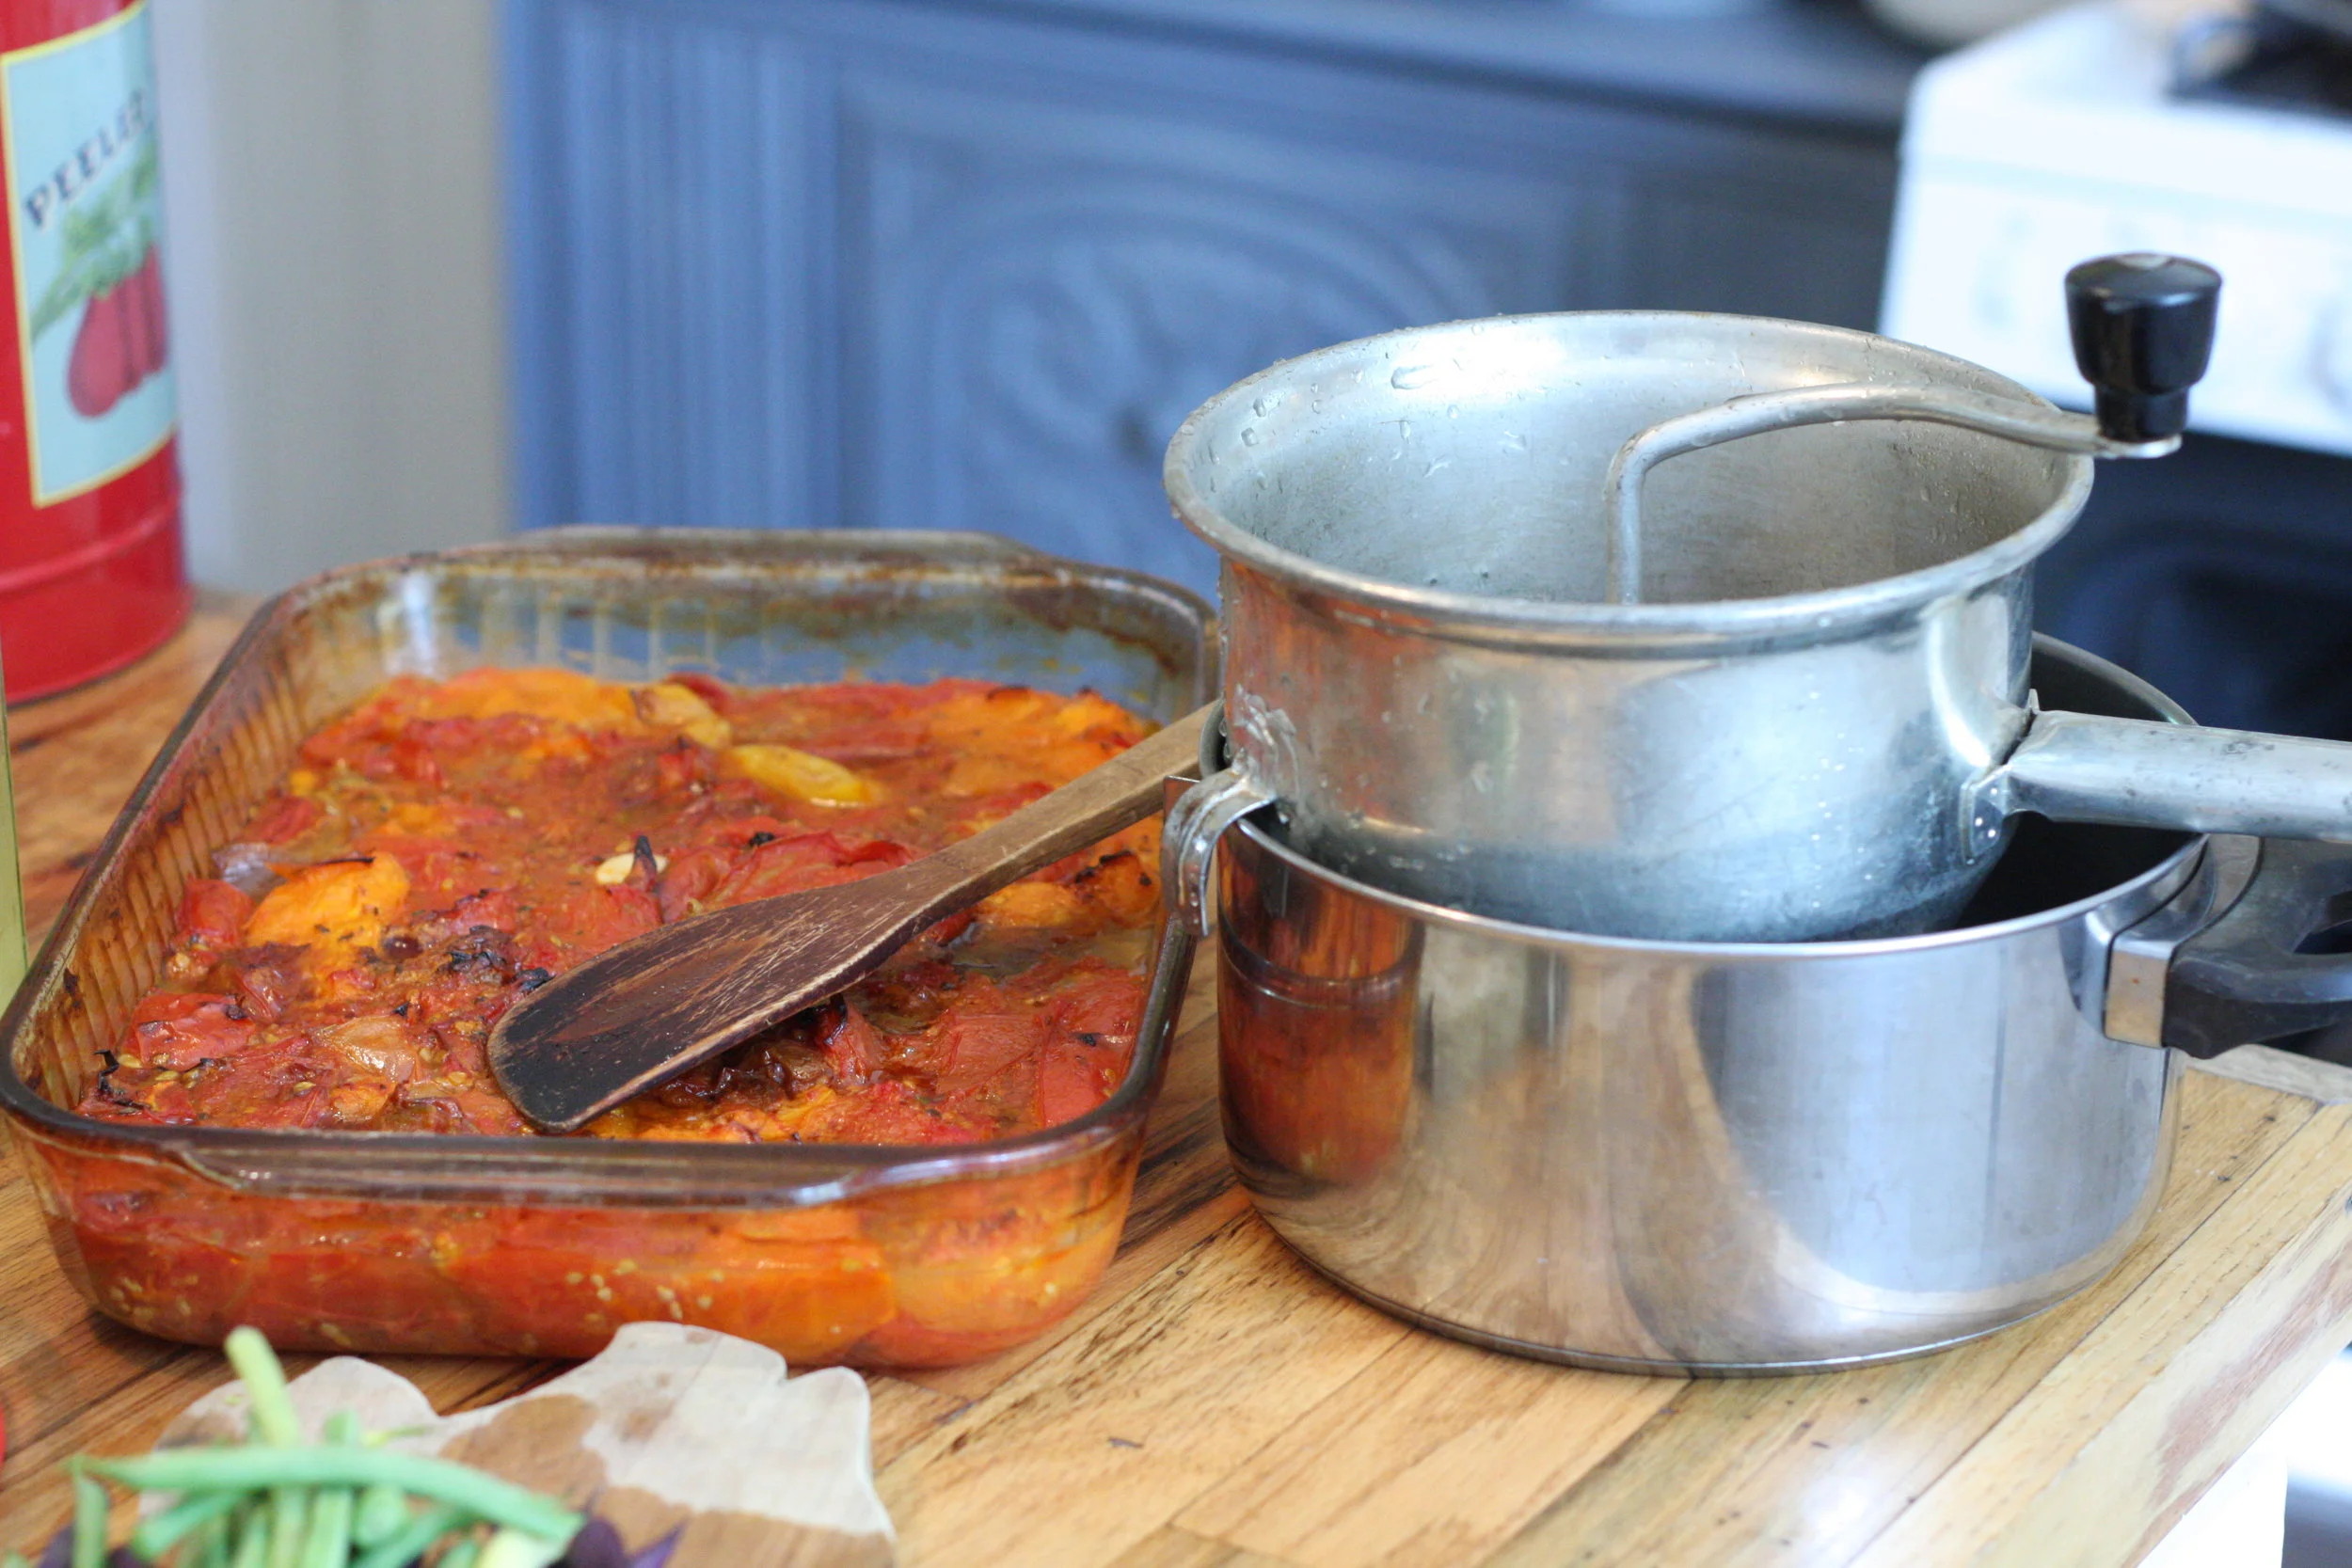
5. Carefully pour the tomatoes into the food mill. Turn the crank until you are only left with the skins, seeds and garlic cloves.
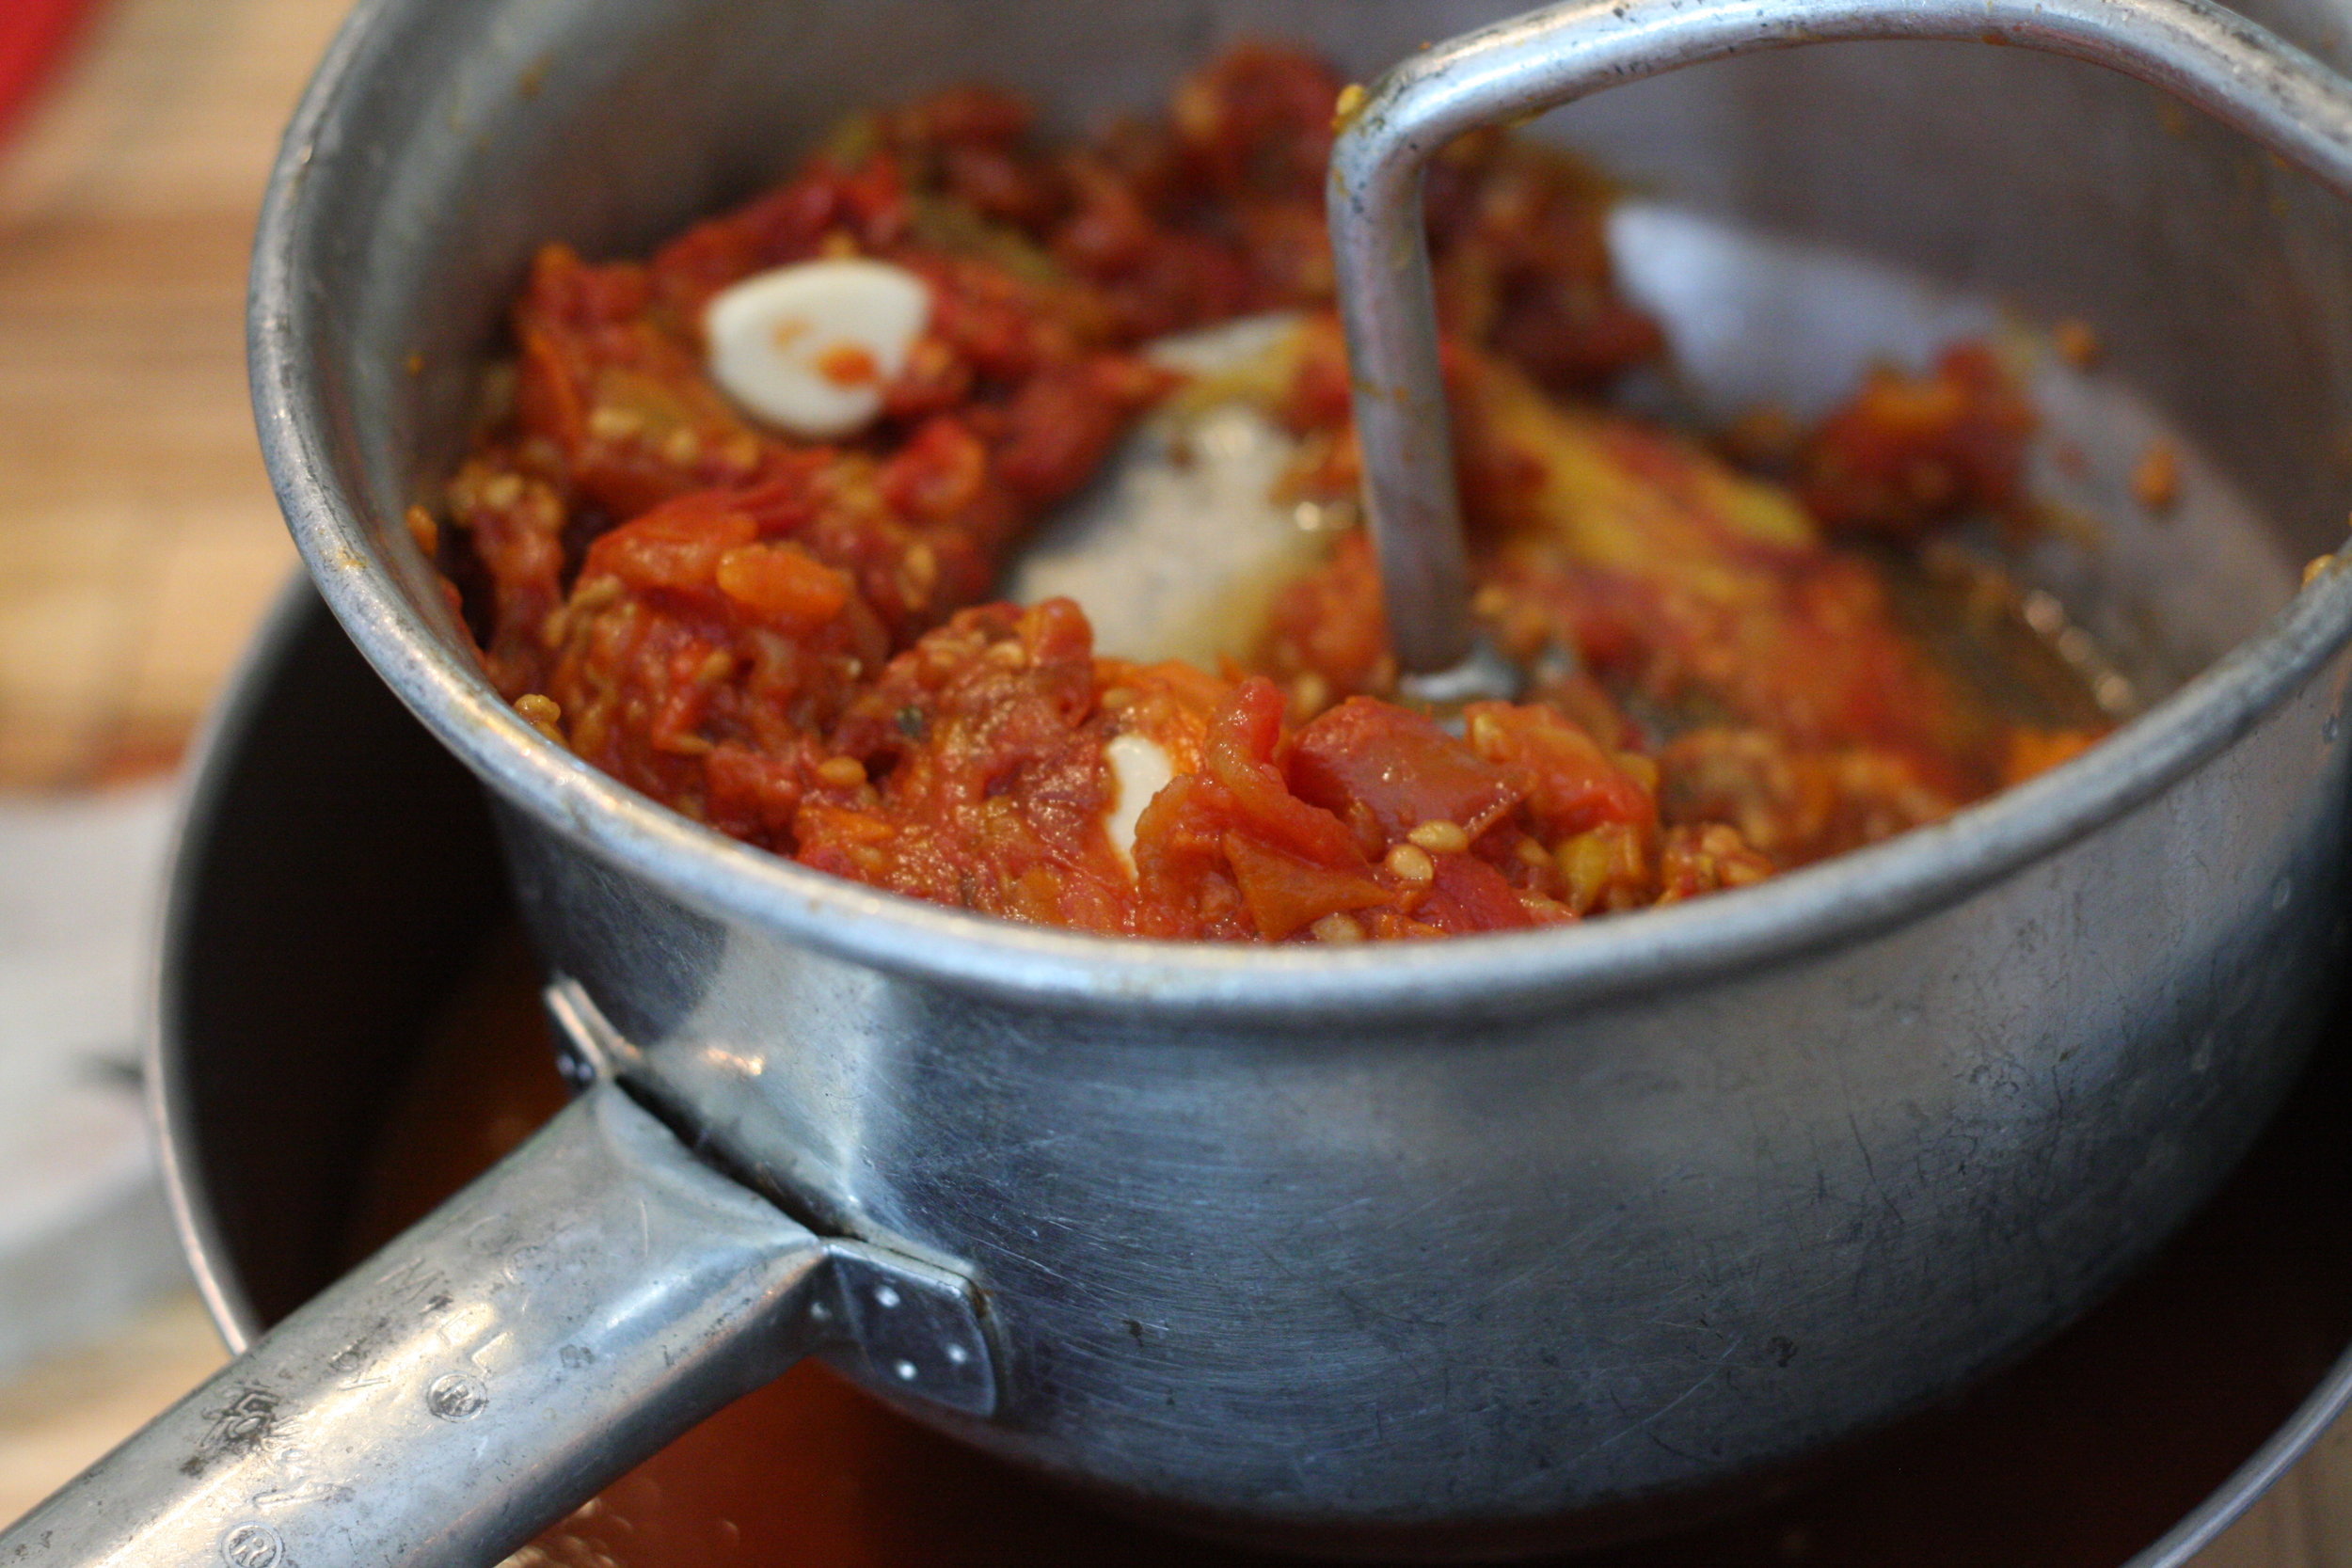
6. Now you have tomato sauce! If you want, you could stop right here and freeze the sauce, and use it for soup, stew or pasta sauce later this winter.
However, I prefer the convenience of tomato paste cubes, so I cook down the sauce until it's thick and concentrated. The thicker it gets, the more often you will need to stir the pot, so be sure to keep a close eye on it.
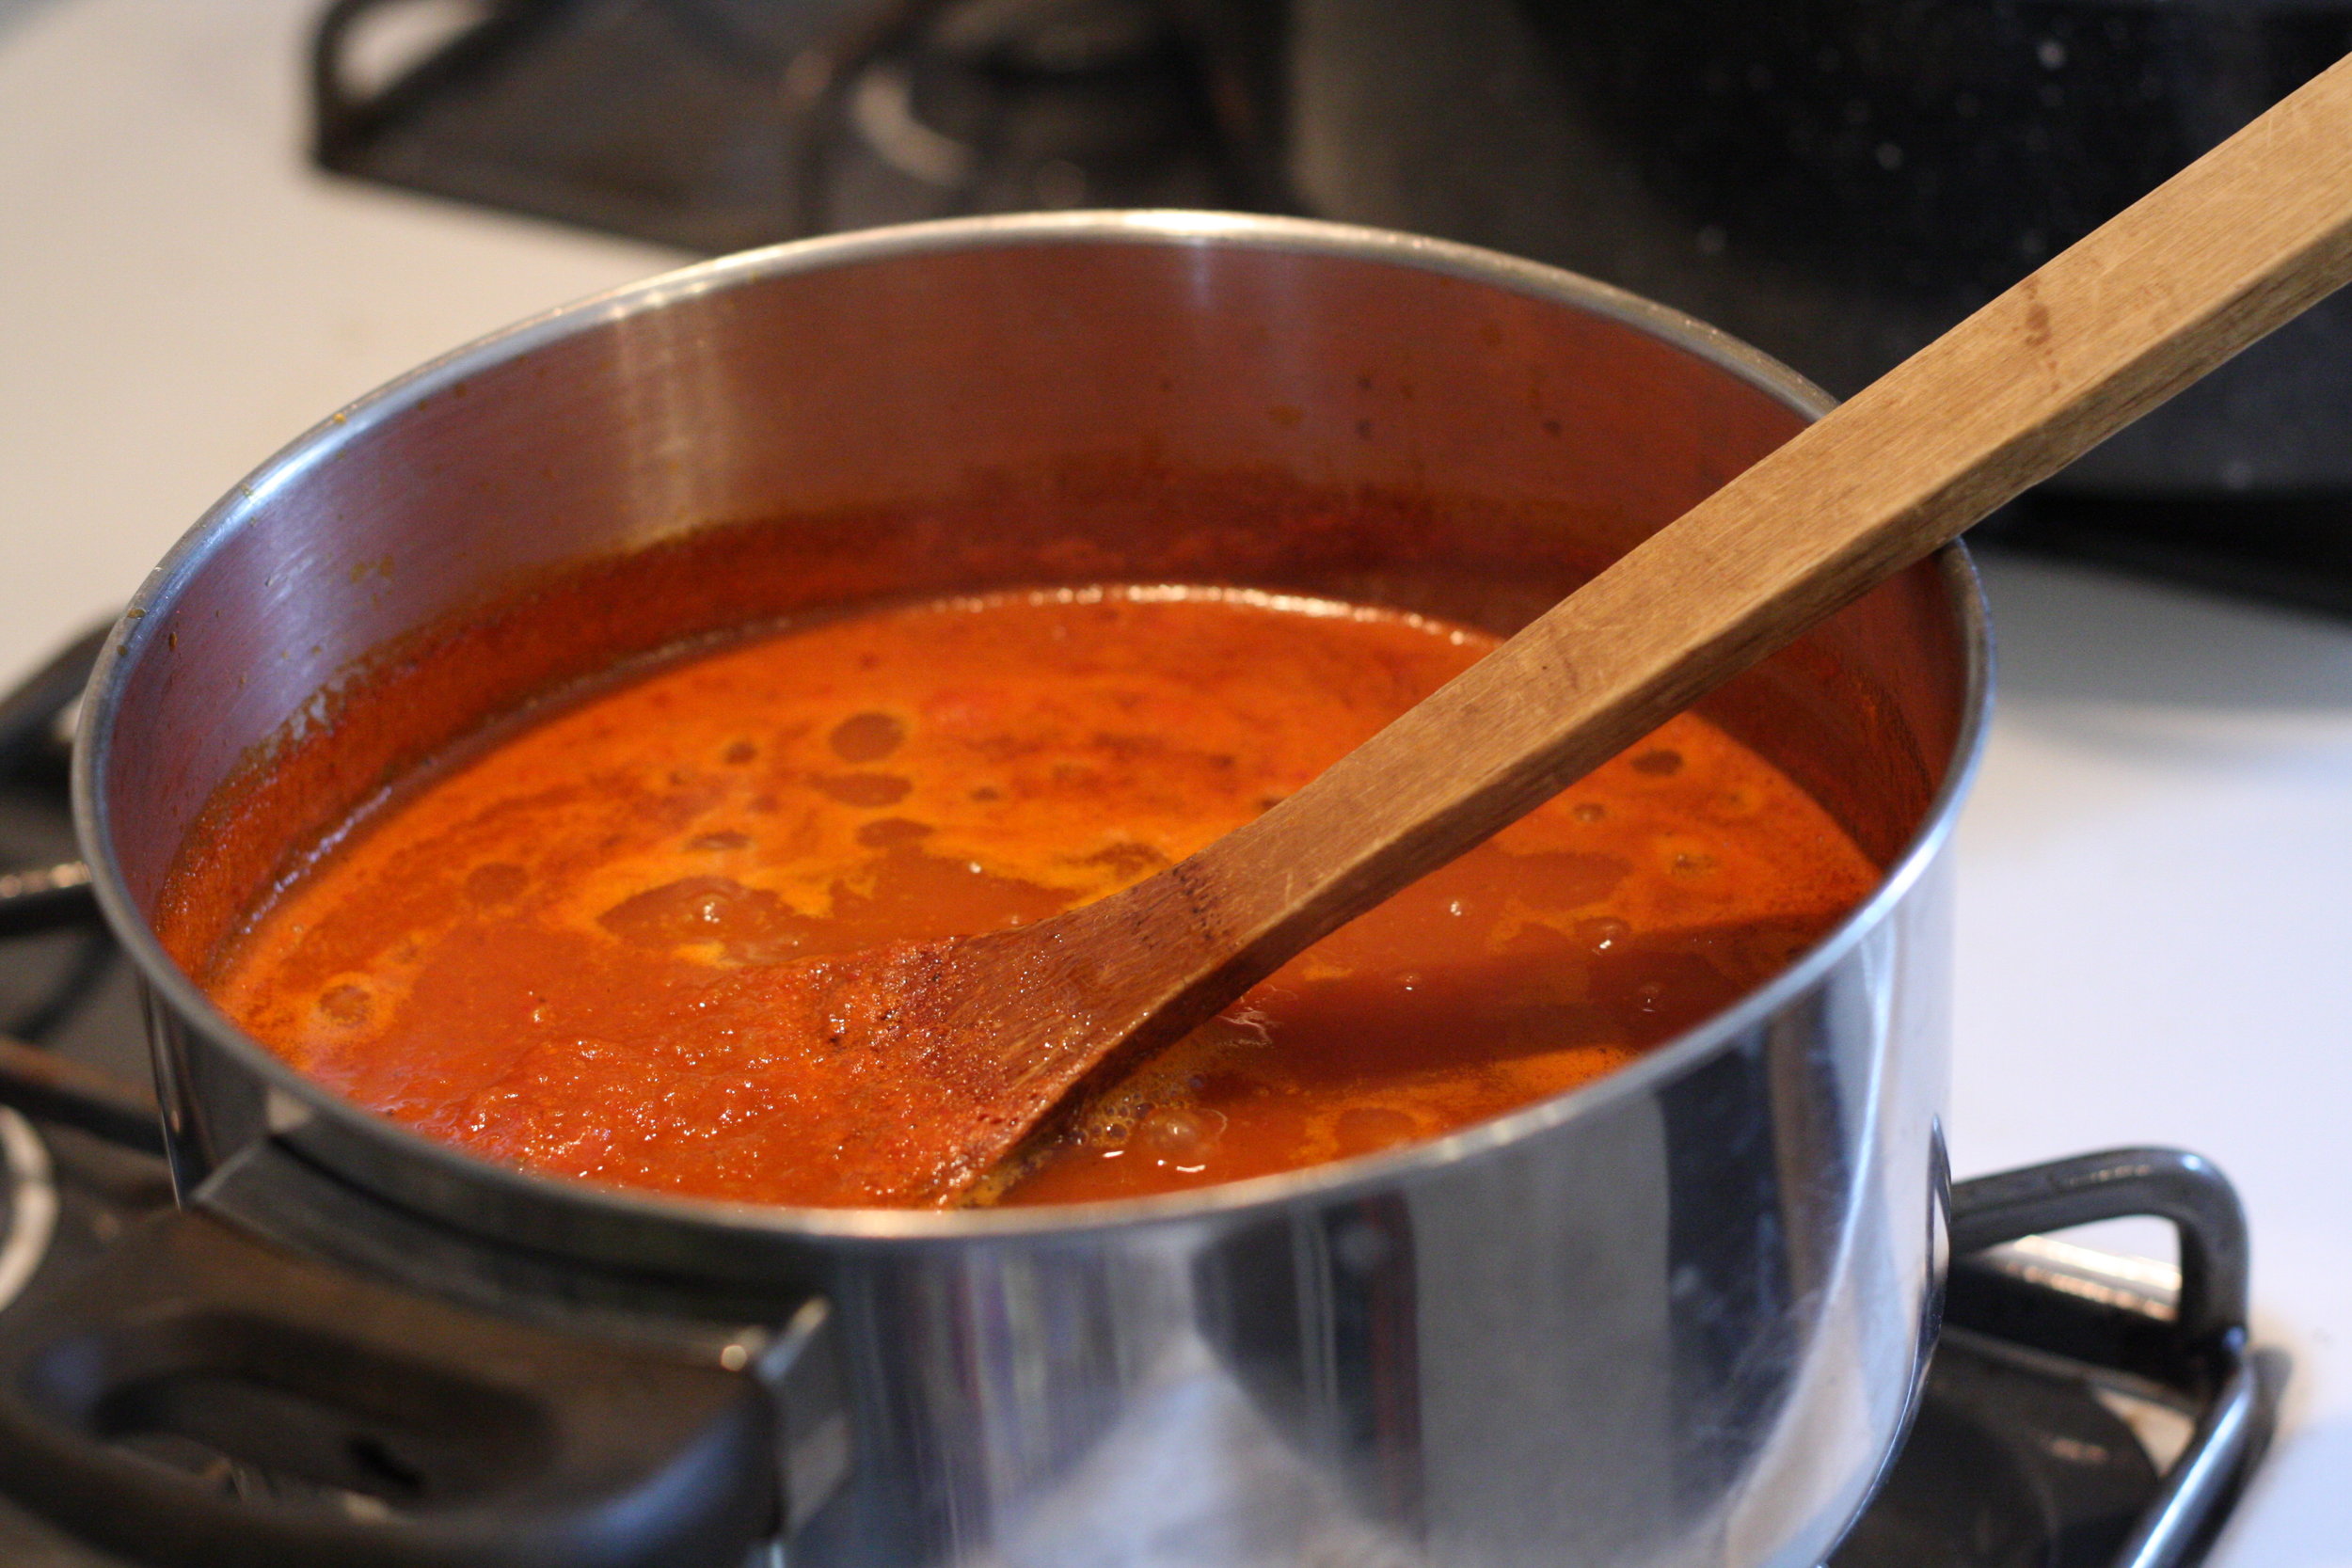
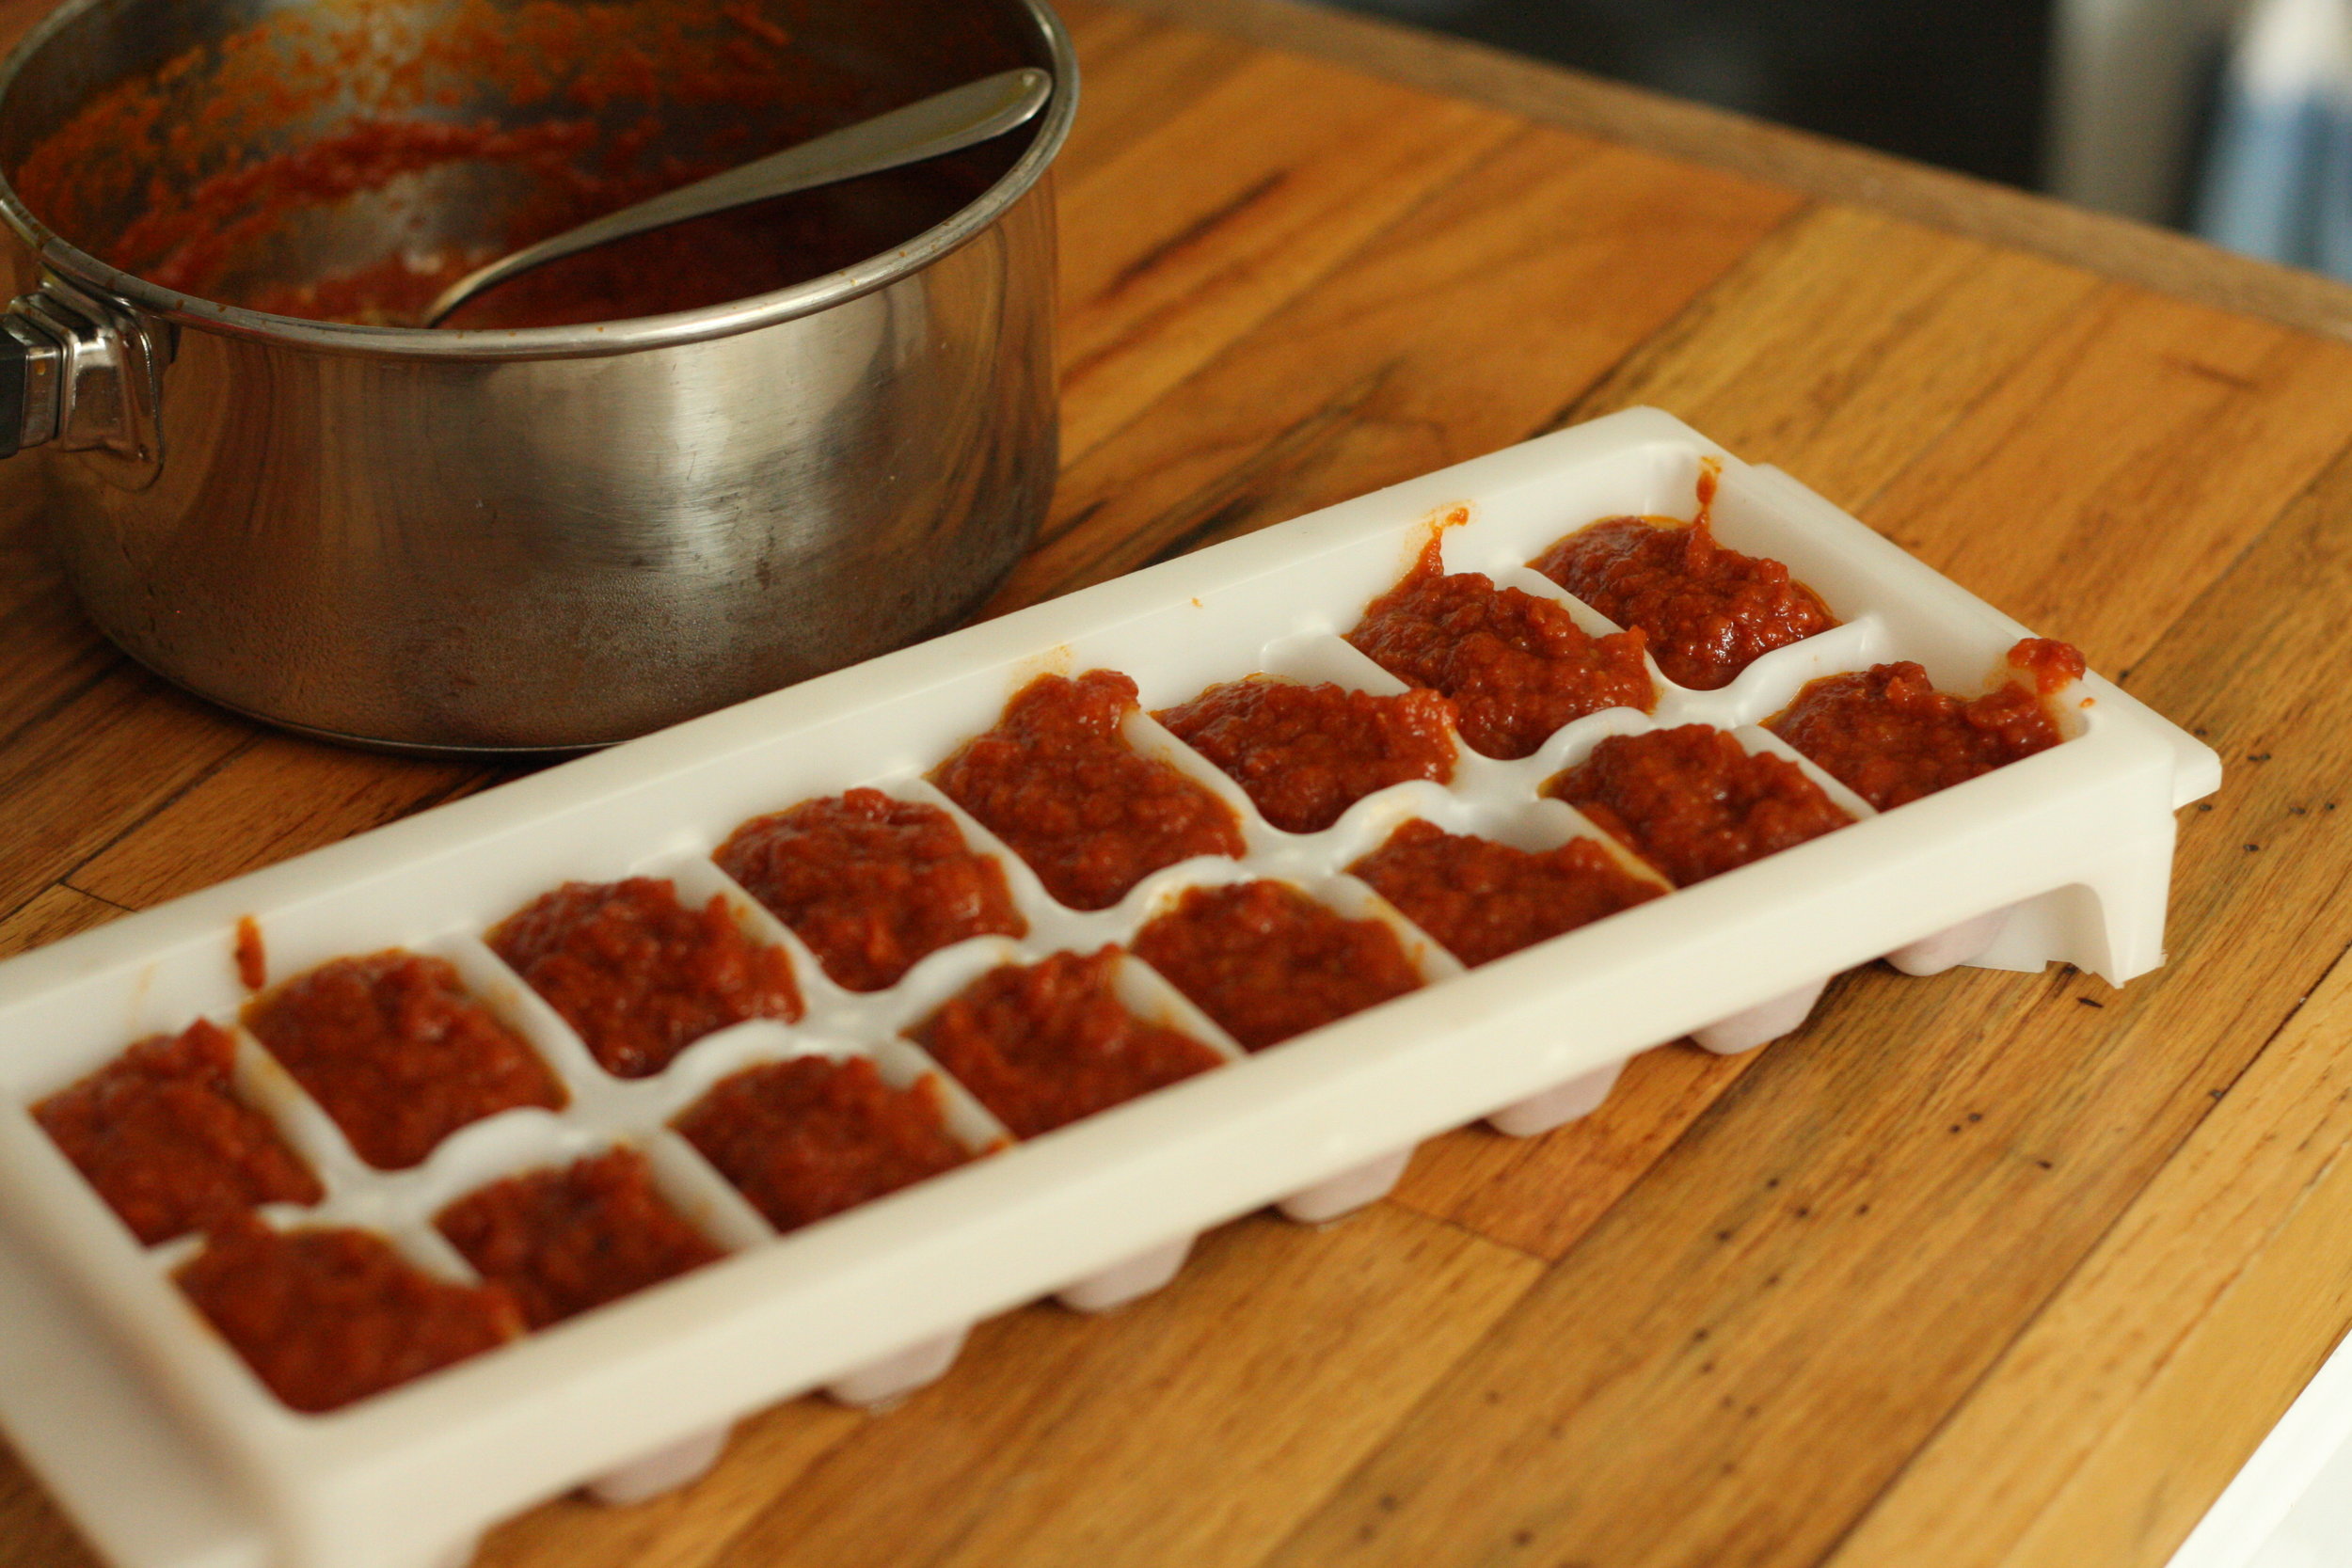
7. When the sauce/paste reaches a consistency that you like (mine is not nearly as thick as store bought tomato paste), it's time to transfer it to ice cube trays. You can measure it out if you like (Ex. each cube is 1 tbsp) or just glop it in like I do.
Pop the tray in the freezer and when the cubes are frozen, you can transfer them to a freezer container/bag of your choice.
There you have it! You have successfully turned a huge pile of tomatoes into a small container that will fit in your freezer.
Enjoy the taste of summer each time you add one of these flavor-packed cubes to your meals this winter. Happy gardening!

Perfect Pickle Recipe
Our favorite pickle recipe!
Perfect Pickle Recipe
Don't you just love this time of year? What a thrill to walk out into the garden each day and find new treats to enjoy with our meals!
Our family always looks forward to the first harvest of fresh cucumbers. We grow some for slicing and some for pickling.
When the cucumbers and dill ripen at the same time, it's time to make pickles!
Every summer, I can a year's worth of pickles to eat on our weekly "Grilled Cheese, Pickles and Tomato Soup" night. While we prefer the crisp texture of fresh "refrigerator pickles", we simply don't have room in our fridge for 15 quarts of pickles, so I need to can them.
Over the years, I've tried many Water Bath Canning cucumber pickle recipes... and we've finally found our keeper!

This recipe uses the Water Bath Canning method. If you have never canned before, then ask around and see if you can learn alongside an experienced canner. While you can certainly learn how to can from a book, tutorial or video, there is NOTHING like first hand experience.
*To keep this post short and sweet, I'm going to assume you already know how to prep and sterilize all your equipment, and are thoroughly familiar with the canning process.
I found this recipe in the "Ball Blue Book Guide to Preserving" (2009 edition). It is their classic "Dill Pickles" recipe, with the "Kosher-Style" variation. I've taken notes over the years, and my yields are a bit different than the original recipe in the book.
I highly recommend you add Ball Pickle Crisp to the recipe. We noticed a huge difference in texture when we compared batches made with and without the Pickle Crisp. You should be able to find it at your local grocery/hardware/farm store.
Fresh dill can be tricky to find, but never fear! We always grow plenty of dill on Three Acre Farm, so be sure to look for it on the Farm Stand - it's great for culinary use AND it looks great in floral bouquets. I love multipurpose plants!

Kosher- Style Dill Pickles
Yield: about 5 quarts
8 pounds small (4-6 inches) pickling cucumbers, cut into spears
3/4 cup sugar
1/2 cup canning salt
1 quart vinegar
1 quart water
3 tbsp mixed pickling spices
Green or dry dill (1 head per jar)
Bay leaf (1 leaf per jar)
Garlic (1 clove per jar)
Hot red pepper, fresh or dried (1 small piece per jar... or a pinch of red pepper flakes)
Mustard seed (1/2 tsp per jar)
Pickle Crisp (1/4 tsp per jar)
Wash and drain cucumbers. Be sure to cut off the stem end, then cut into spears.
Combine sugar, salt, vinegar and water in a large pot to make the brine. Tie pickling spices in a spice bag, cheesecloth or muslin. Add to brine mixture and simmer for 15 minutes.
In each hot sterilized jar, drop dill, bay leaf, garlic clove, hot red pepper, mustard seed and Pickle Crisp into each jar. Then pack the jar with pickle spears, leaving at least 1/4-inch headspace.
Ladle hot brine over the pickles, leaving 1/4-inch headspace. Remove air bubbles.
Place lids and rings on jars. Process for 15 minutes in water bath canner.
Once time is up, turn off the heat and remove the canner lid. Set the timer for 5 minutes, then remove jars once the time is up.
*If you happen to have leftover pickles and brine, but not enough for a whole jar, you can put the leftovers in a jar in the fridge and eat them over the next few weeks.
Enjoy! Nothing better than homemade pickles with grilled cheese sandwiches...
I would love to hear about your favorite summertime recipes!