
How to Create a New Growing Area
How to Create a New Growing Area
Did you know fall is the perfect time to prepare a new growing area for the following year? It’s true!
A little forethought and cleverness can save you hours, days and weeks of backbreaking work in the future.
Today, I’m going to show you how we transformed an utterly barren, unproductive area of our farm into a wonderland, bursting with blooms.
Before I show you the Step-By-Step process we used, I want to give you a bit of the back story.
The back corner of our farm was part of a crop field that was used to grow Round-up Ready corn/soybeans for 30+ years. Over those years, the sandy soil became depleted and by the time we moved here, it was dead. No matter how much I dug, I could not find a single earthworm or creepy crawly. No signs of life. We could not even get weeds to grow for the first couple of years.
Here’s what it looked like:

We called it “The Barren Wasteland”. We knew it was going to take a LOT of time and work to bring this land back to life... but we DID IT!!! Let me show you how.
Step One: Cover the Ground to Kill the Weeds
If you want to plant a garden next year, RIGHT NOW is the time to start preparing that area!
On our farm, we avoid tilling as much as possible. While there is a time and place for tilling the ground, over time, it damages the soil structure… and this soil was already so damaged.
Instead, we use a method called “Occulation”, which involves covering the desired area with an opaque covering, such as a tarp. This method is easy and effective. First, mow/brushhog the area as short as possible. Then it takes only a few minutes to spread a tarp and weigh it down with rocks or sandbags. Then you simply leave it in place for a couple weeks or months until the vegetation underneath is dead.

We often spread the tarps in the late summer/early fall over spaces we want to plant the FOLLOWING spring. When you pull back the tarp in the spring, you have a growing area that is ready to go, no tilling needed! You can see what it looks like in the photo below, after we pulled back the tarps.

Step Two: Lay Down Cardboard Over the Growing Area
Please tell me I’m not the only one with a basement full of boxes! Ha! But seriously, we stash cardboard in our barn for projects like this. I had 4 years worth of stashed cardboard at my disposal and we used all of it.
A thick layer of cardboard helps to create a weed barrier so your desired plants can get established and not have to battle weed pressure. The cardboard eventually breaks down and turns into a highly desirable habitat for earthworms and other beneficial critters.
It took a couple hours, but we completely covered this area with cardboard. Hot tip: Don’t attempt this on a windy day ;) We had to weigh it down as we worked to keep it from flying away. Also, it’s helpful if you can wet down the cardboard with a hose while you’re working. But don’t worry if you can’t.

Step 3: Cover Cardboard with Composted/Old Leaves
If you have access to leaves in the fall… DON’T GET RID OF THEM! Composted, broken down leaves are perhaps nature’s most perfect FREE fertilizer. Our neighbors have several large maple trees, and the previous fall, we gladly (and eagerly!) took ALL of their leaves and made a massive leaf pile to use in our growing beds… and had tons of fun playing in it for a few weeks. Remember how much fun it was to play in a leaf pile?!? Still fun when when you’re 40+ years old ;)
The trick is to turn the leaf pile a few times over the months to encourage them to begin breaking down and decomposing. Otherwise, the leaves can begin to form an impenetrable mat that repels water.
By the following spring, the leaf pile was absolutely crawling with earthworms and other beneficial organisms. When we spread the leaves over the cardboard, we were actually importing new life into the growing area!


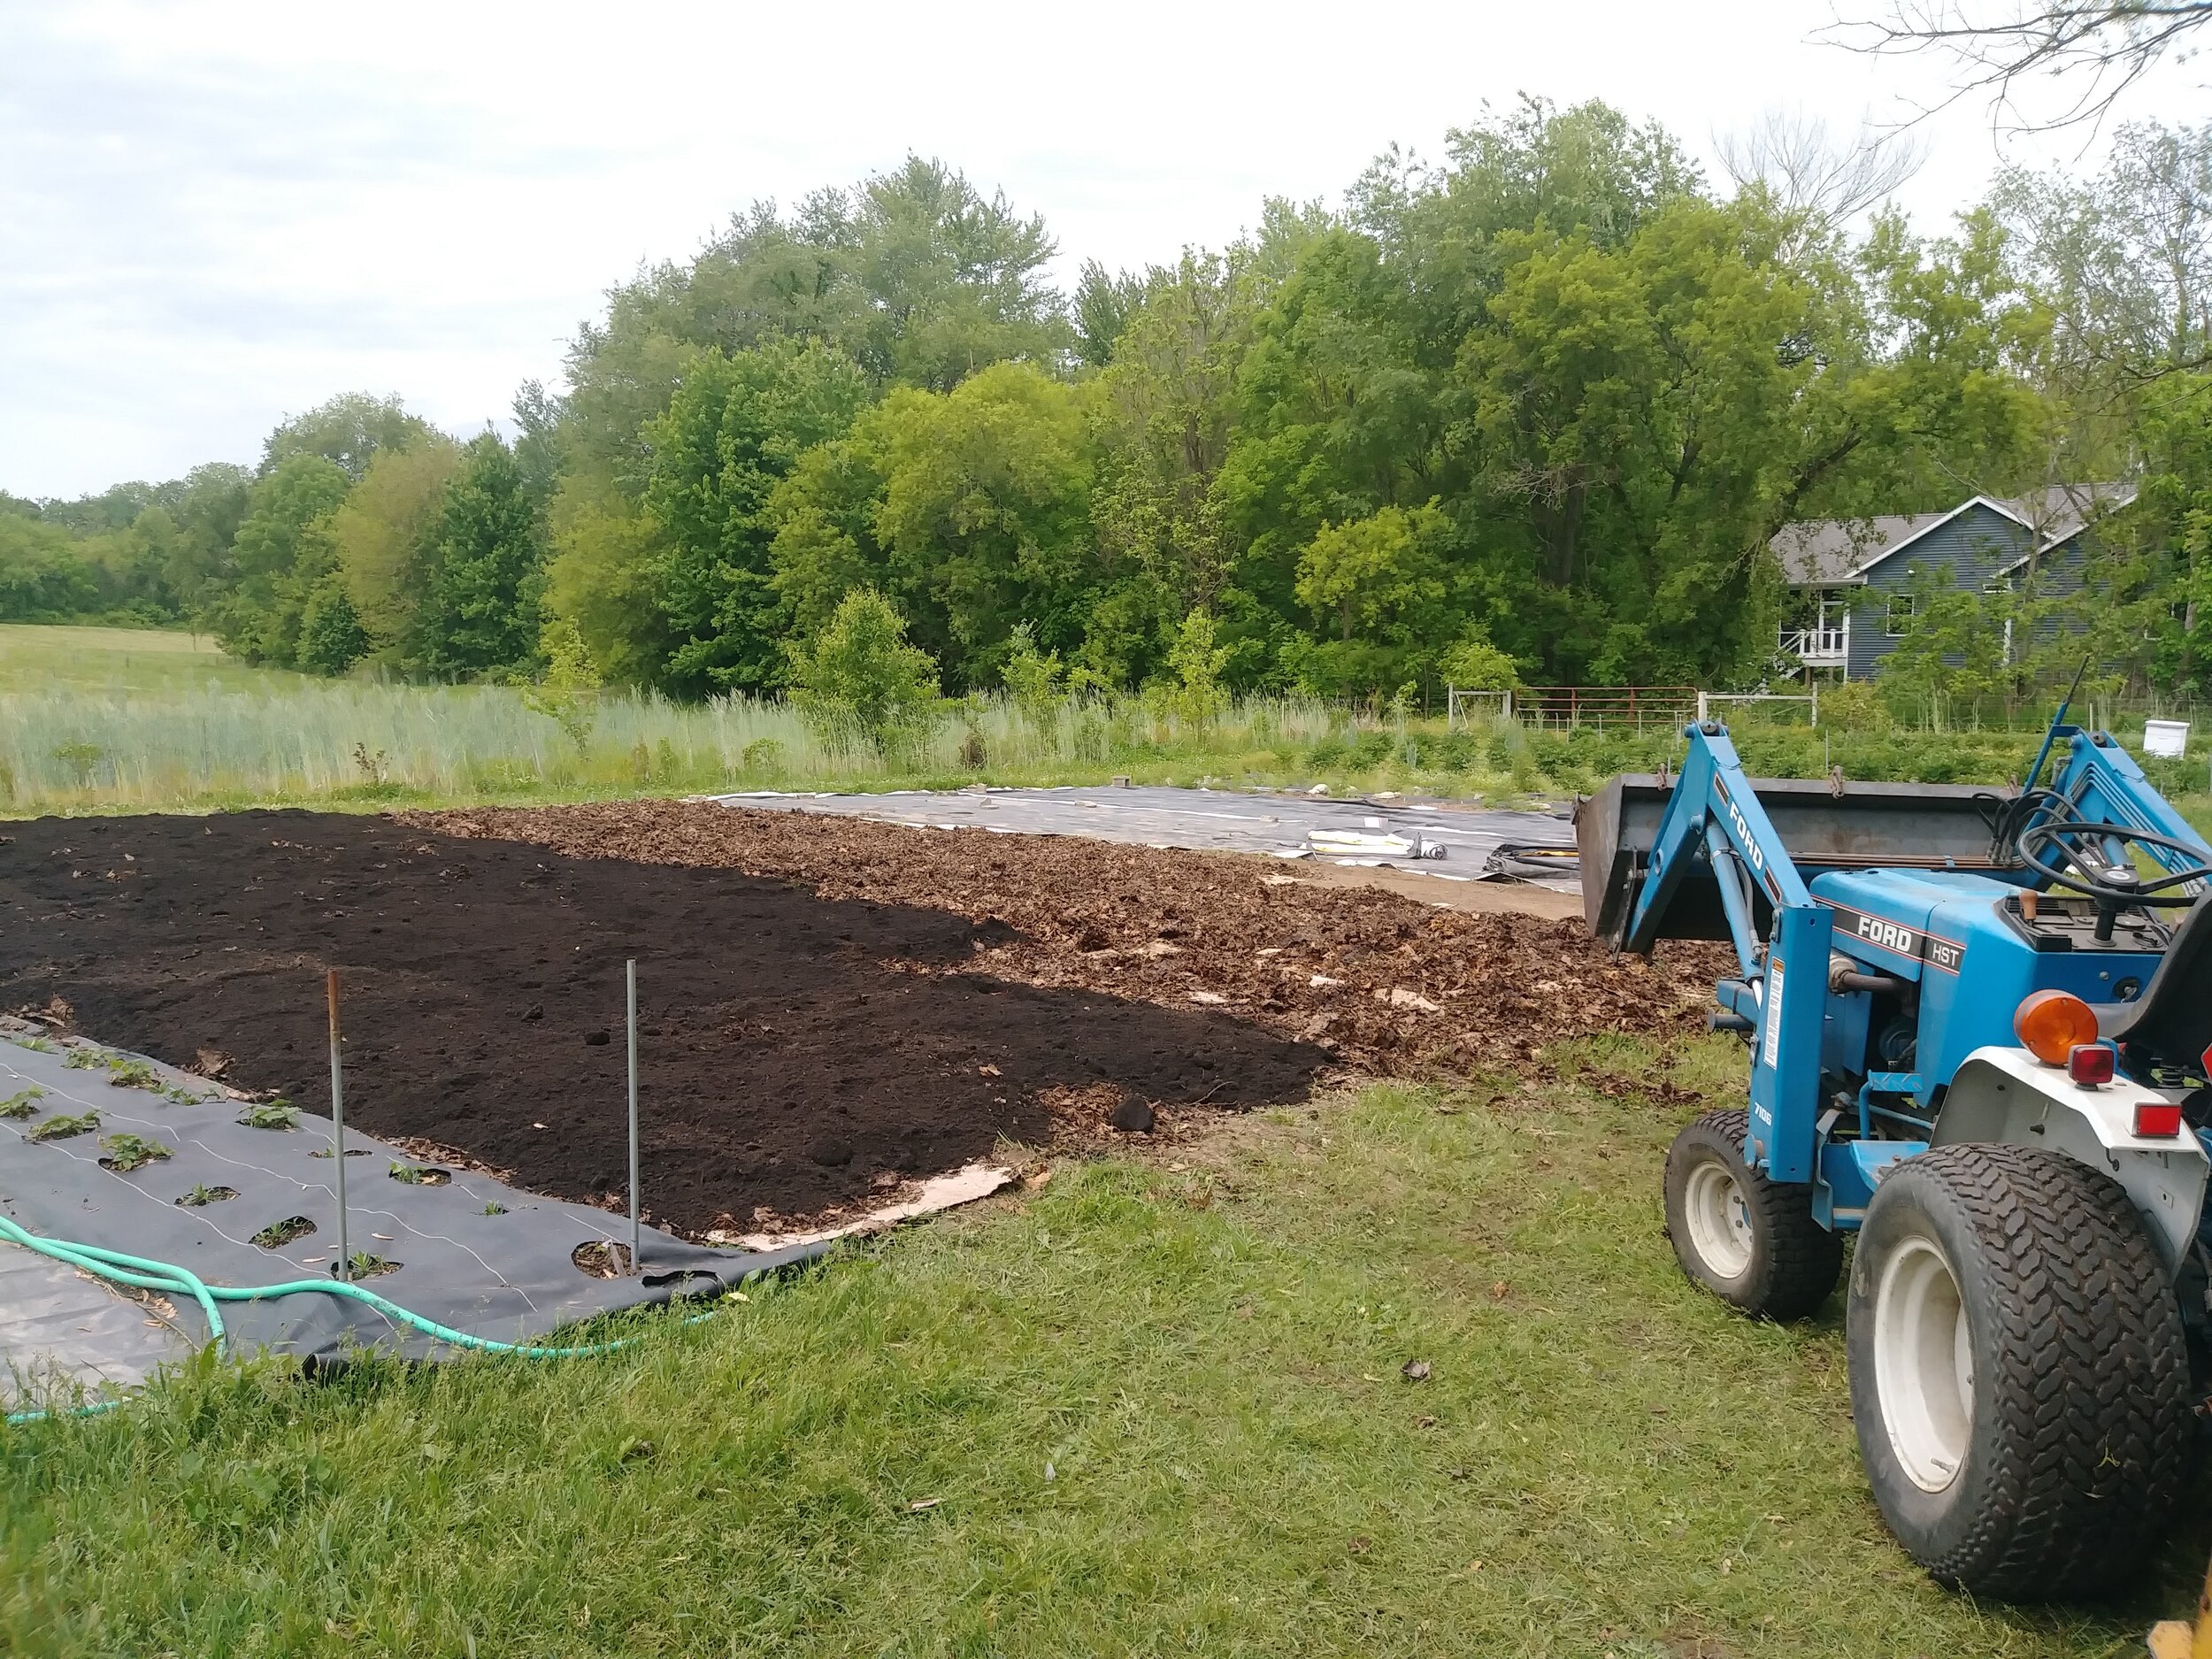
Step 4: Cover Leaves with Compost
Next, we covered the leaves with a 6 inch layer of compost. “Compost” is a loose term and can mean many different things, so I will point out that this was well aged and broken down compost made from mostly vegetative matter, NOT animal manures.

We planted our seeds and seedling directly into this compost. If you are using composted animal manures, you may need to add some soil to the mix, as the compost may be too rich or “hot” and kill your seedlings. (We do use composted animal animal manure on our farm (goat and chicken), but always age it for a minimum of 2 years before using it)
I have a simple test for knowing when compost is ready to be used in a garden. If you would be willing to stick your hands in it and bring it up to your nose to smell it’s sweet earthy scent… then it’s ready. If not (or smells gross!), it’s too fresh and needs more time to break down.

Step 5: Plant Your Seedlings and Be Proactive About Weeds
Here is an infallible truth: If you leave soil exposed, it WILL grow weeds. Nature loathes bare soil , which causes erosion, so nature created the perfect solution to combat erosion: Weeds. Yup, that’s right. Weeds DO serve a purpose ;)
If you don’t want your growing area to be overrun with weeds, YOU HAVE GOT TO COVER THE SOIL. You can cover the soil with straw mulch, woodchip mulch, grass clippings, pine needles, or whatever you have handy in your growing area. Or you can use landscape fabric like we did, with holes for the seedlings. Yes, some weeds will also grow in those little holes, but it makes things much more manageable.
Want to see how we make the holes in the landscape fabric? You can see a video in this blog post.
You can plant seedlings/plugs in the growing area or simply direct sow the seeds.
We also laid drip tape for irrigation in the growing area. You can put the drip tape UNDER or OVER the landscape fabric. UNDER is preferable, but the timing didn’t work out and I needed to get the seedlings in the ground before we had a chance to run the drip tape under the fabric. It still works great, since the fabric is water permeable.

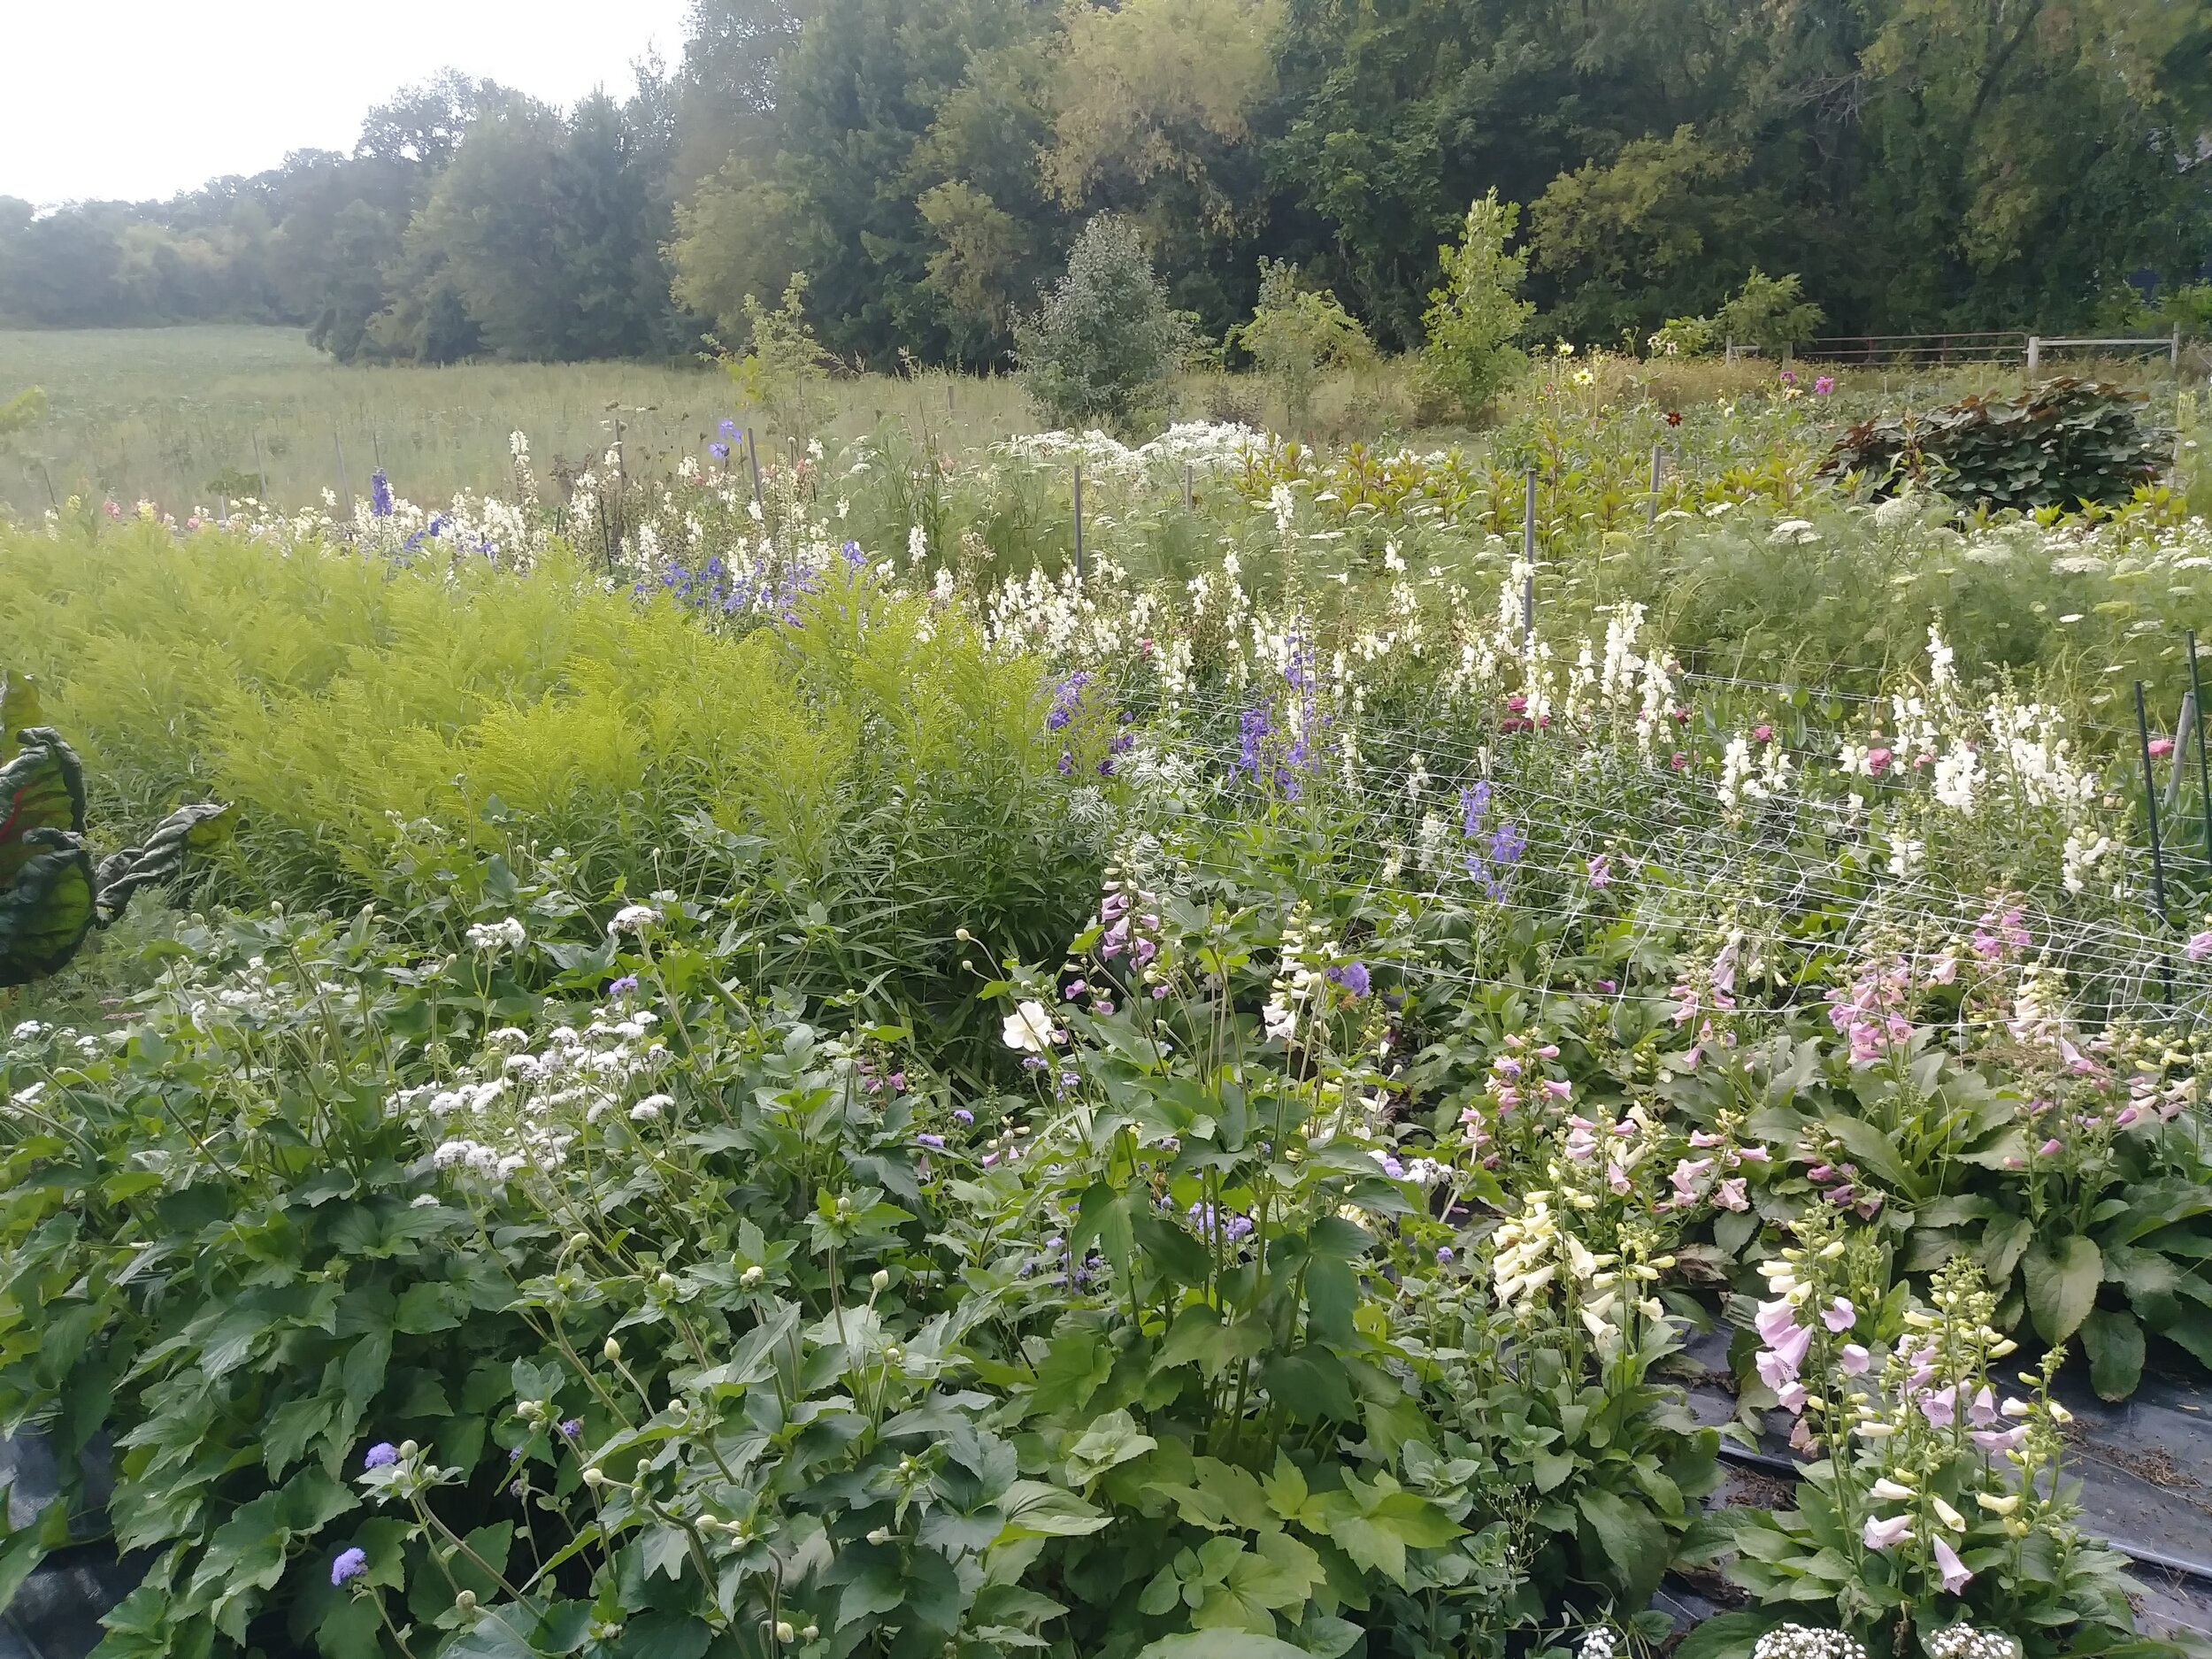
The End Result….
Here is a photo taken from the same spot as the one above, 2 months apart…

Eventually, I’d like to transform this area into a perennial garden, but right now, it’s an eclectic mix of annuals, biennials and perennials.
Instead of calling this area “The Barren Wasteland”, like we did for years, we now call it “The Secret Garden”, as it’s a growing space just for me to play and experiment.
It’s been incredibly productive and keeps cranking out more blooms than I can possibly use!
Here’s what I’ve got growing in the Secret Garden, in no particular order ;)
Rudbeckia (several kinds)
Gypsophila (“Million Star”)
Japanese Anenome (“Honorine Jobert”)
New England Aster
Obedient Plant
Lisianthus (several kinds)
Feverfew (several kinds)
Echinacea (several kinds)
Euphorbia (“Snow on the Mountain”)
Goldenrod (“Moonlight Glory” and “Romantic Glory”)
Delphinium (several kinds)
Aruncus
Foxglove
Lace Flower
Ammi (“Green Mist”, “Select White” and “Dara”)
Snapdragon (several kinds)
Sweet William
Scabiosia (several kinds)
Cosmos (several kinds)
Statice (several kinds)
Gomphrena (several kinds)
Celosia (several kinds)
Shiso/Perilla
Strawflower (several kinds)
Trachelium
Sea Holly
Dahlias (grown from seed, not tubers)


I hope this post inspires you to get out there and prepare your own growing area. Remember, fall is the PERFECT TIME to start planning and preparing for next season!