5 Easy to Grow Cut Flowers for Beginners
Tried-and-true flowers for the cutting garden. Find the list here!
Have you ever wanted to try growing cut flowers… but didn’t know where to begin?
You’re not alone! Many people have asked me to share ideas about easy to grow cut flowers.
I’ll be the first to admit that growing flowers is not nearly as easy as it looks, but these flowers listed below will likely thrive and provide you with some beautiful blooms, even if you are a complete beginner.
After growing hundreds of different flowers, I’ve narrowed it down to just a few to get you started.
This is by no means an exhaustive list, and you’ll likely want to branch out later and grow more varieties… but this is a great start!
The flowers on this list were chosen because:
They can be Direct Sown. This means you can simply plant the seeds in your garden, water them and they will grow. No need to start them indoors first or purchase transplants.
They are annuals, meaning they will grow from seed to bloom in one season.
They are beautiful in bouquets!
All of these flowers can be Direct Sown into your garden after the threat of a spring frost is over.
Don’t know when your Average Last Spring Frost is? Simply Google “average last spring frost ______________” and insert the name of your town.
Cosmos
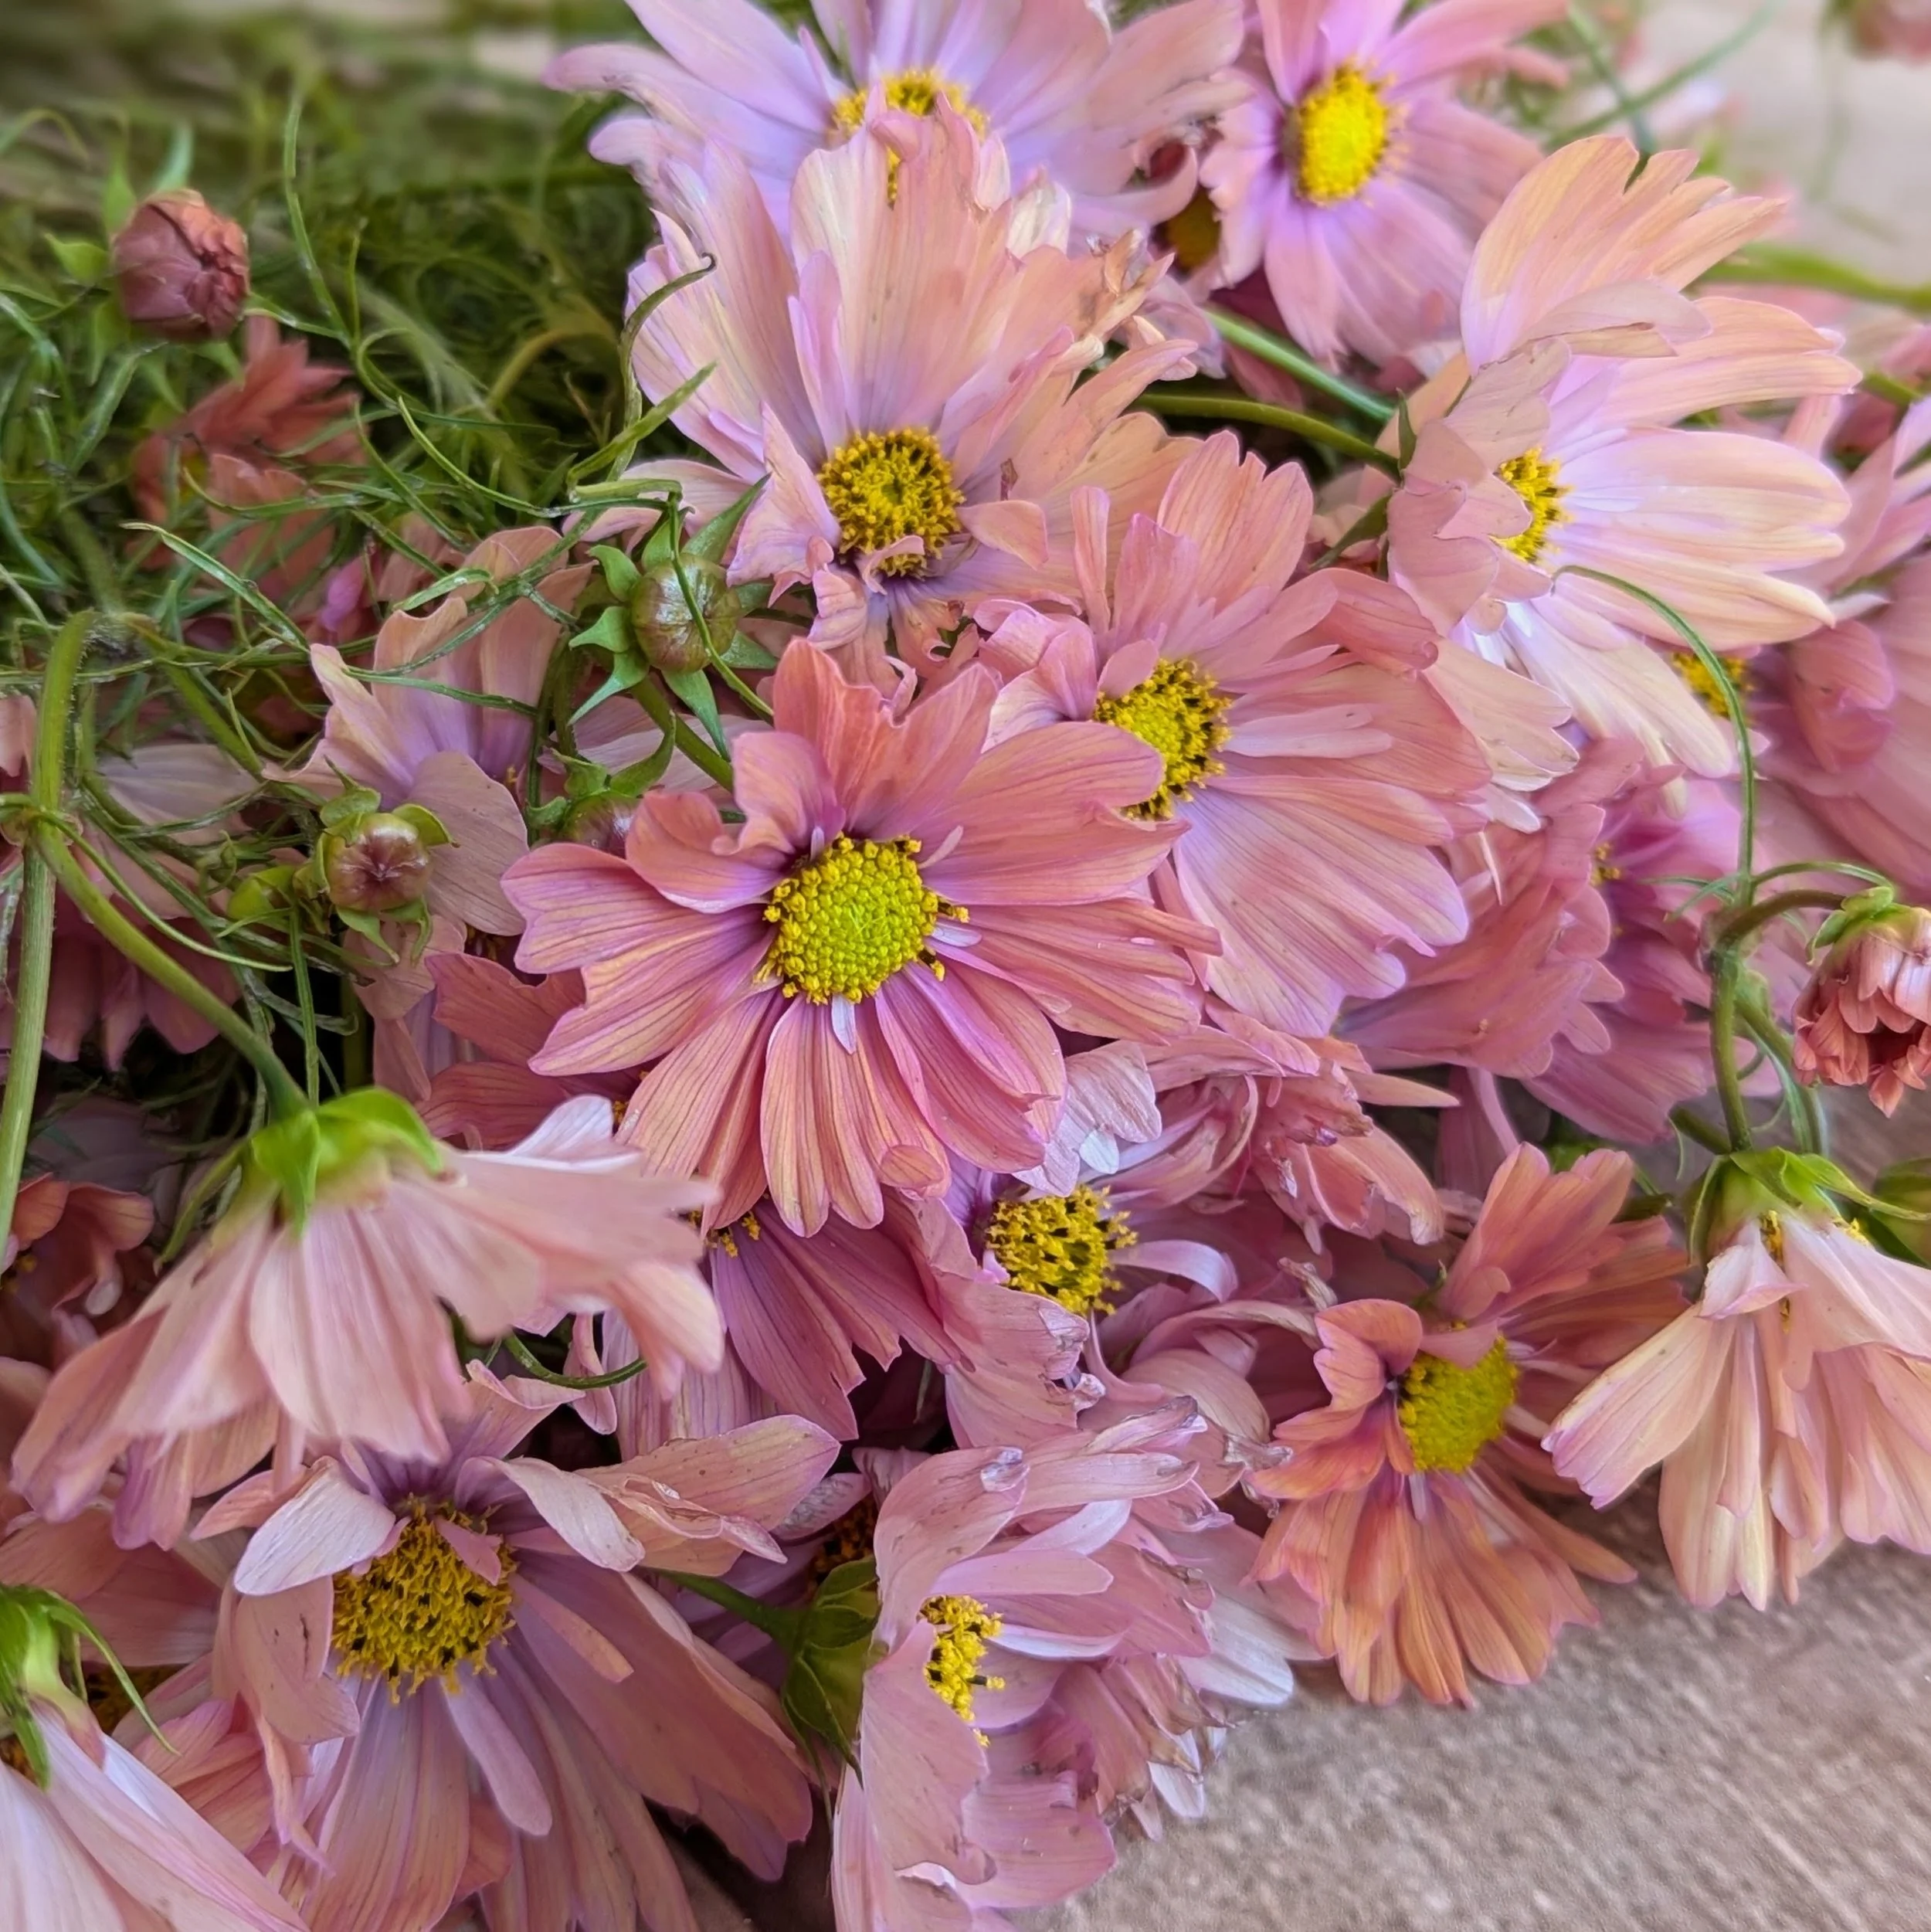
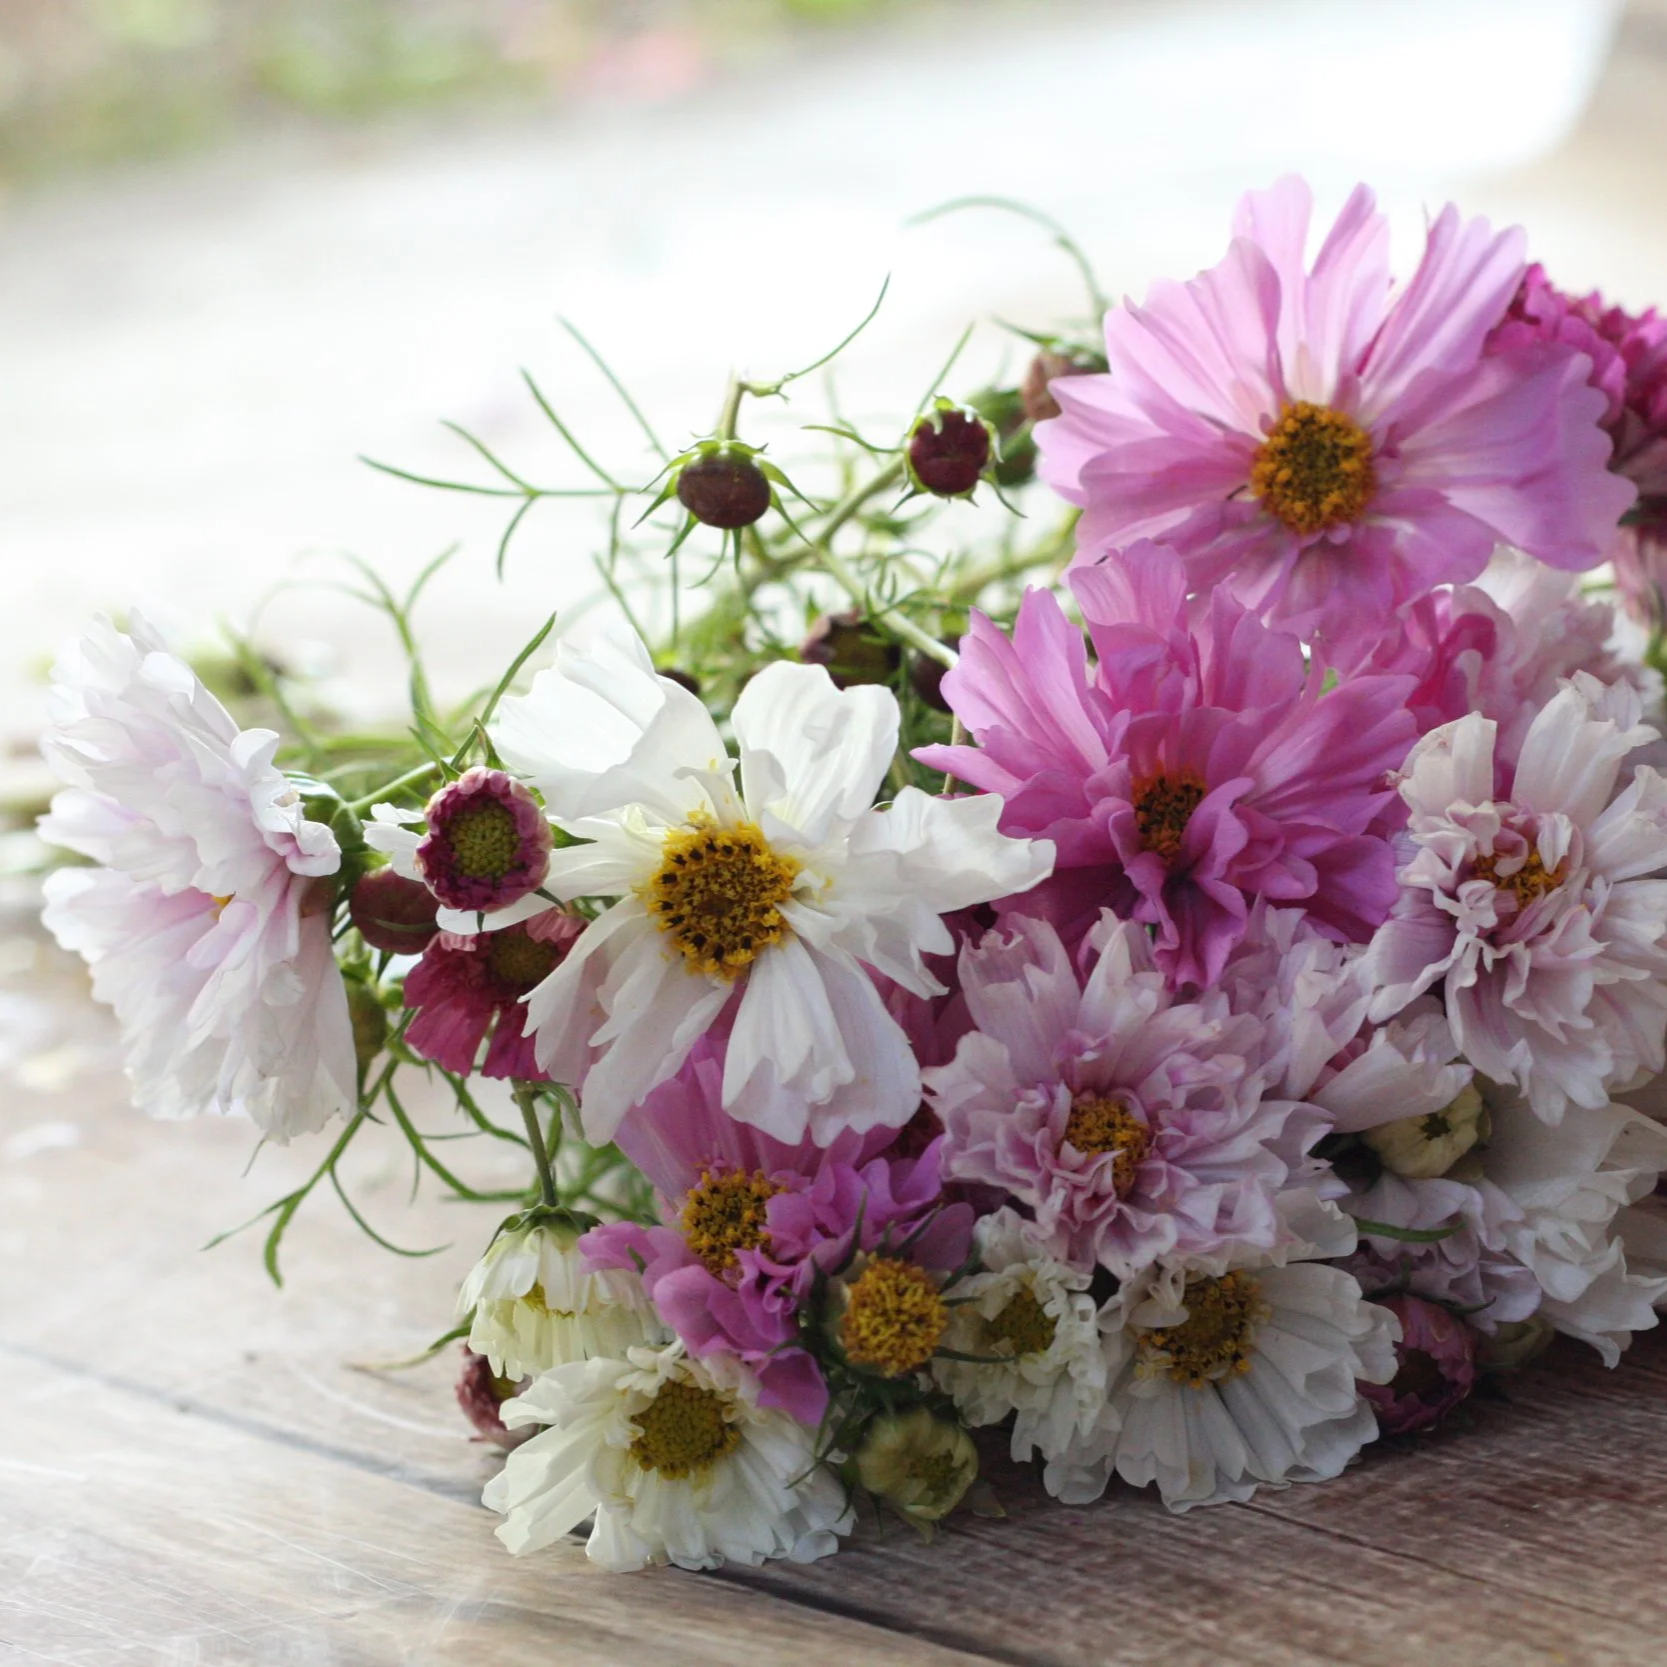
Cosmos are by far one of my favorite flowers. The blooms are ridiculously romantic and endearing. They prefer to be Direct Sown and will provide you with weeks and weeks of blooms from just one planting. The more you cut them, the more they produce, so be sure to cut deep into the plant.
Cosmos are beautiful in mixed bouquets or in bunches all by themselves. They add whimsy, air and movement to mixed bouquets and I like to include them in almost every arrangement.
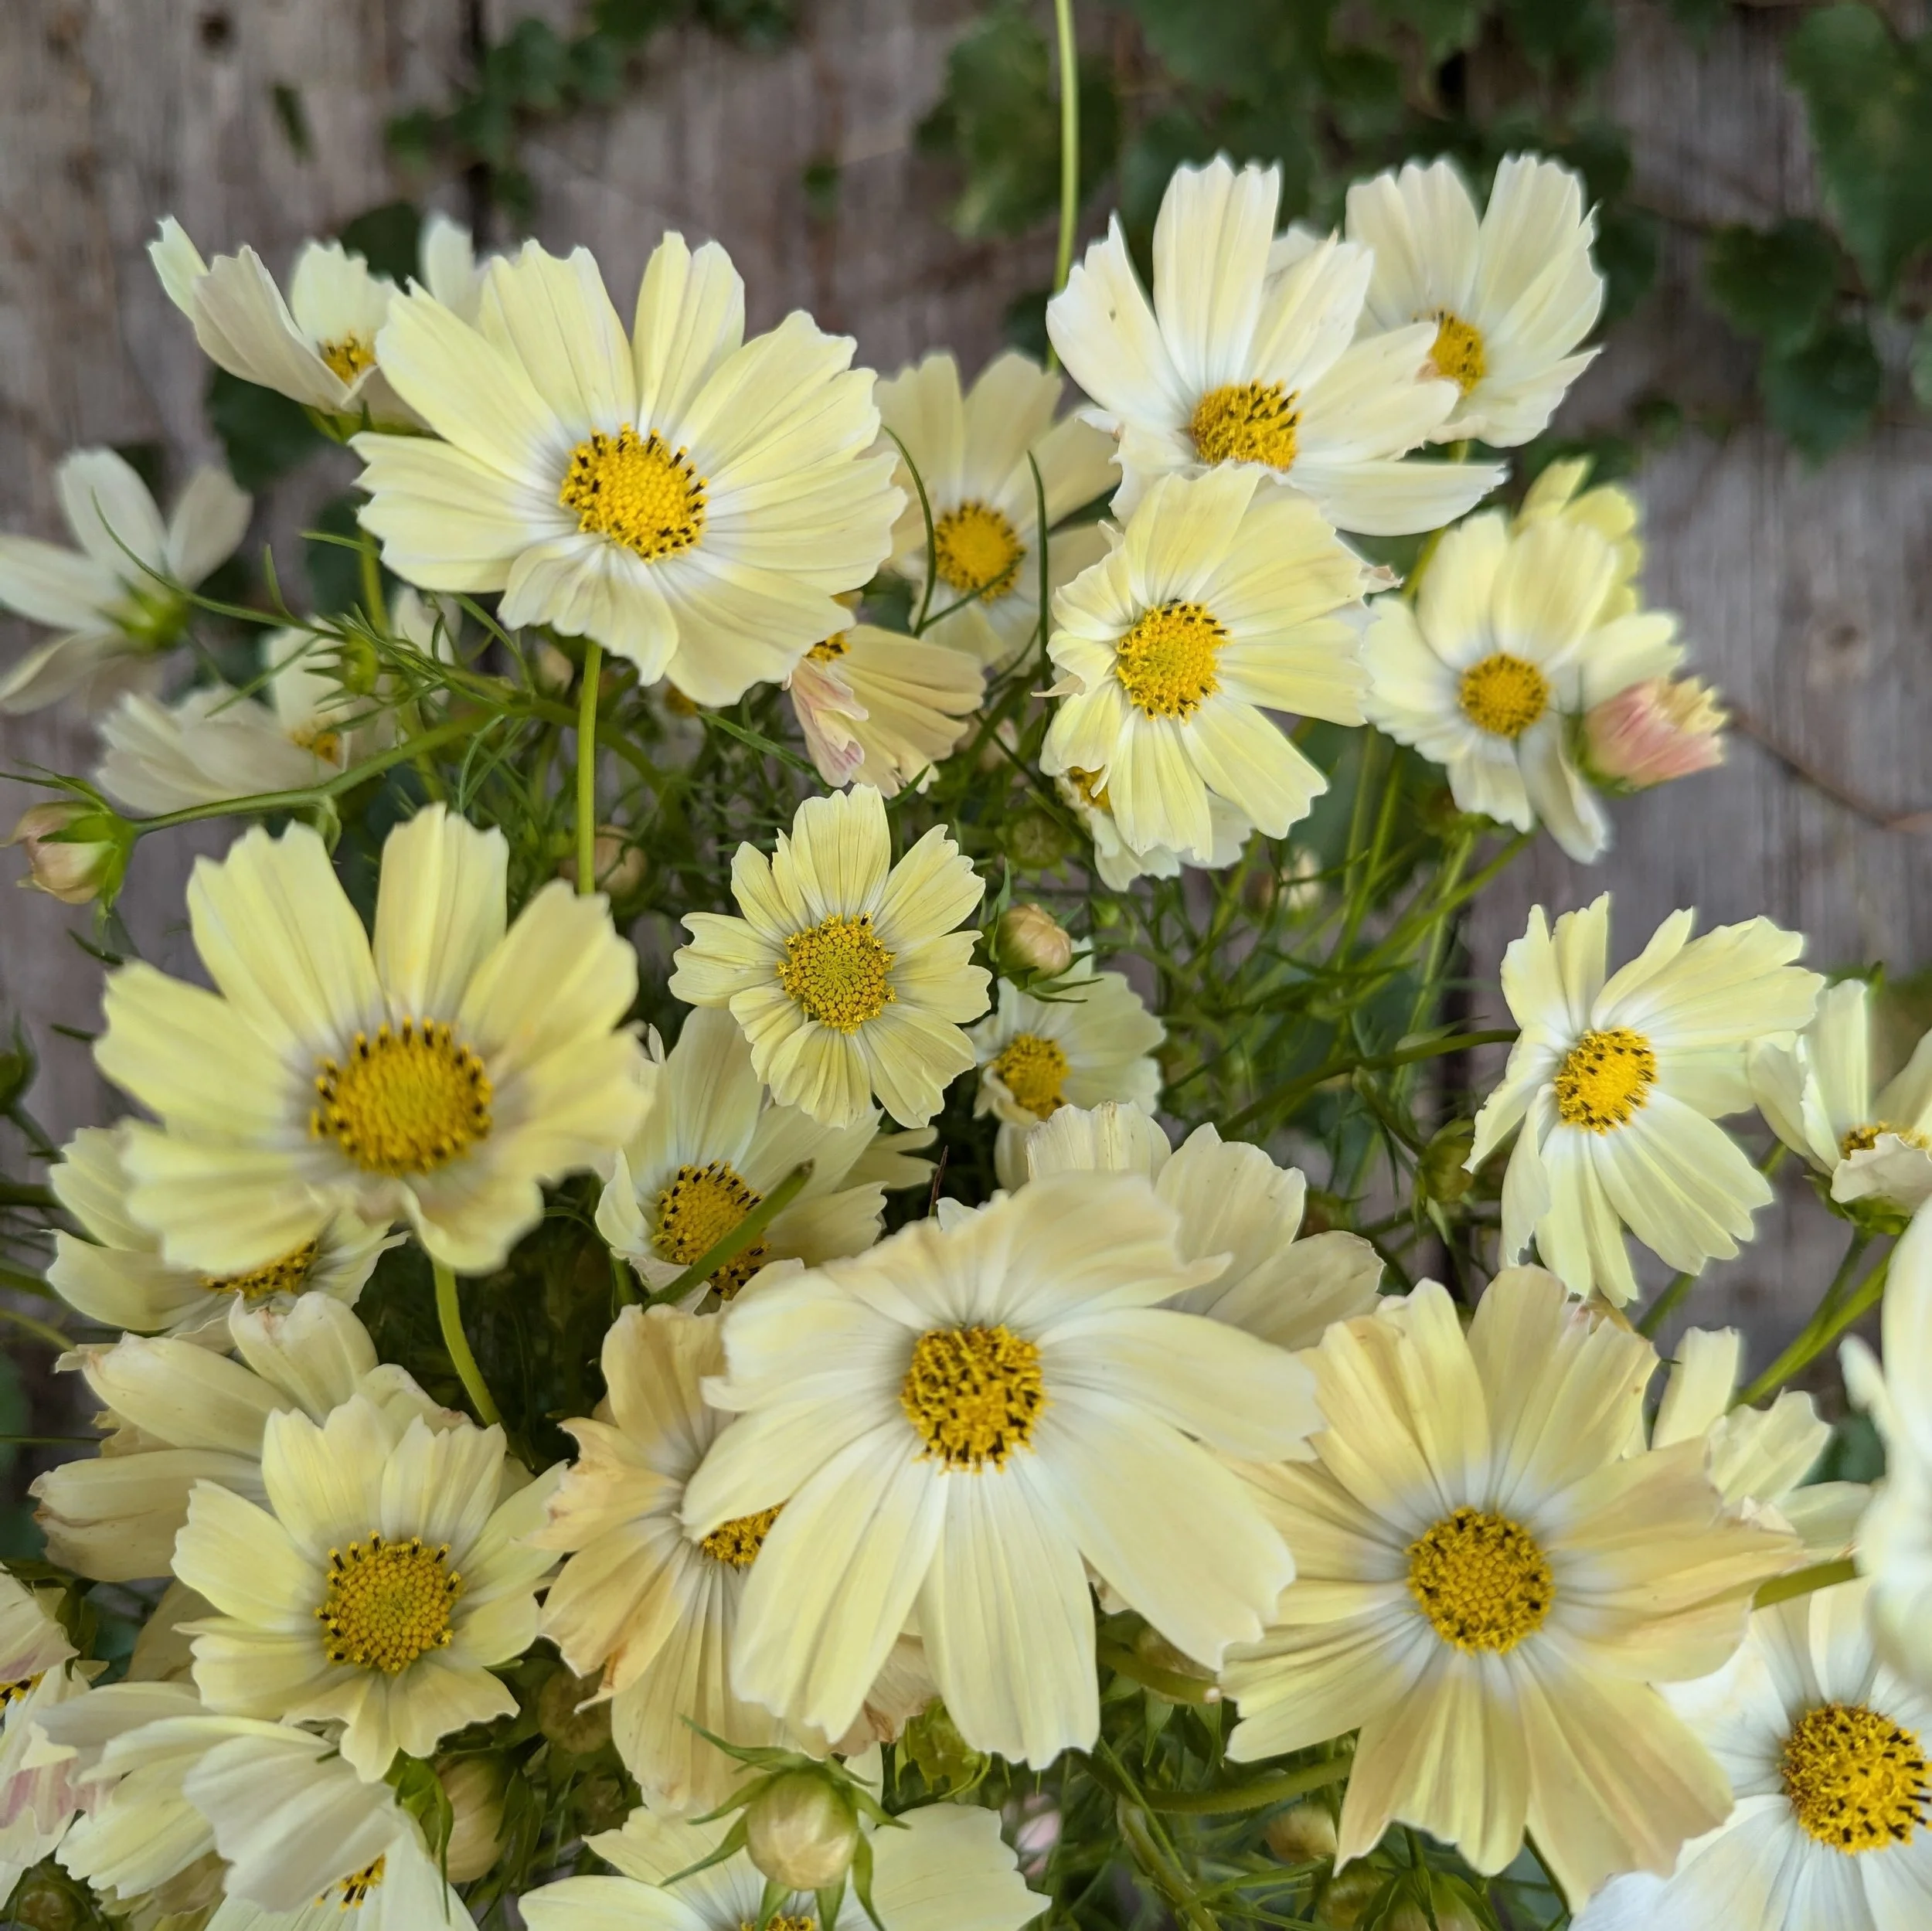
They come in a wide variety of pink, white, burgundy and even pale yellow. Some have single rows of petals, while others are lush and ruffled.
You can also use the lacy Cosmos foliage (leaves) as greenery for your bouquets.
Helpful Hint: Harvest stems/sprays of flowers right as they are beginning to break out of the bud stage (when you can just see the petals starting to unfurl). If harvested at this stage, you can expect 5-7 days of vase life. If harvested after the flowers are fully open, you’ll only get 2-3 days of vase life.
Favorite Varieties:
Zinnias
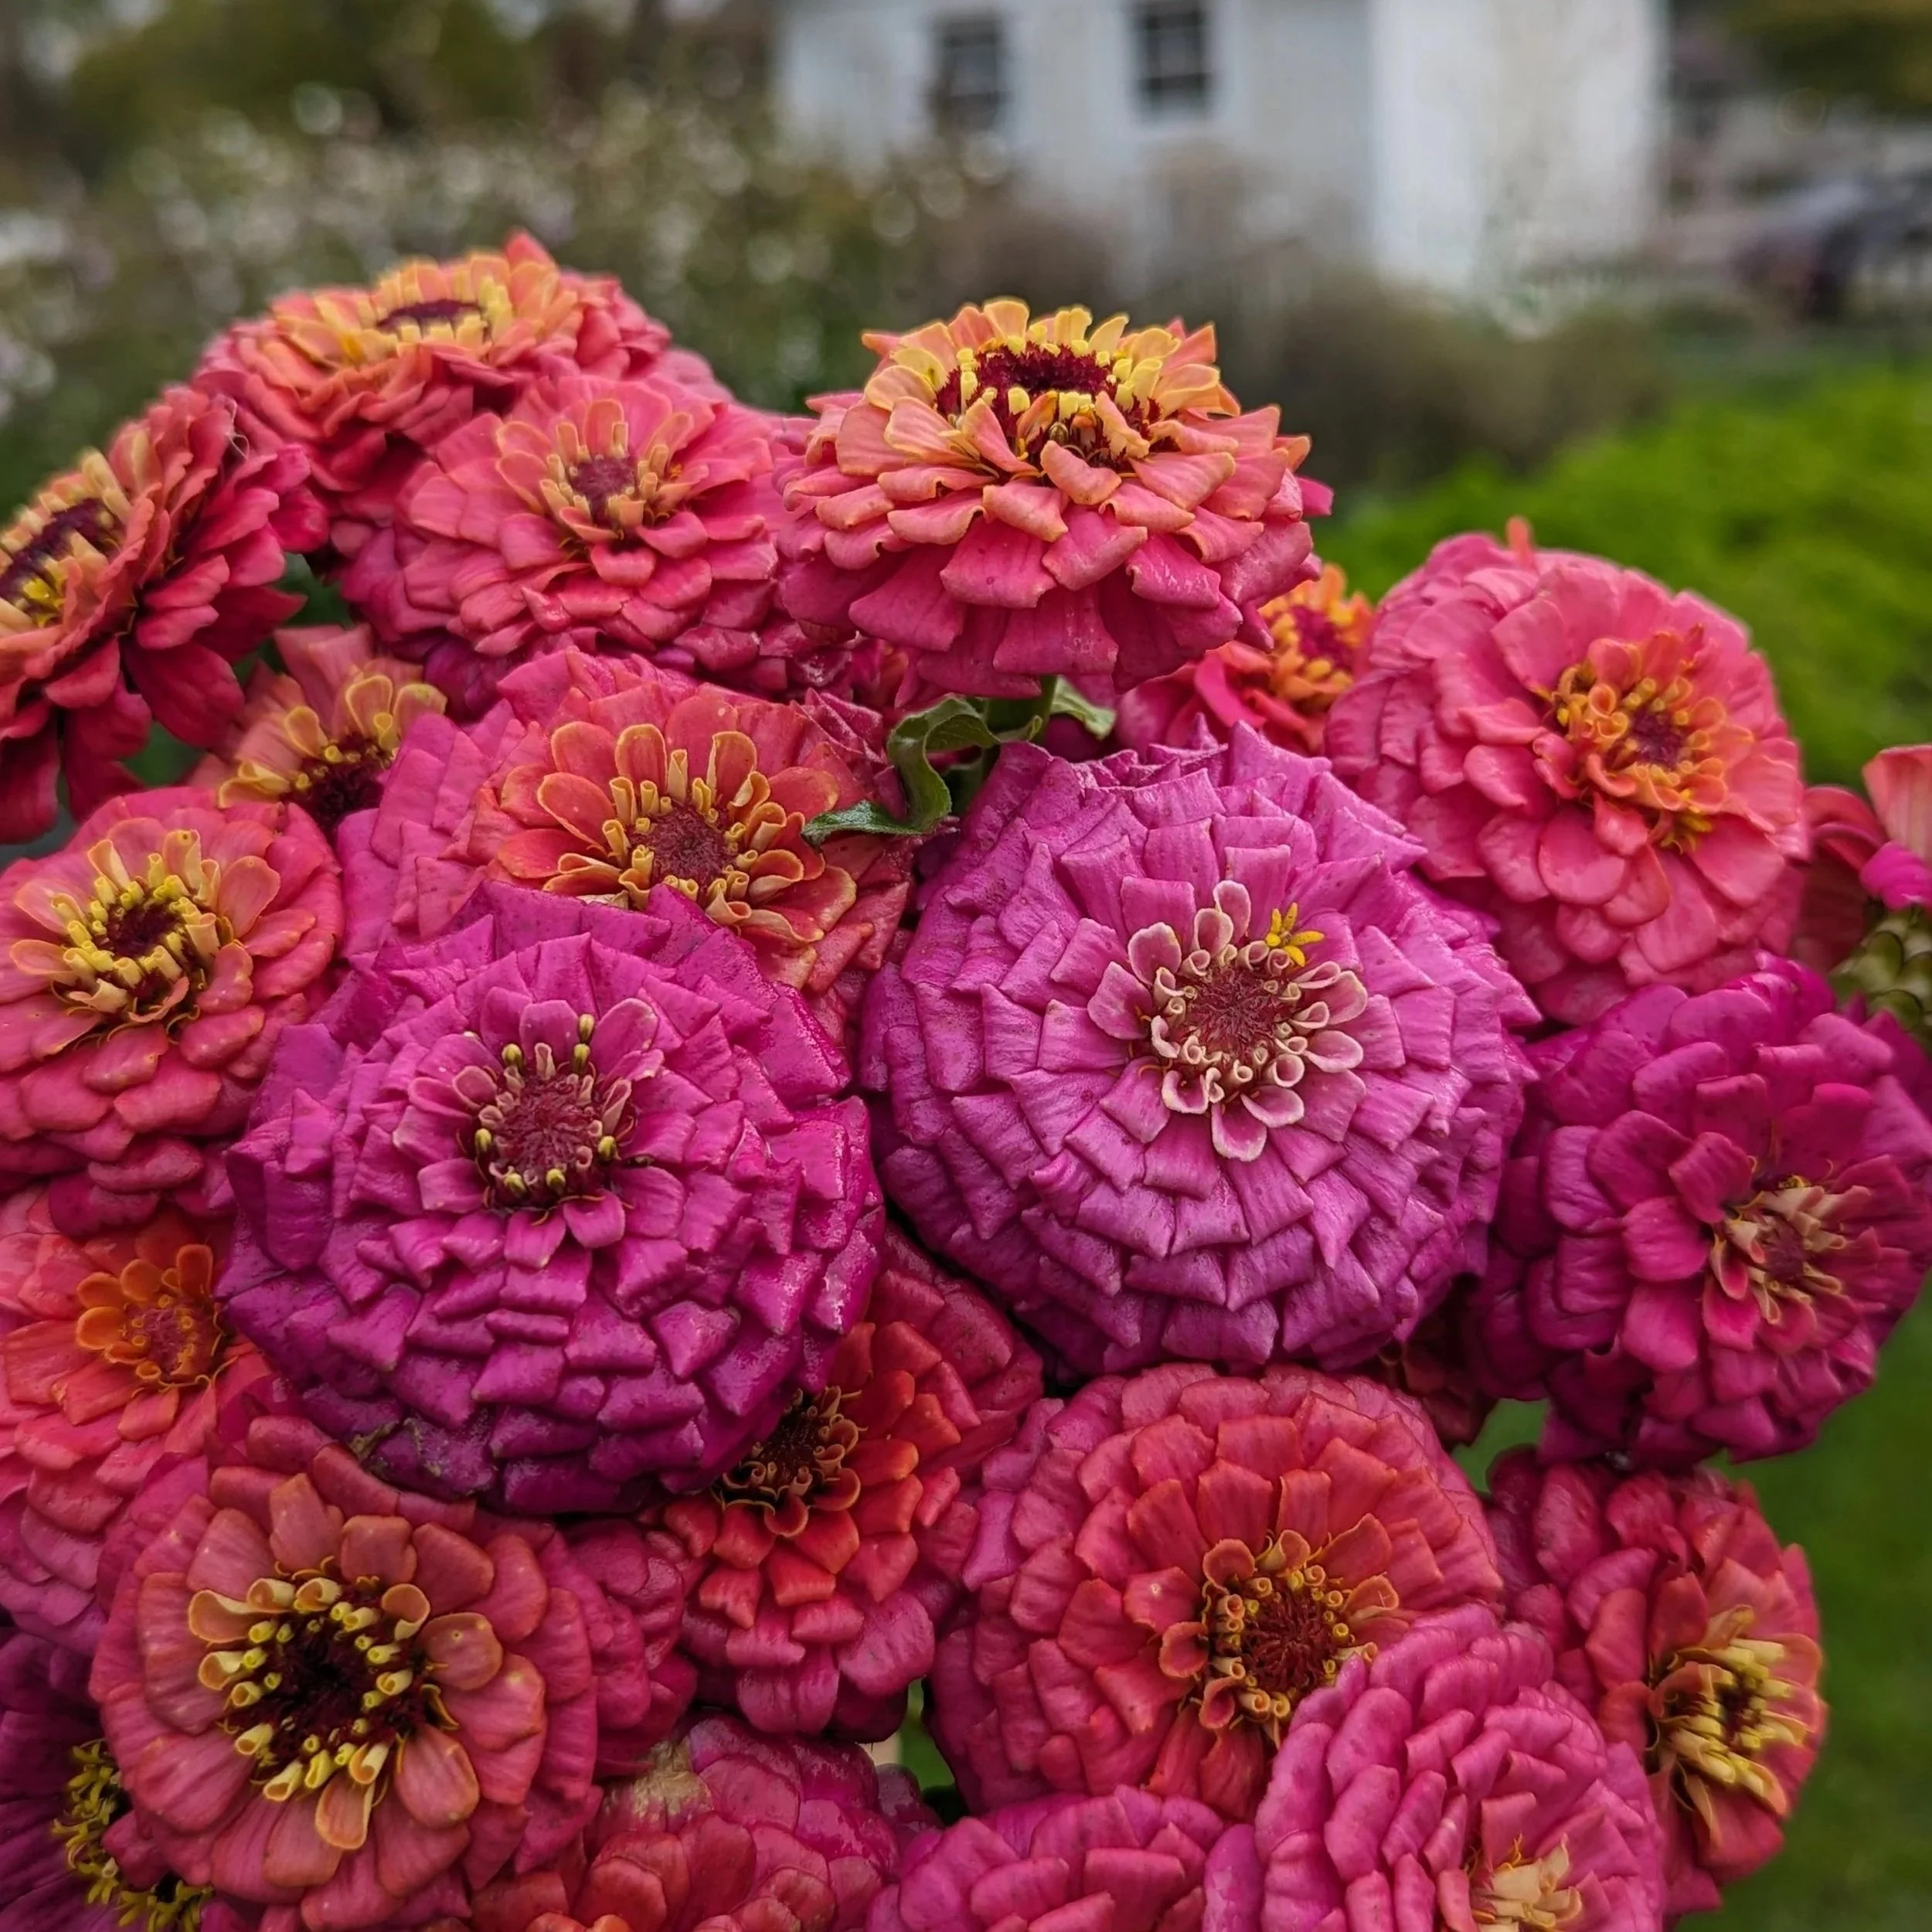
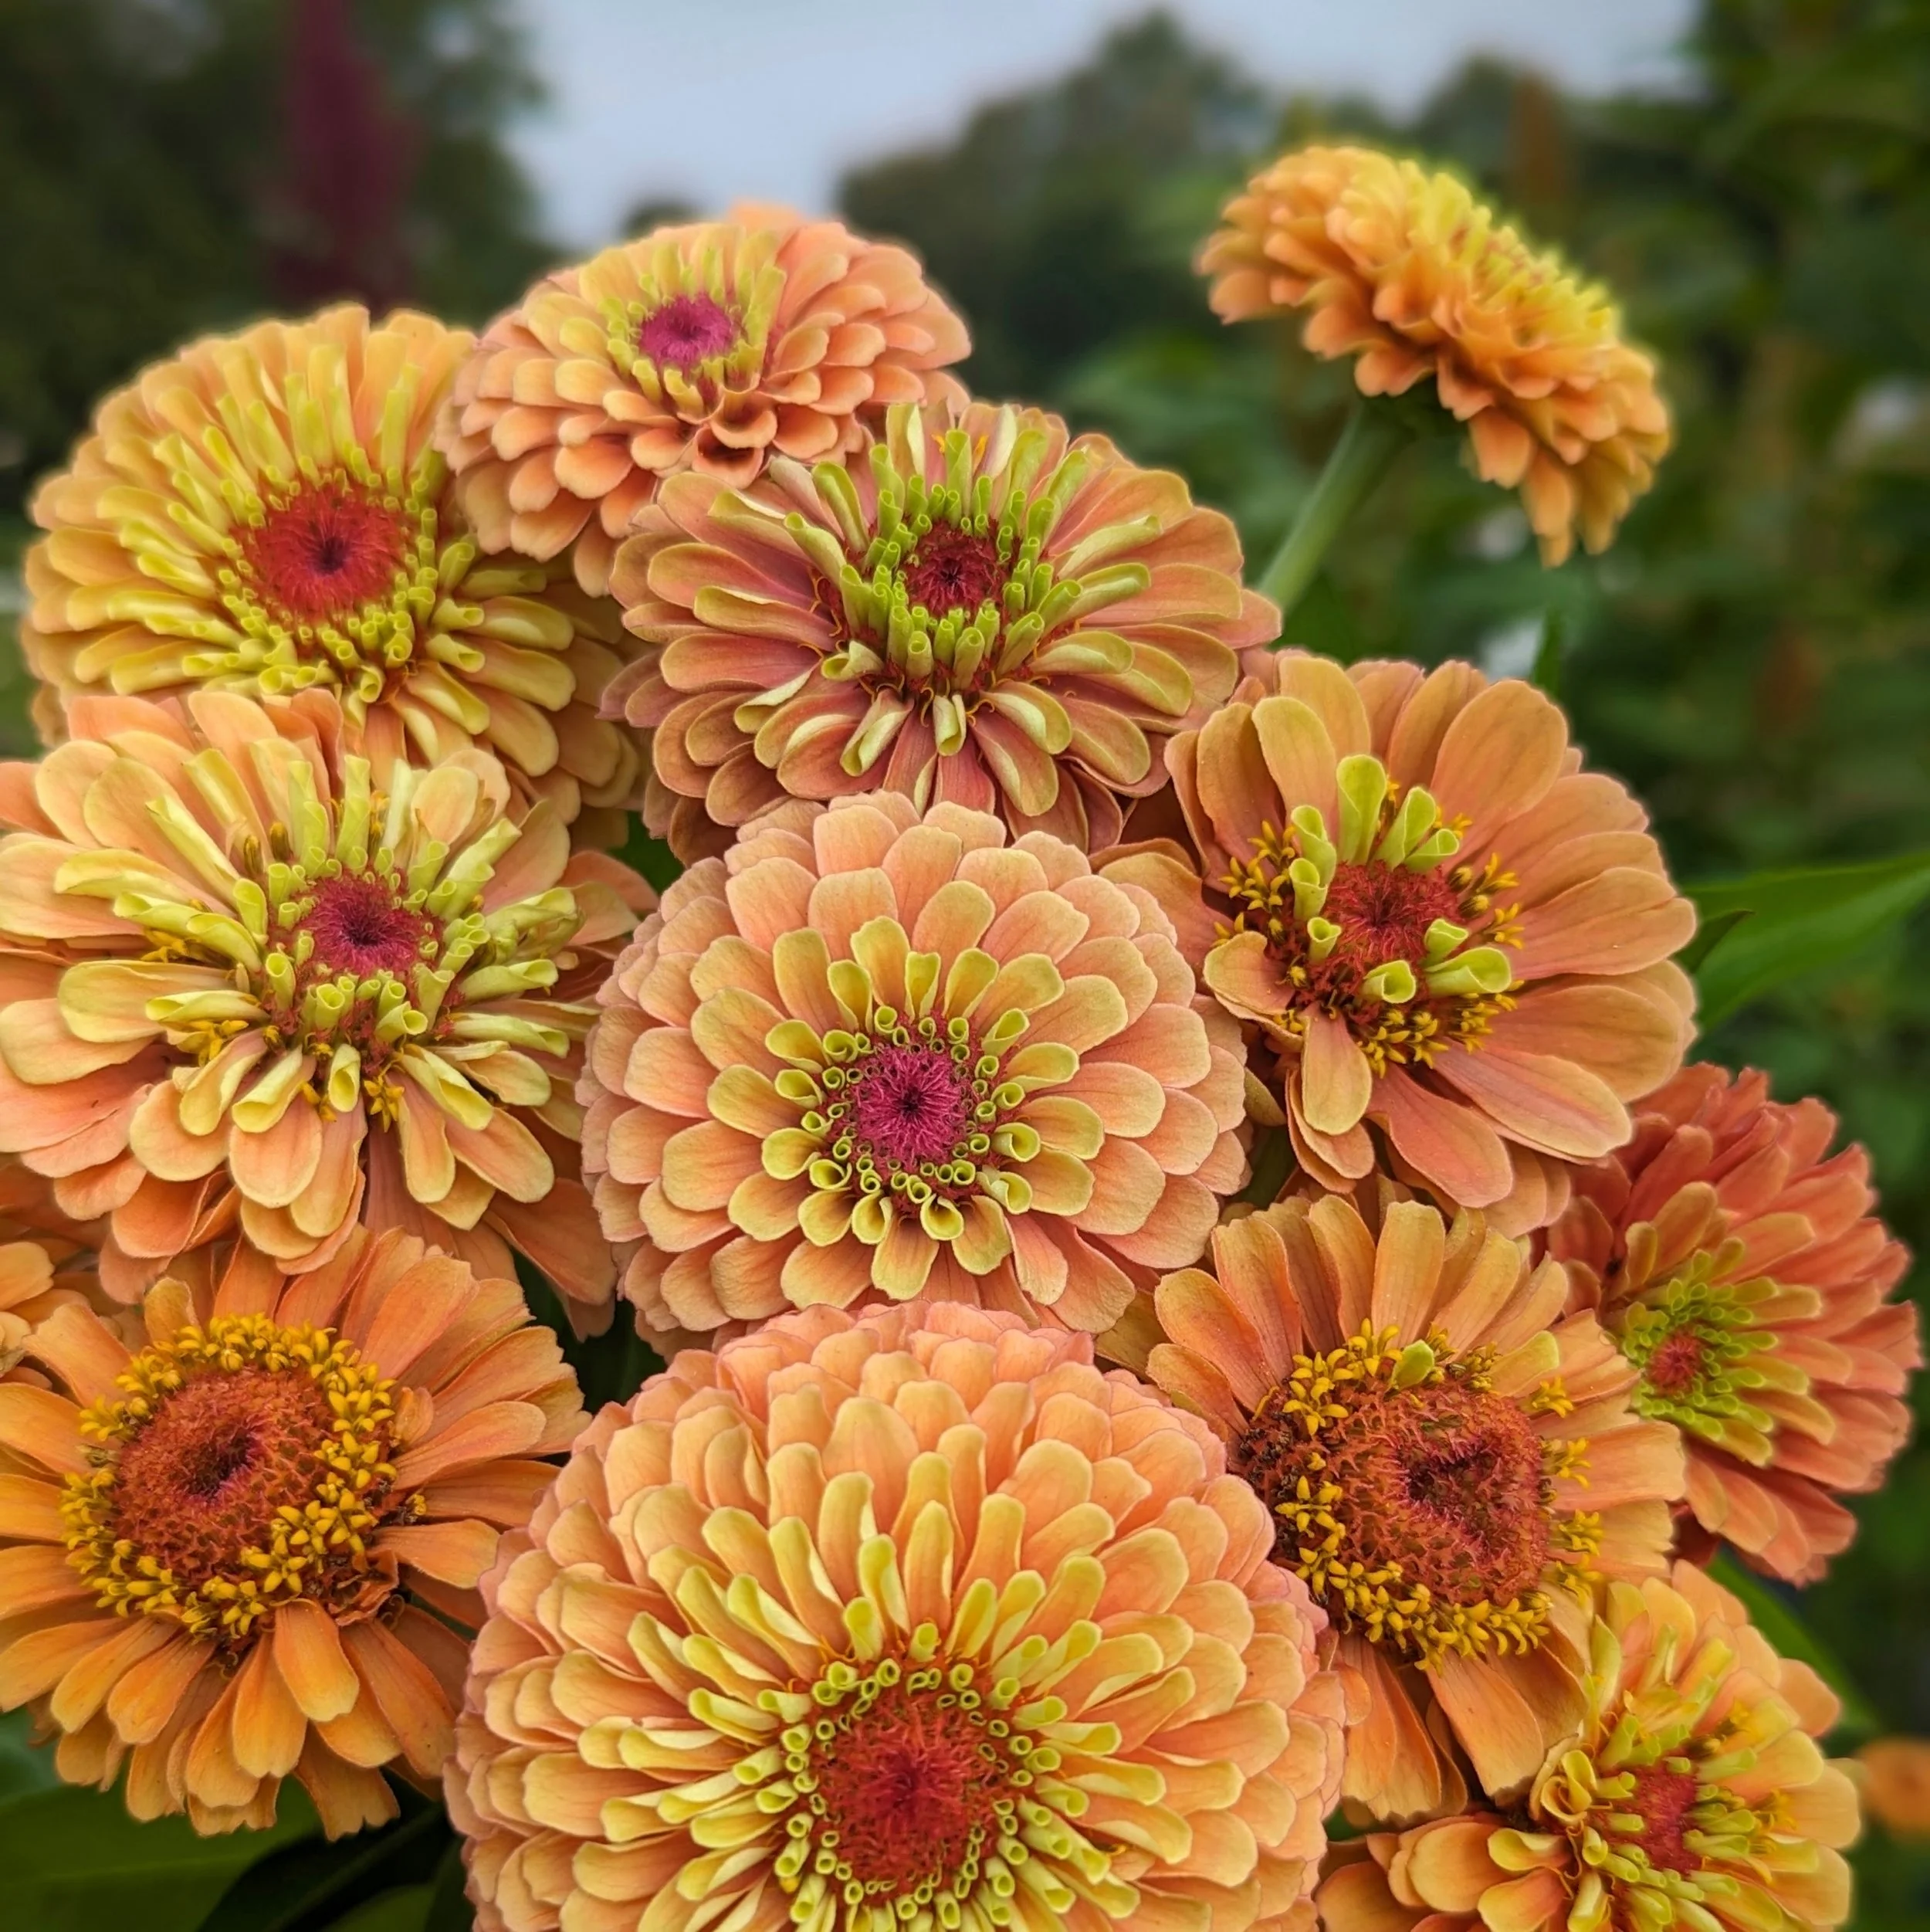
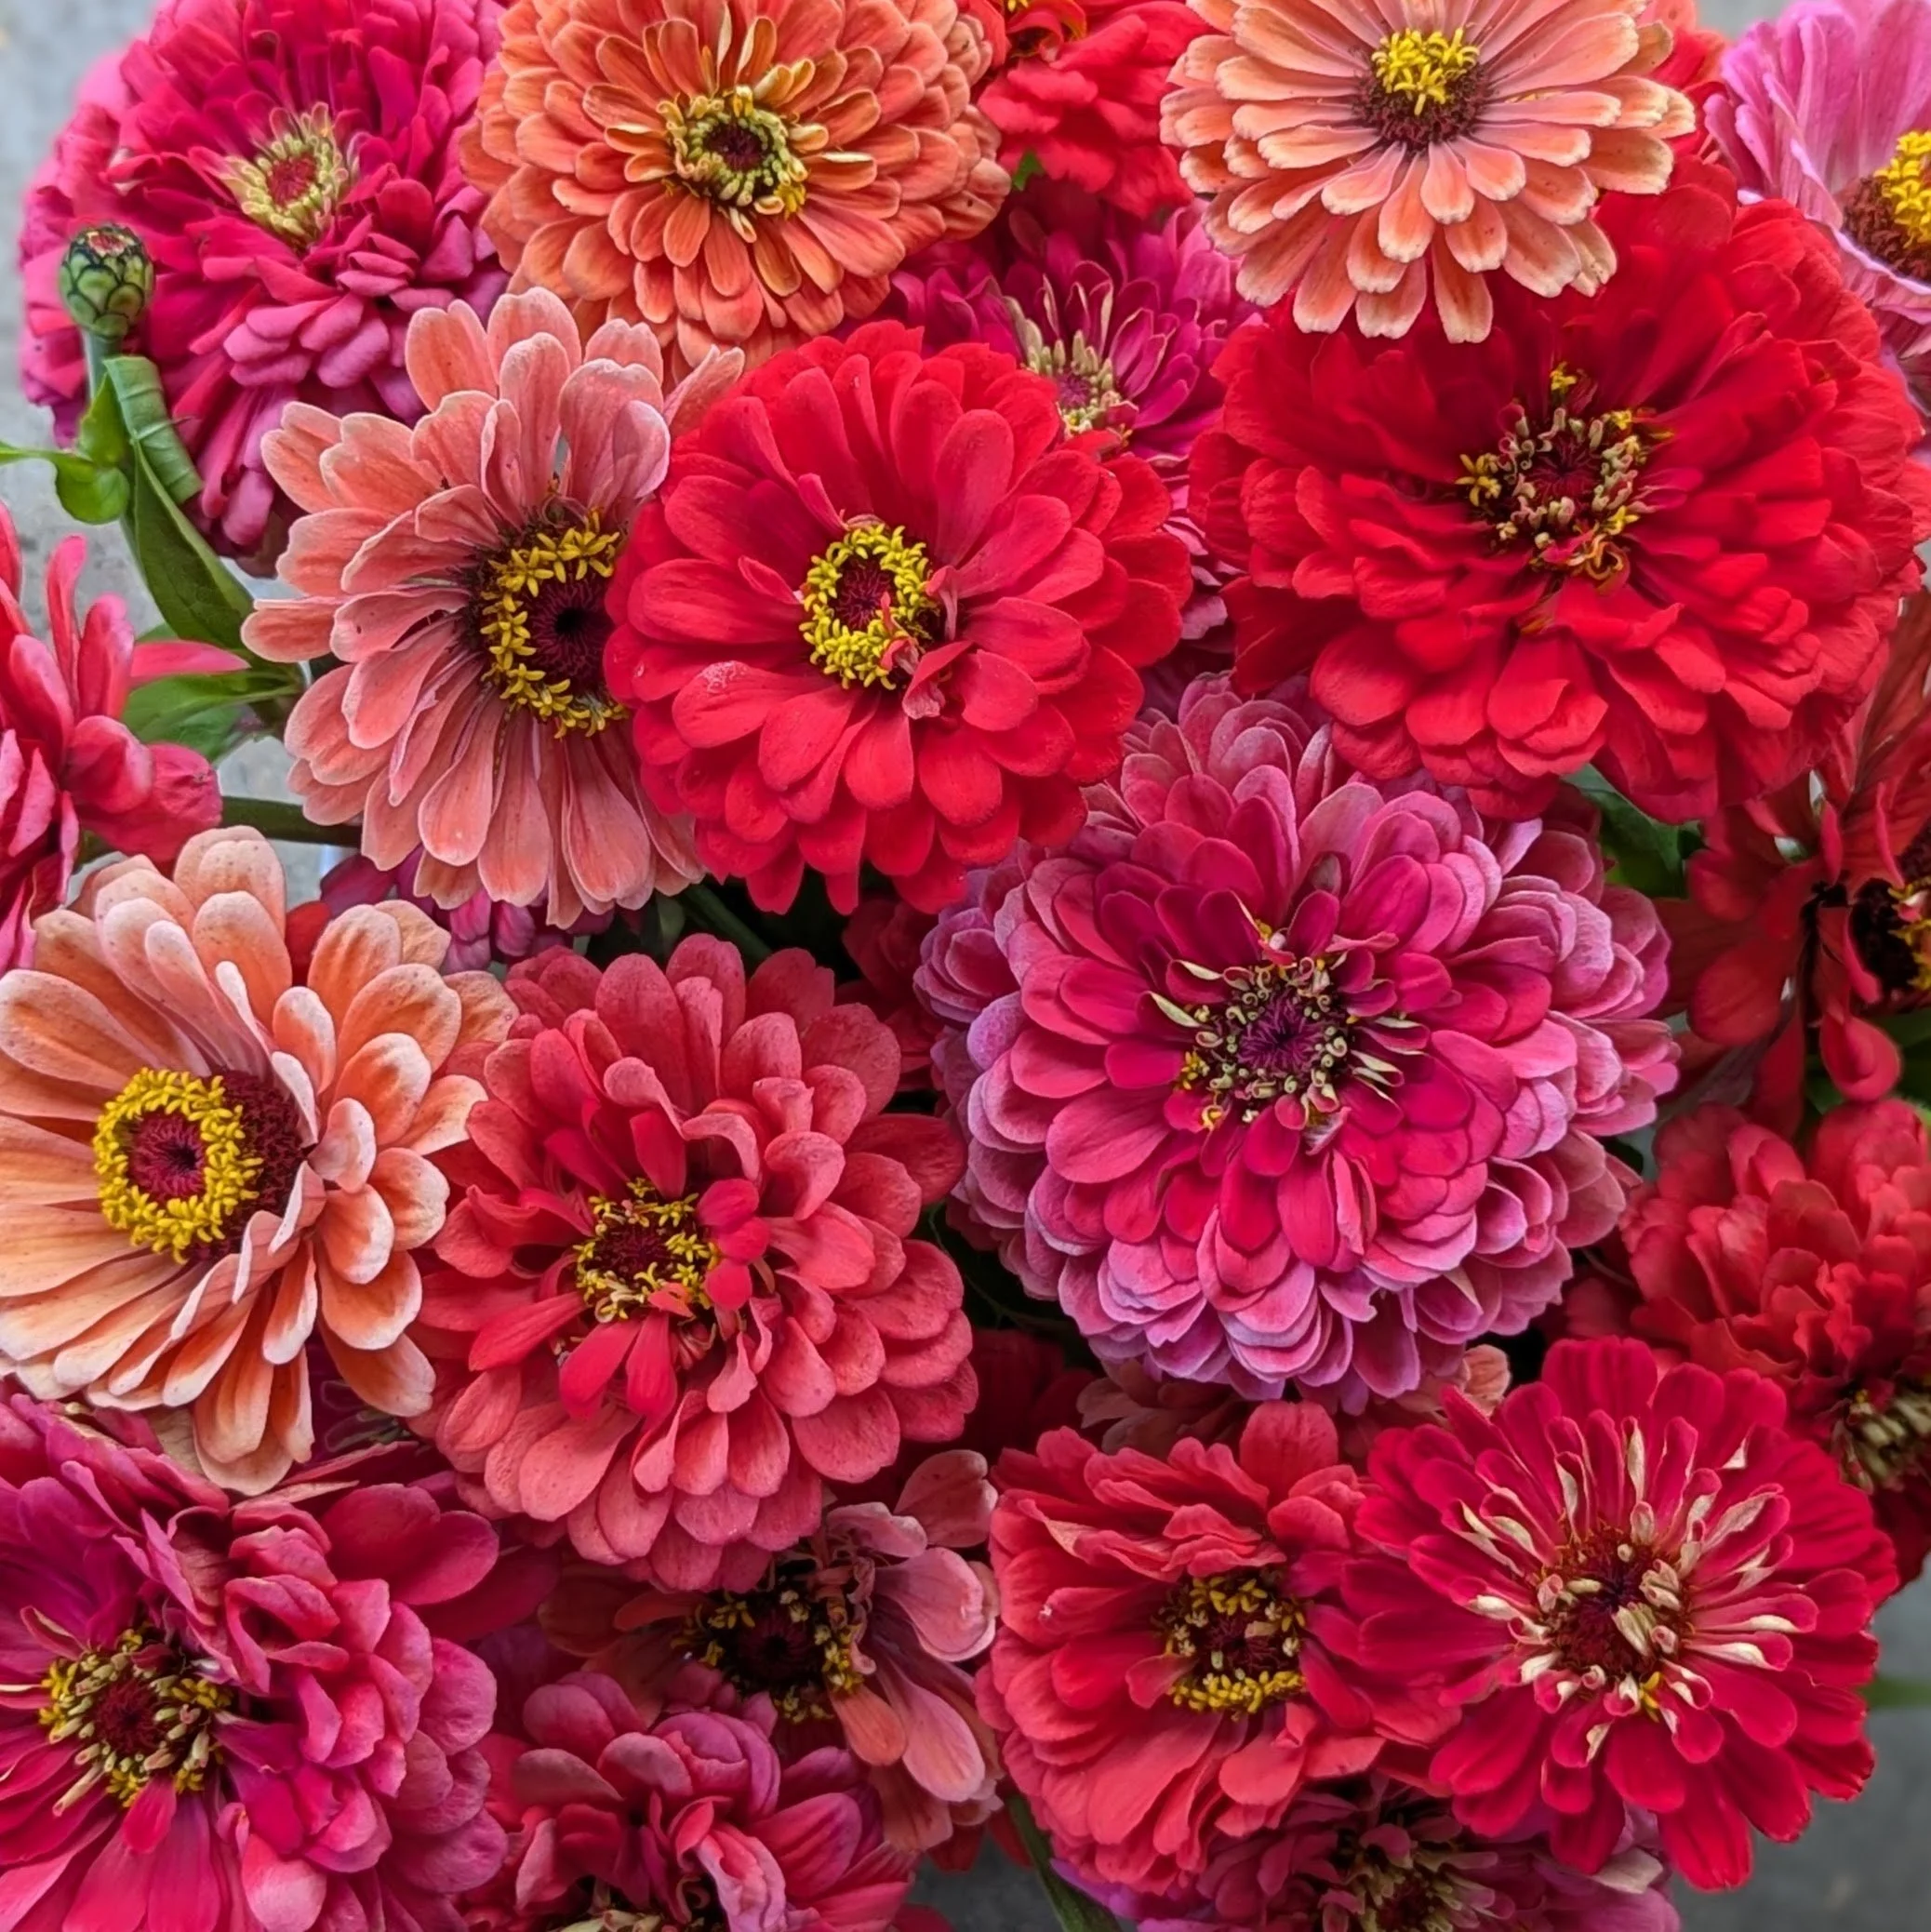
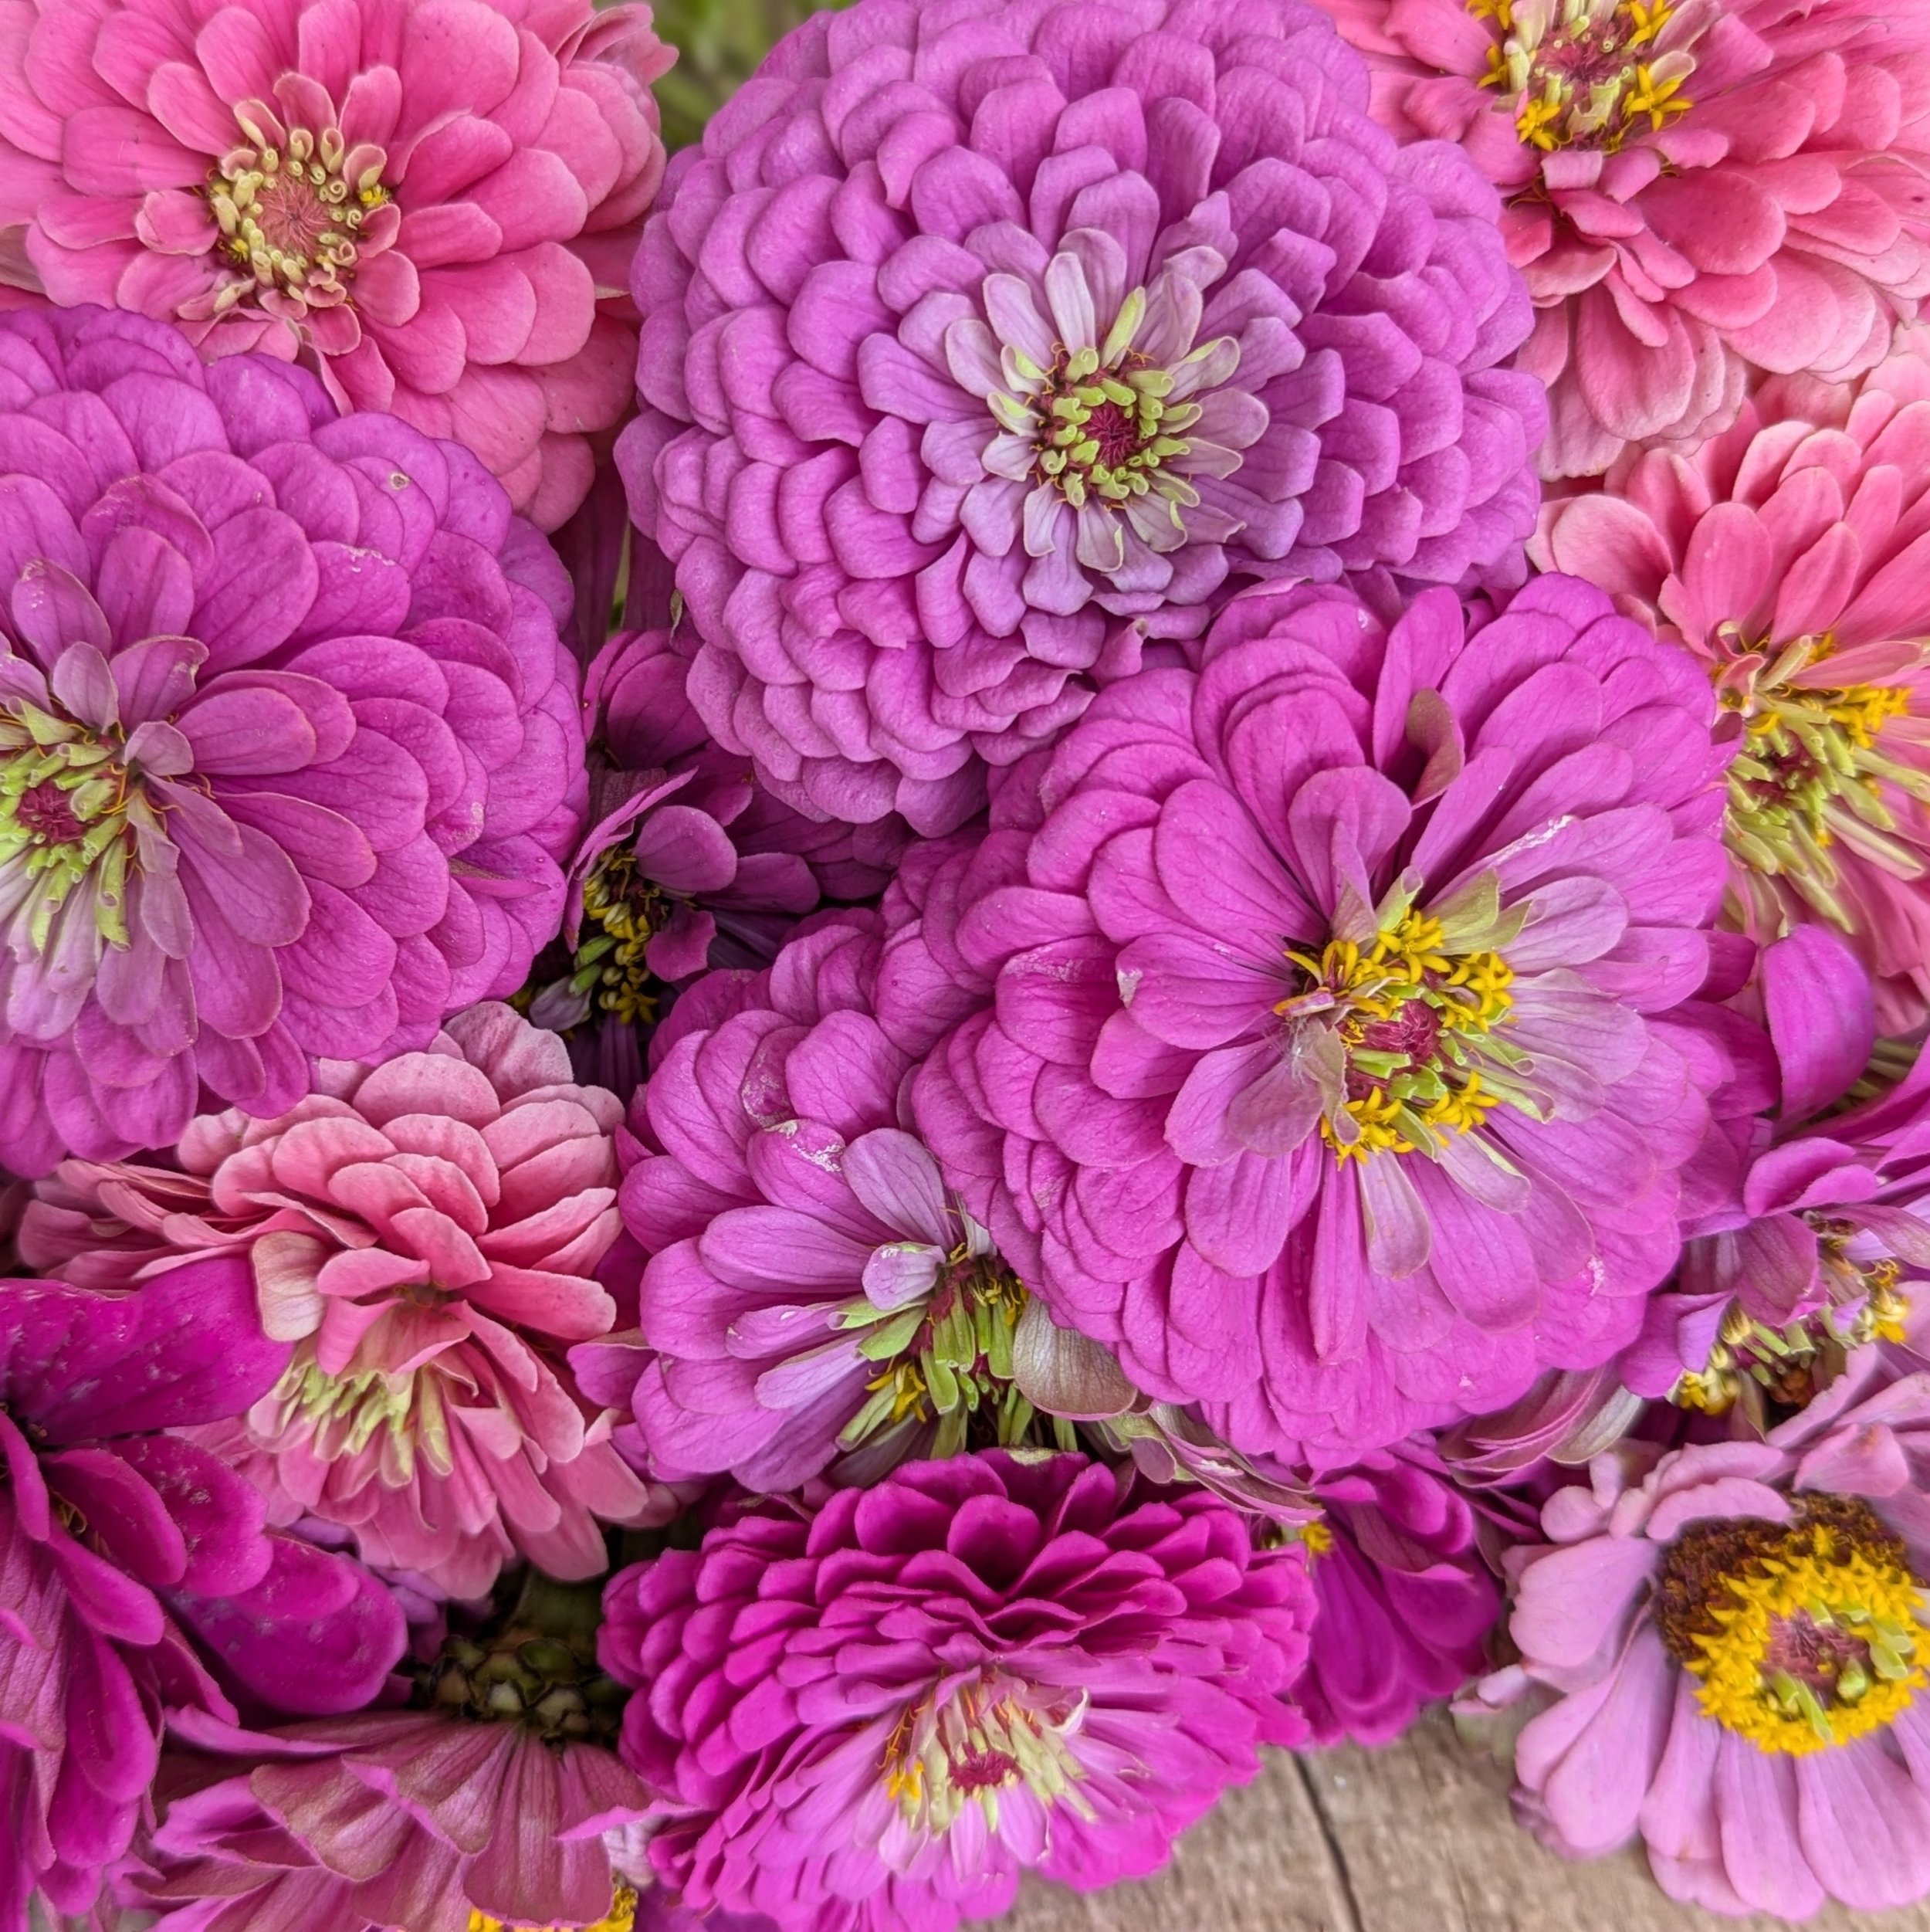
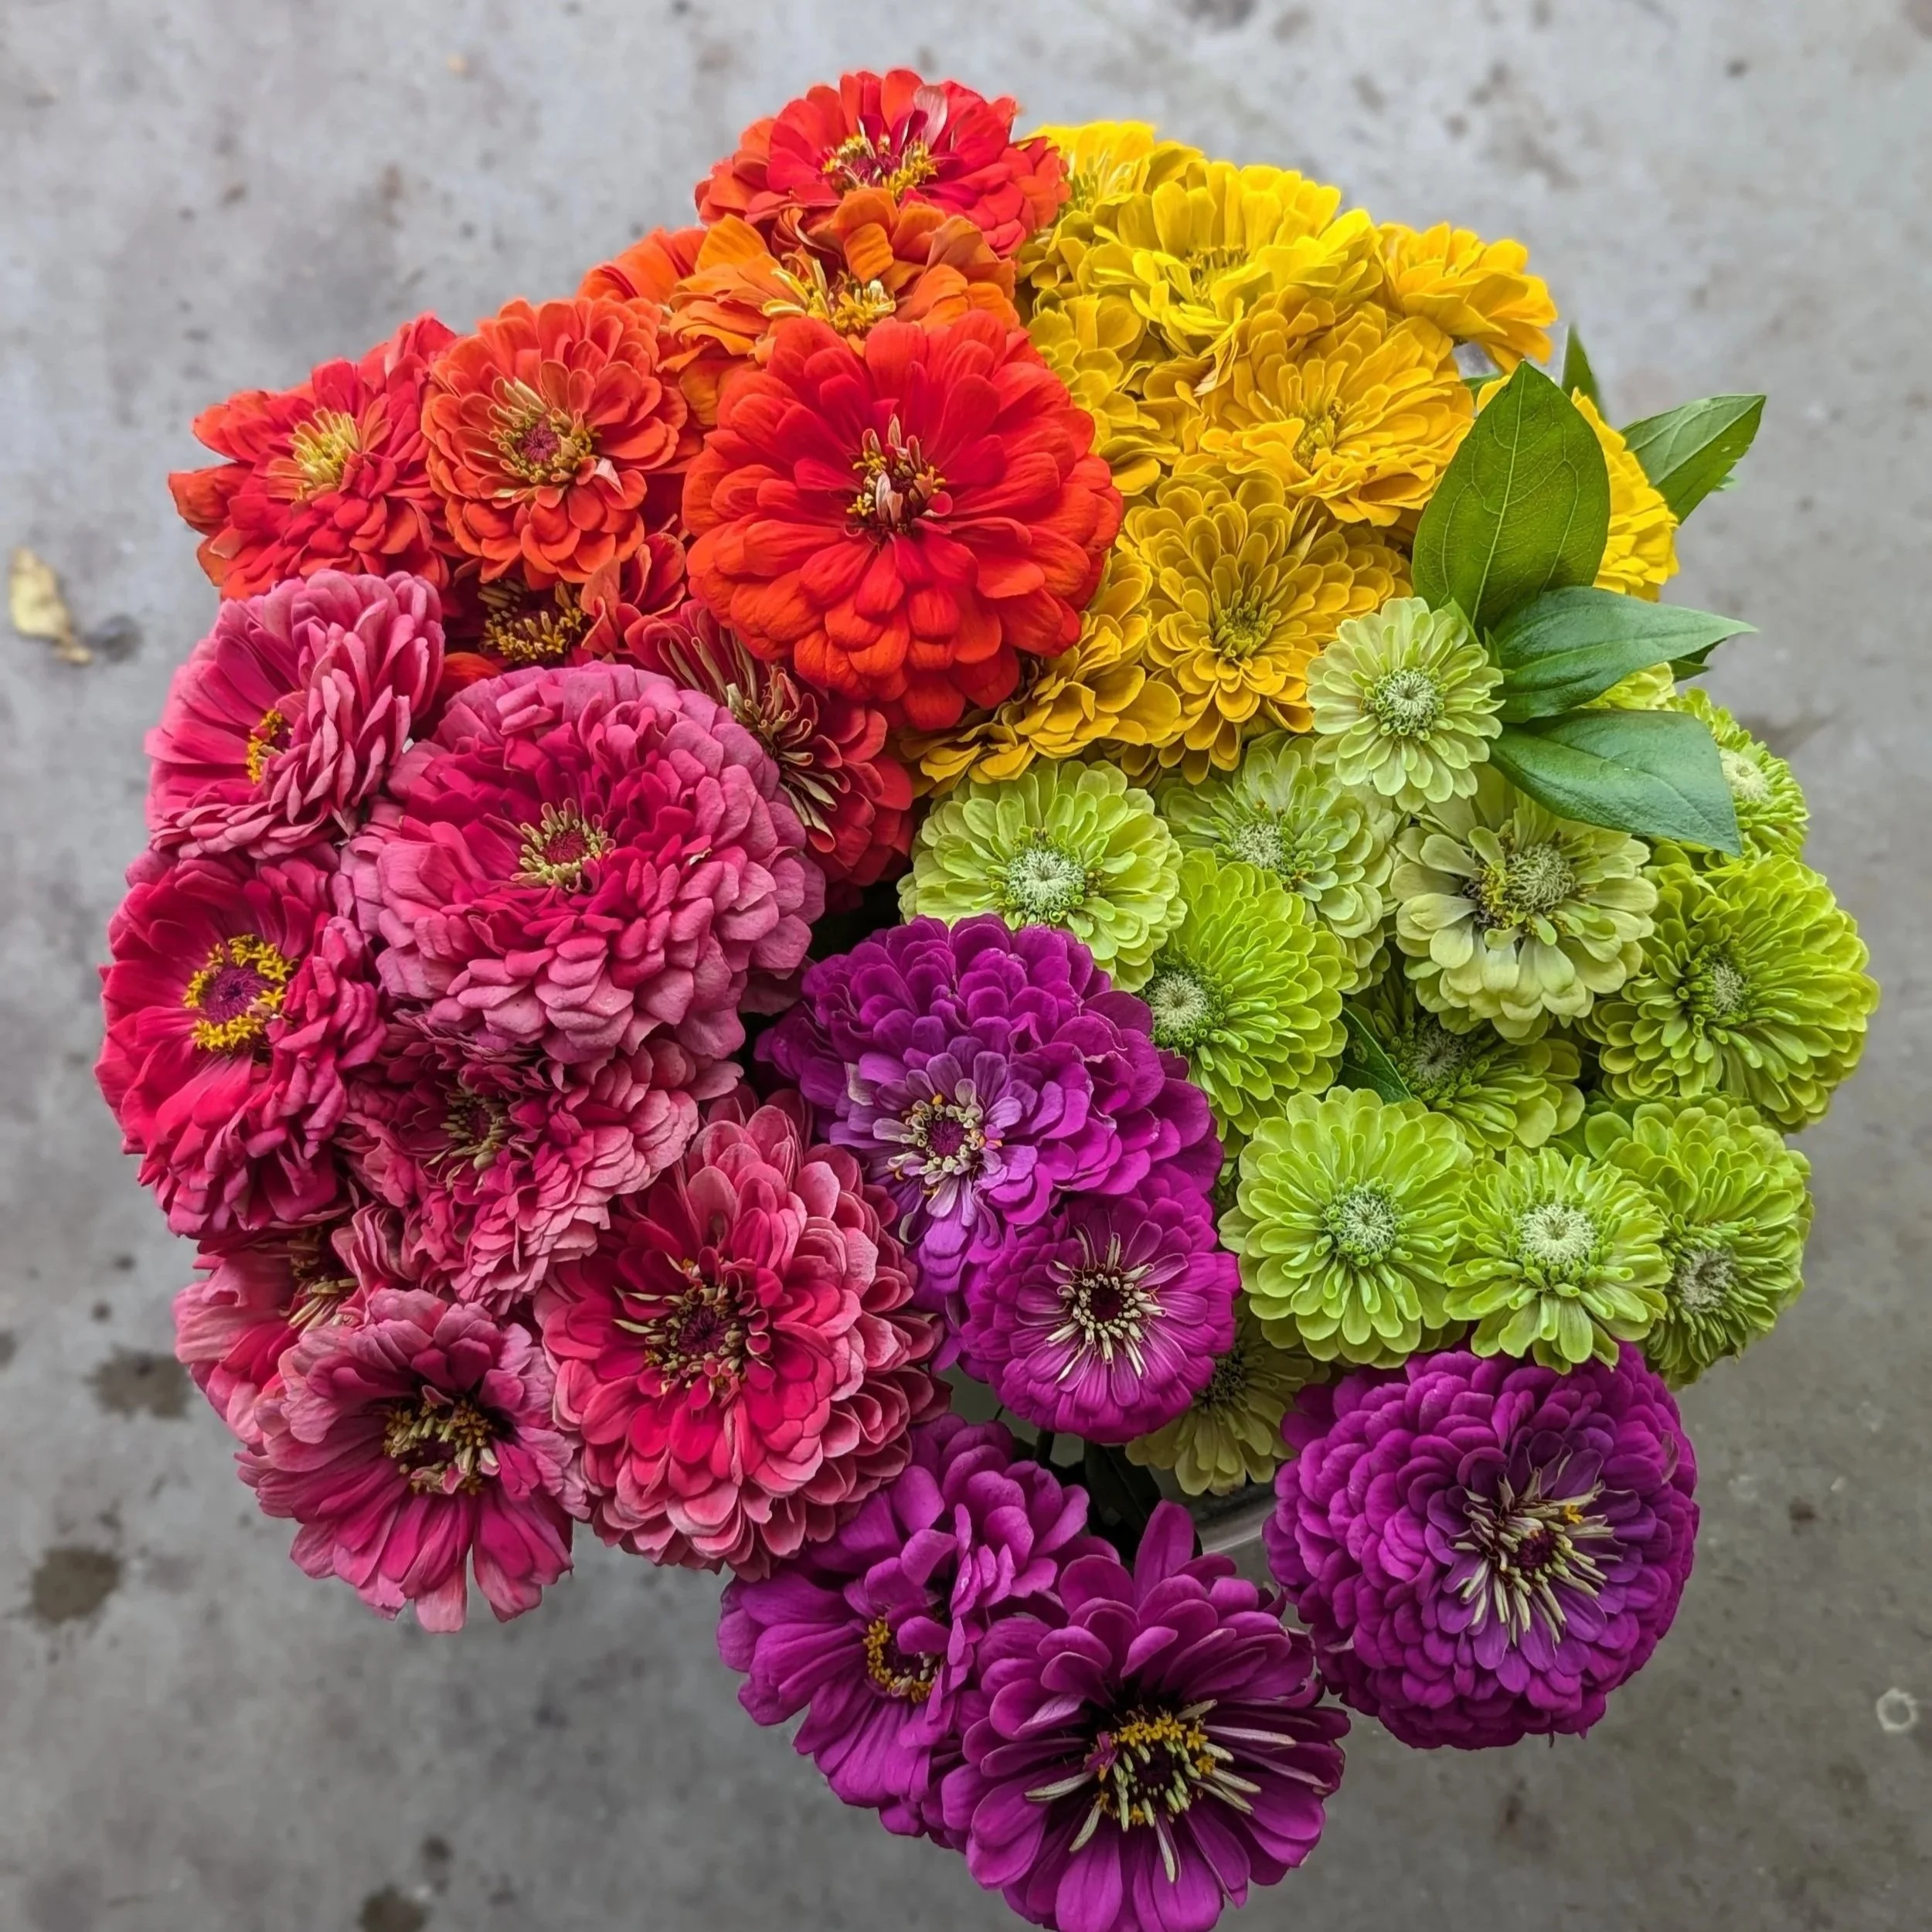
Everyone seems to love Zinnias! Their bright cheery colors seem to scream “Summer!” and they are easy to grow.
Zinnias prefer to be Direct Sown. They grow quickly and like Cosmos, the more you cut them, the more they produce, so don’t be afraid to cut deep into the plant. Deep cuts signal the plant to produce even more flowers!
Depending on where you live, Zinnias can succumb to Powdery Mildew during stretches of hot humid weather. Try planting seeds every few weeks to extend your growing season and remove diseased plants.
Helpful Hint: Cut Zinnias after they are fully open. Zinnias are considered to be a “Dirty Flower”, meaning they muck up the vase water quickly. Be sure to change the water daily or add one drop of bleach to the water.
Favorite Varieties:
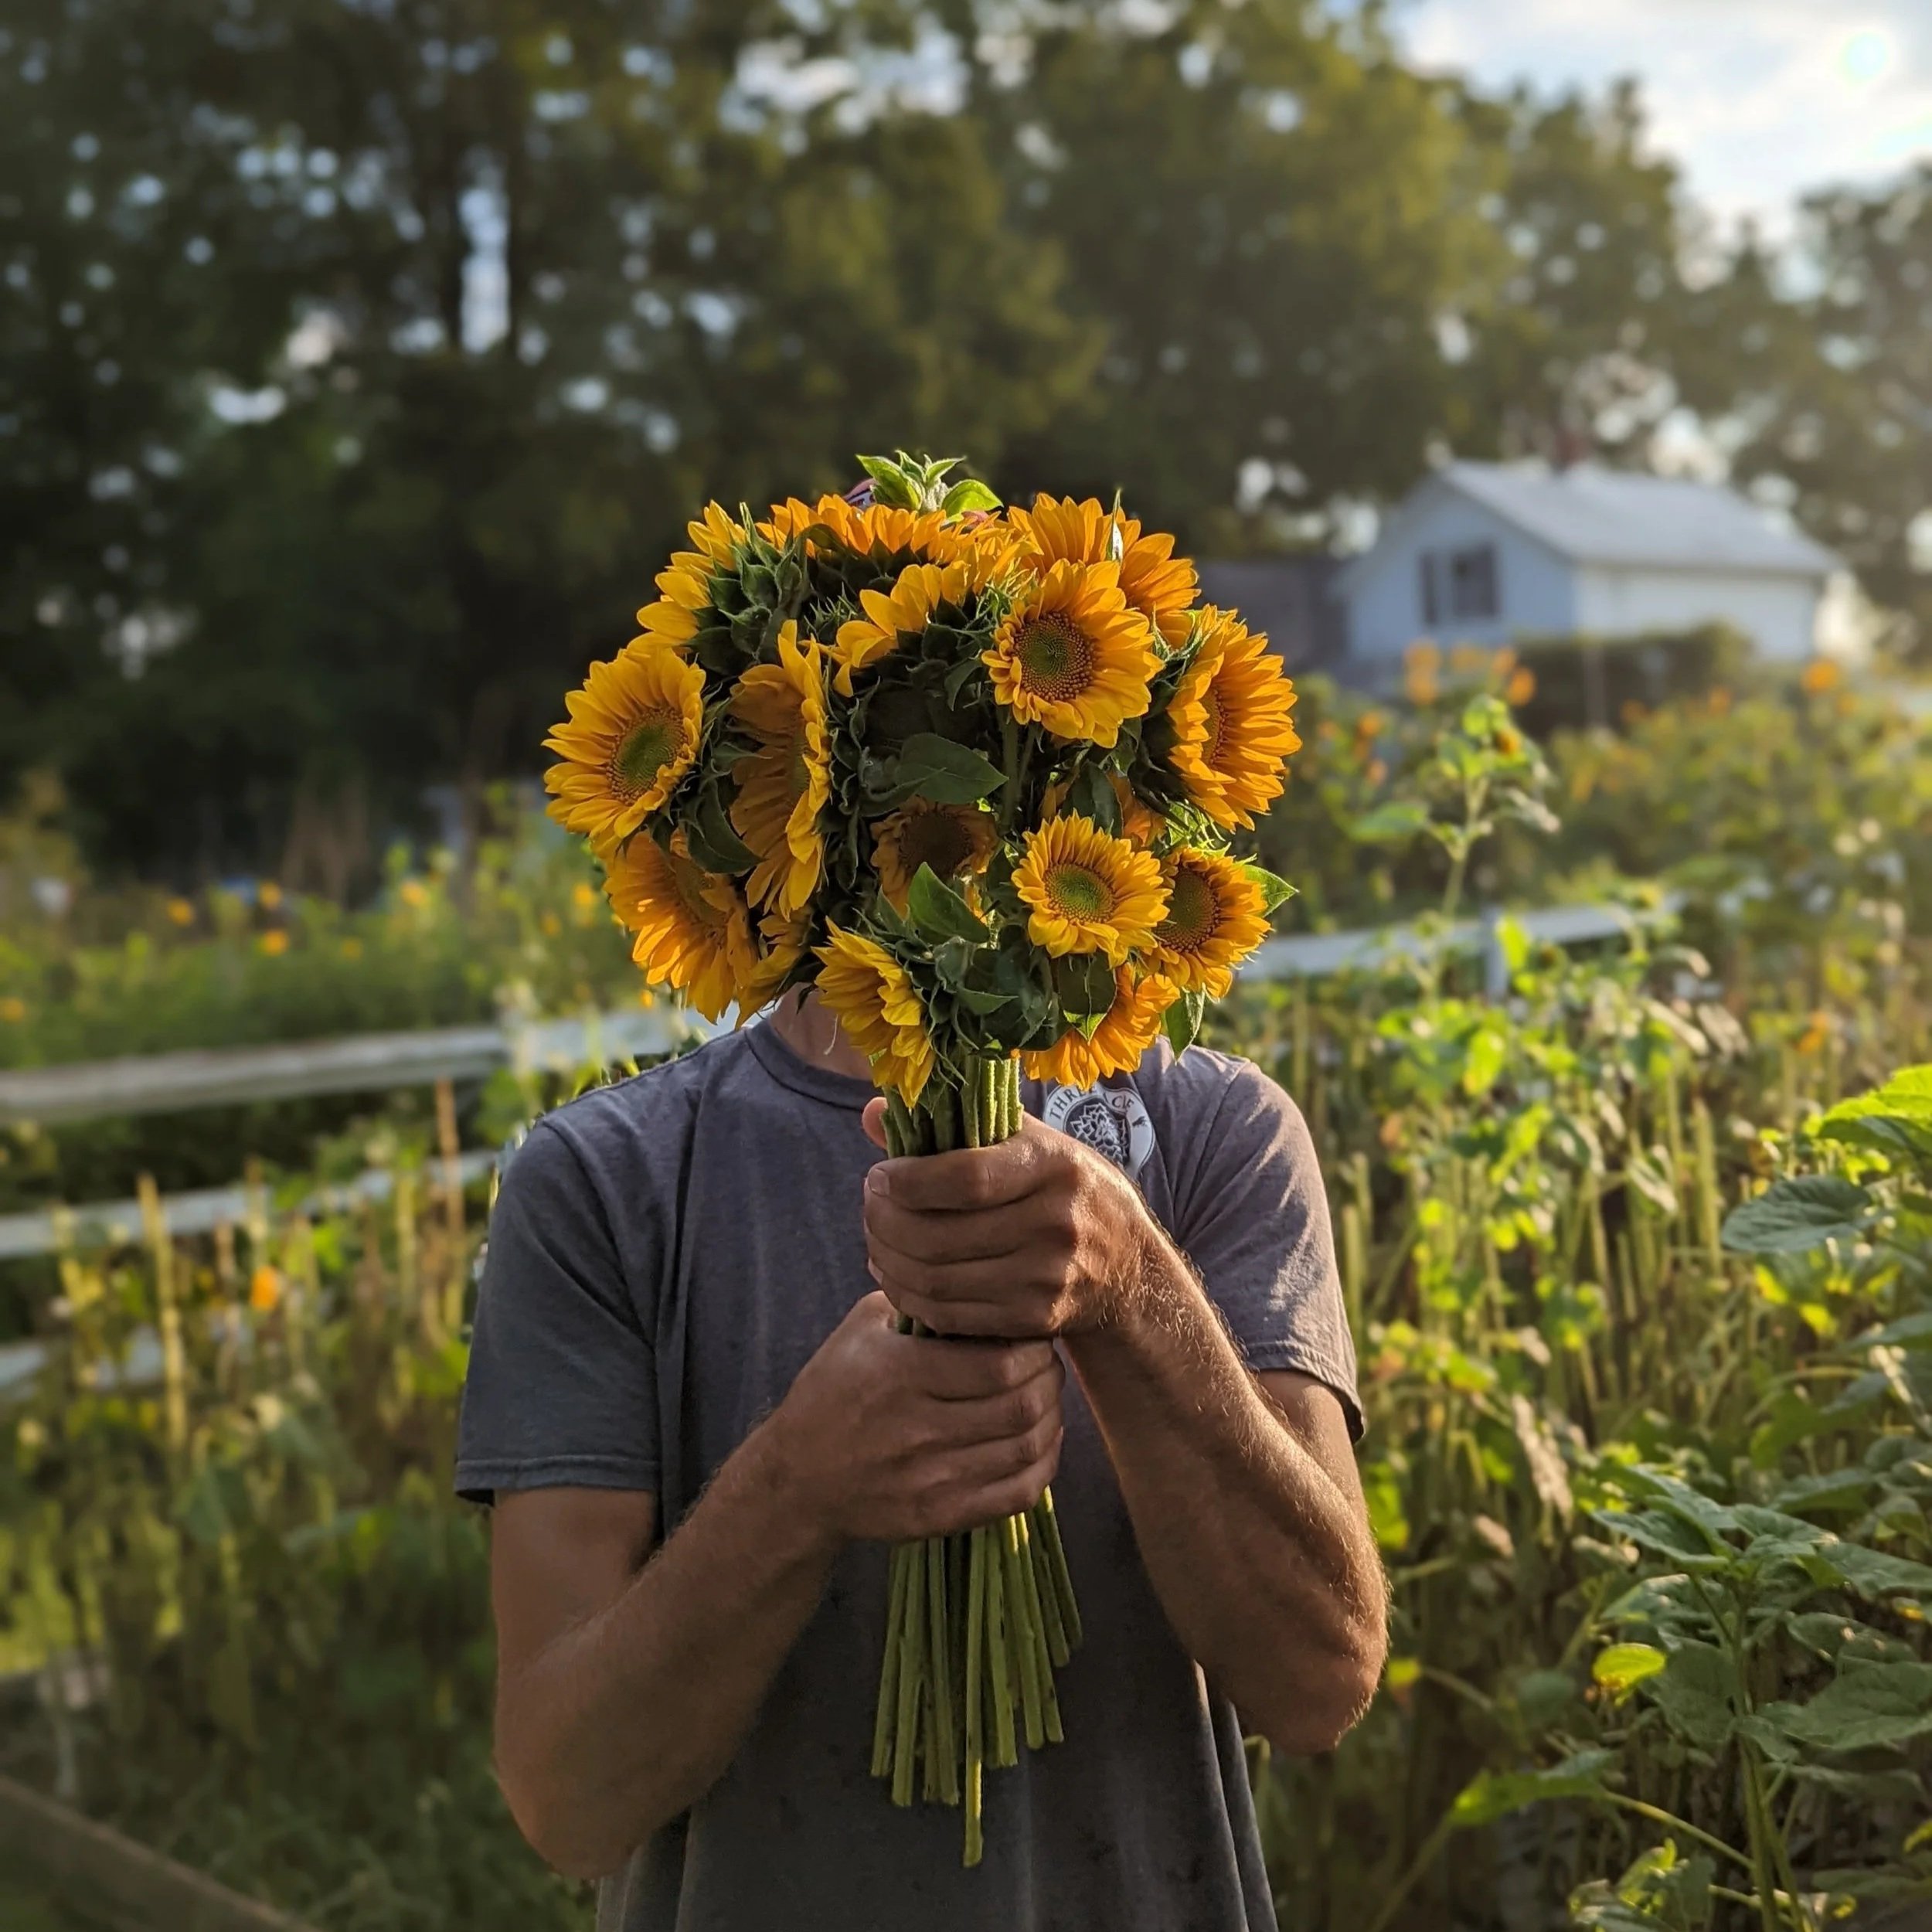
Sunflowers
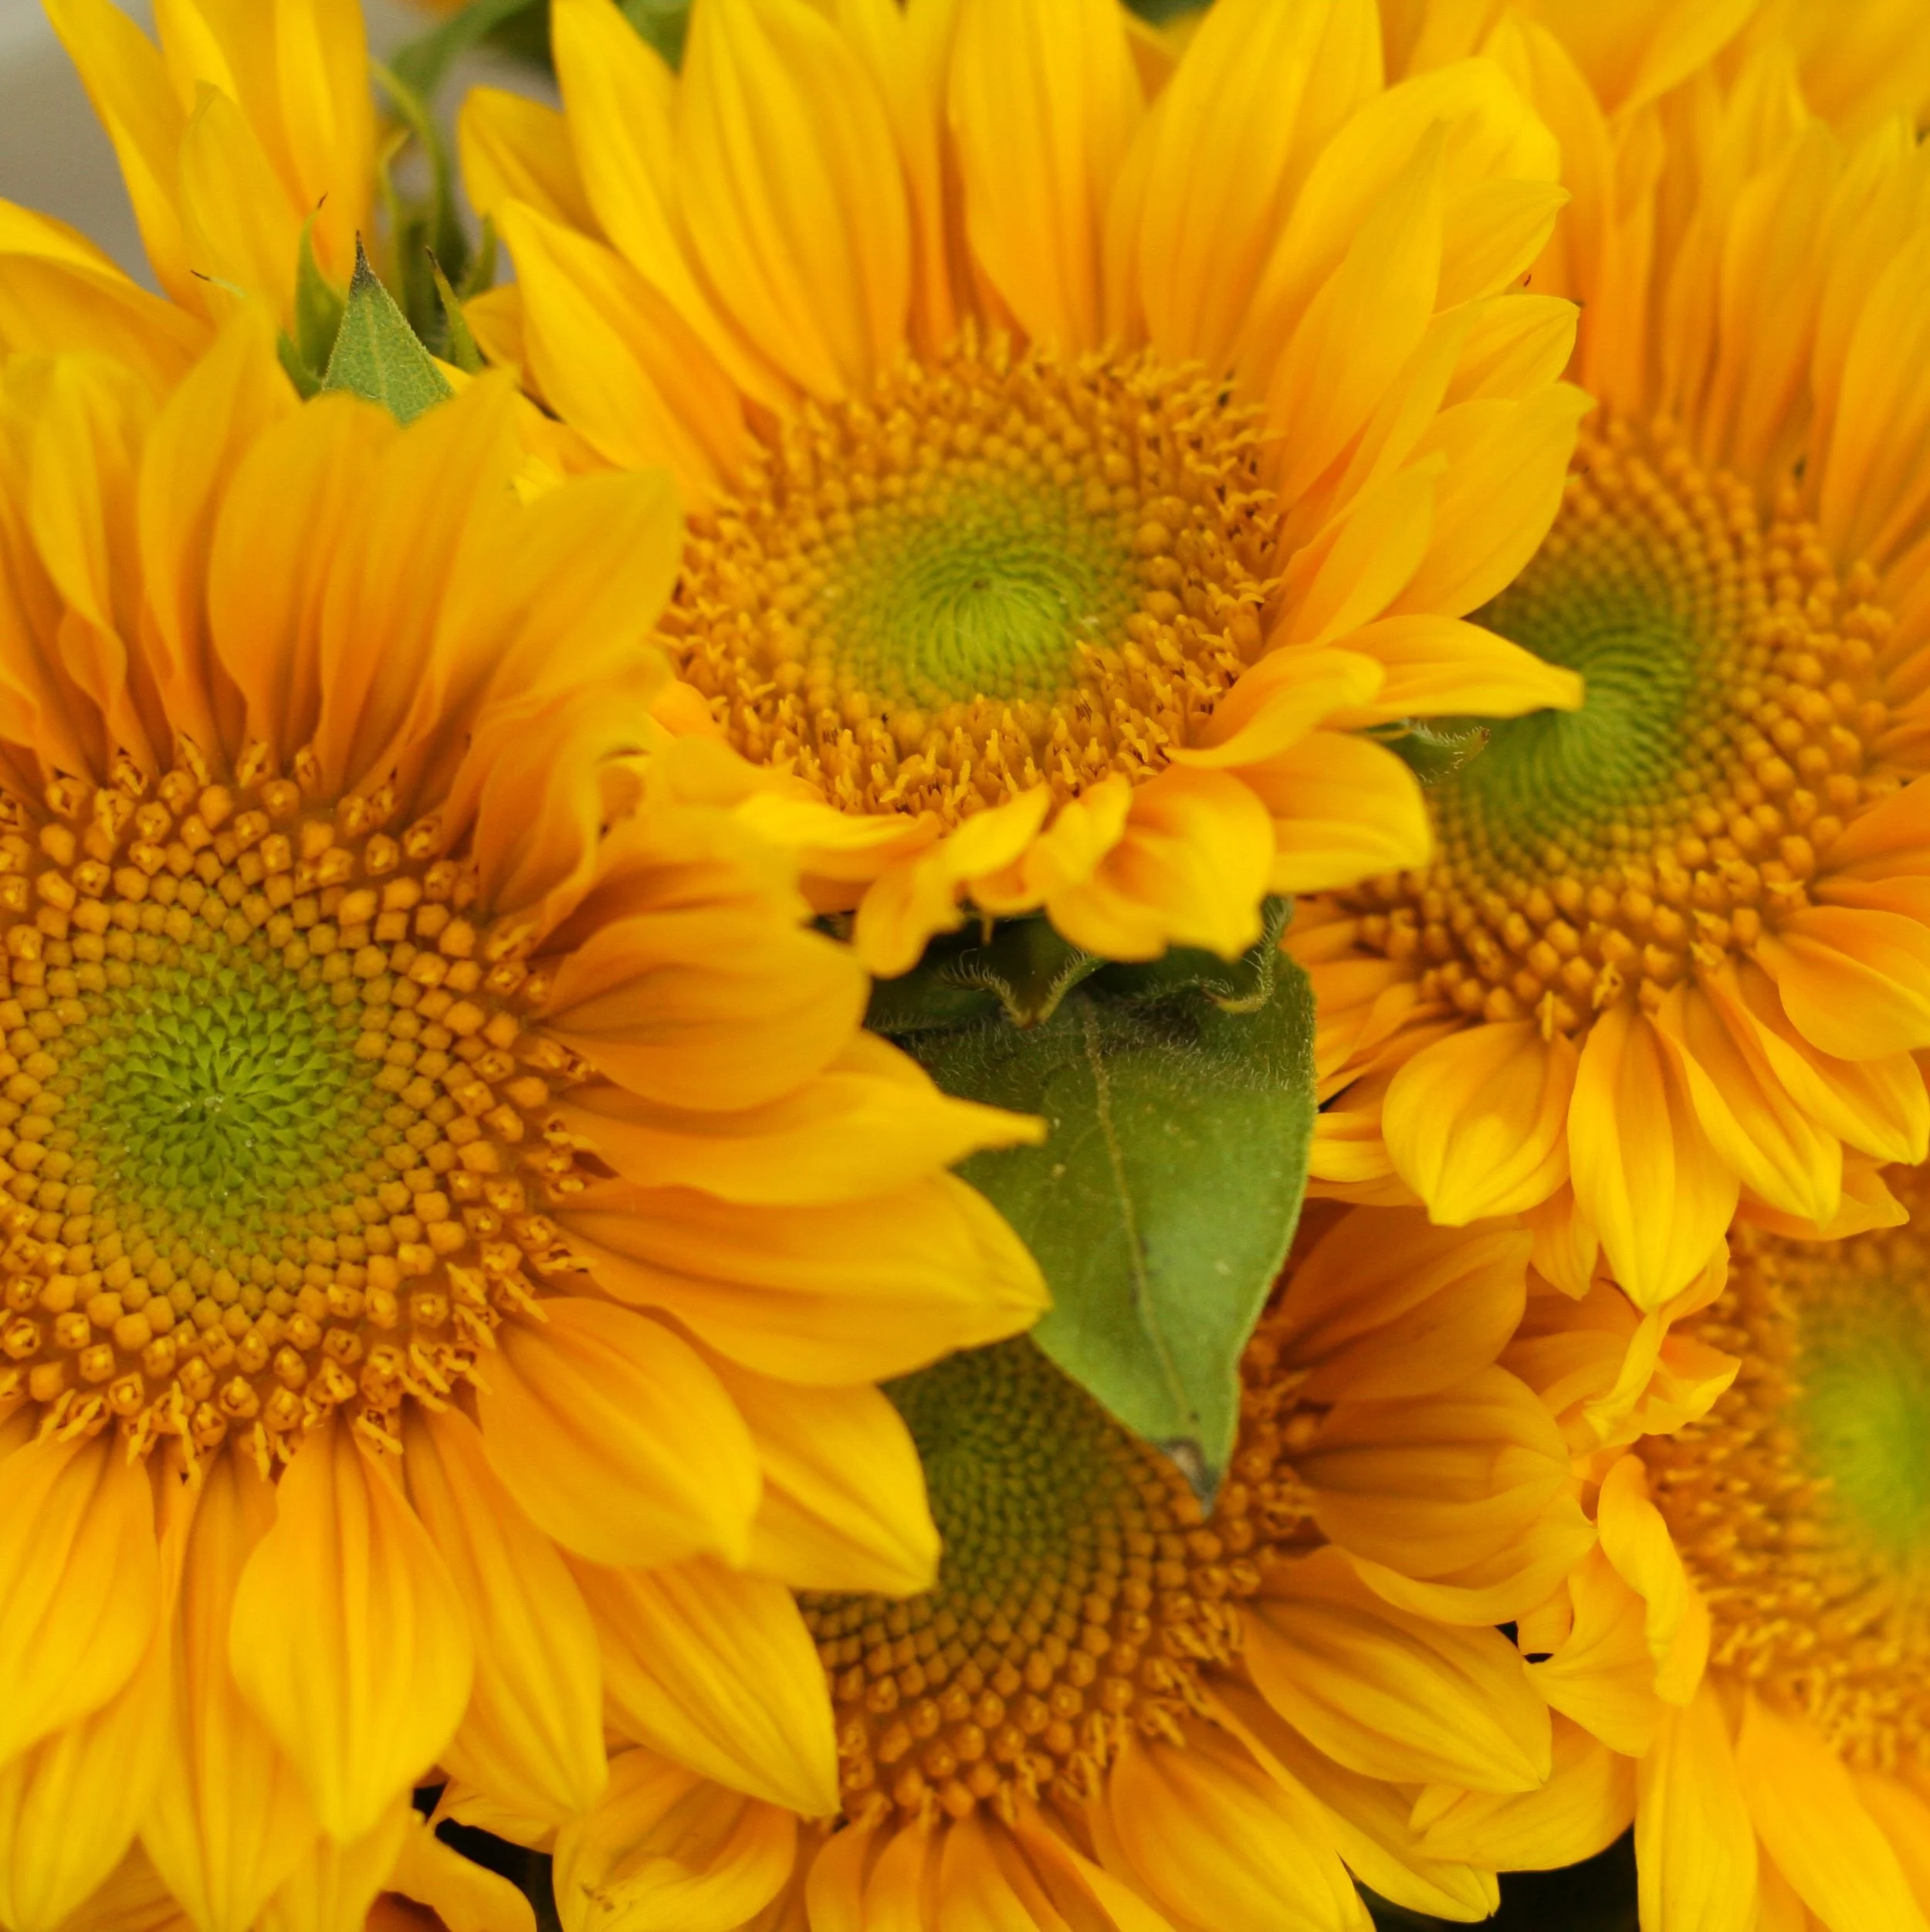
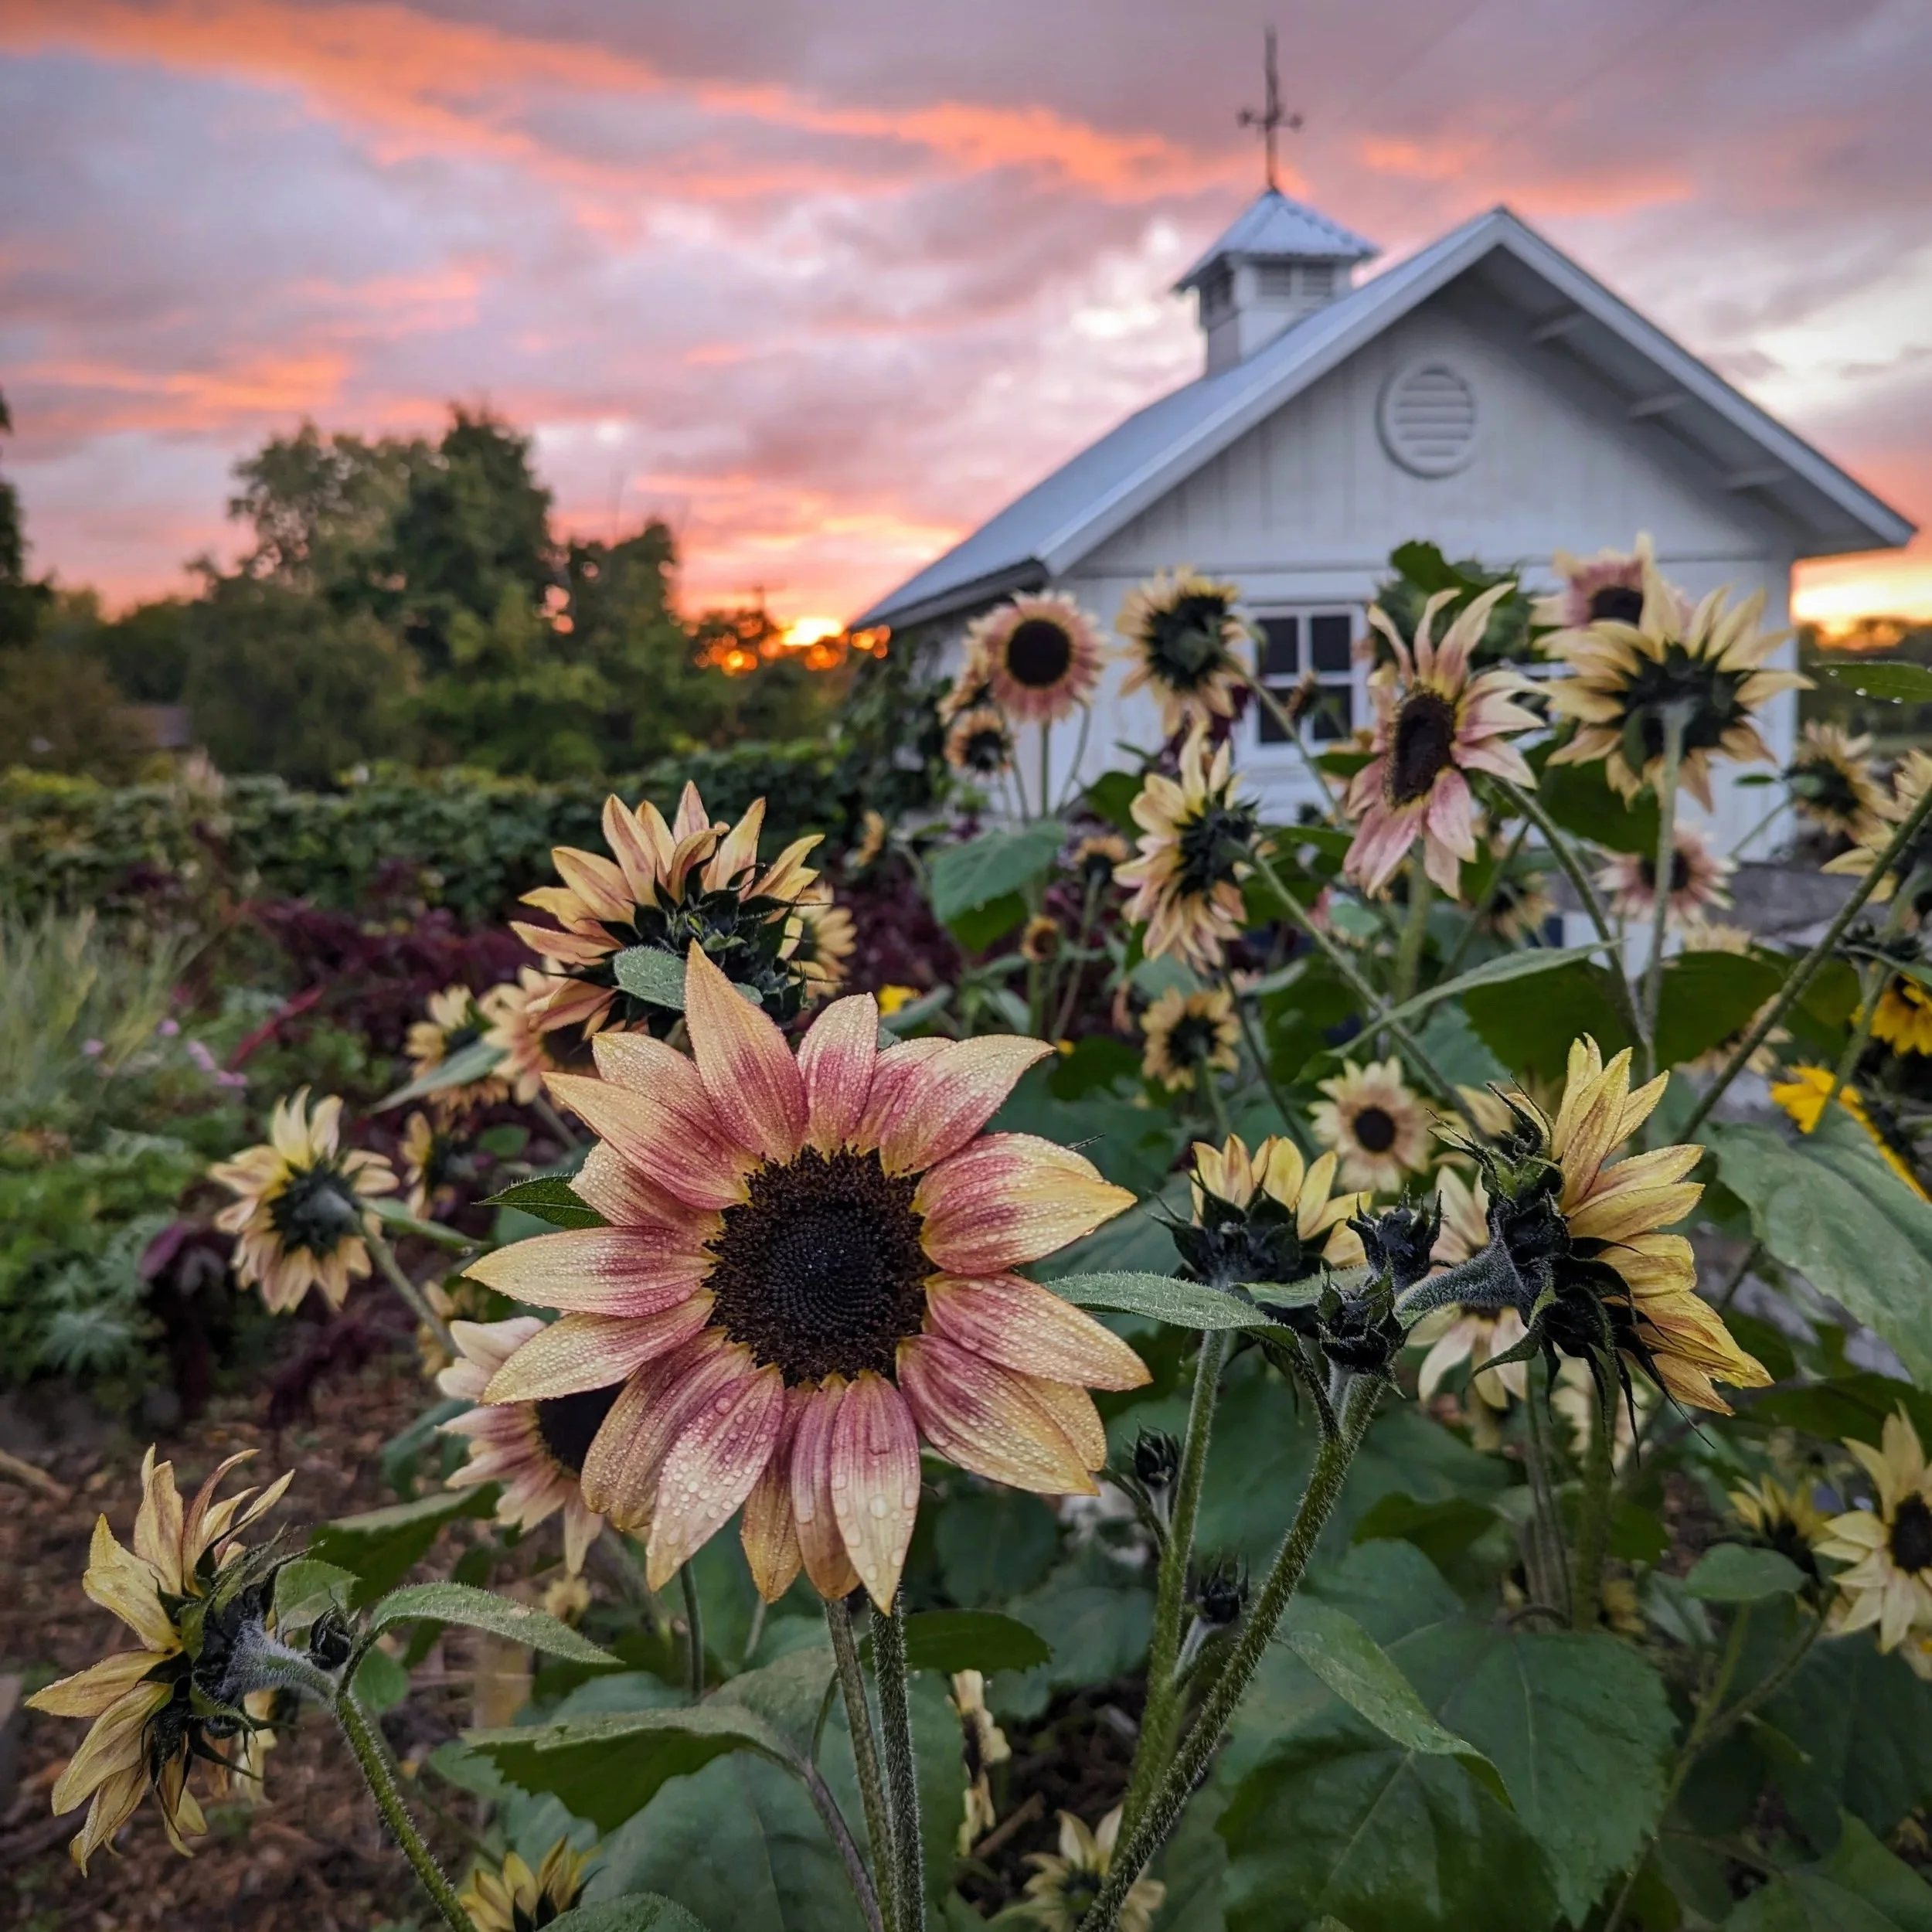
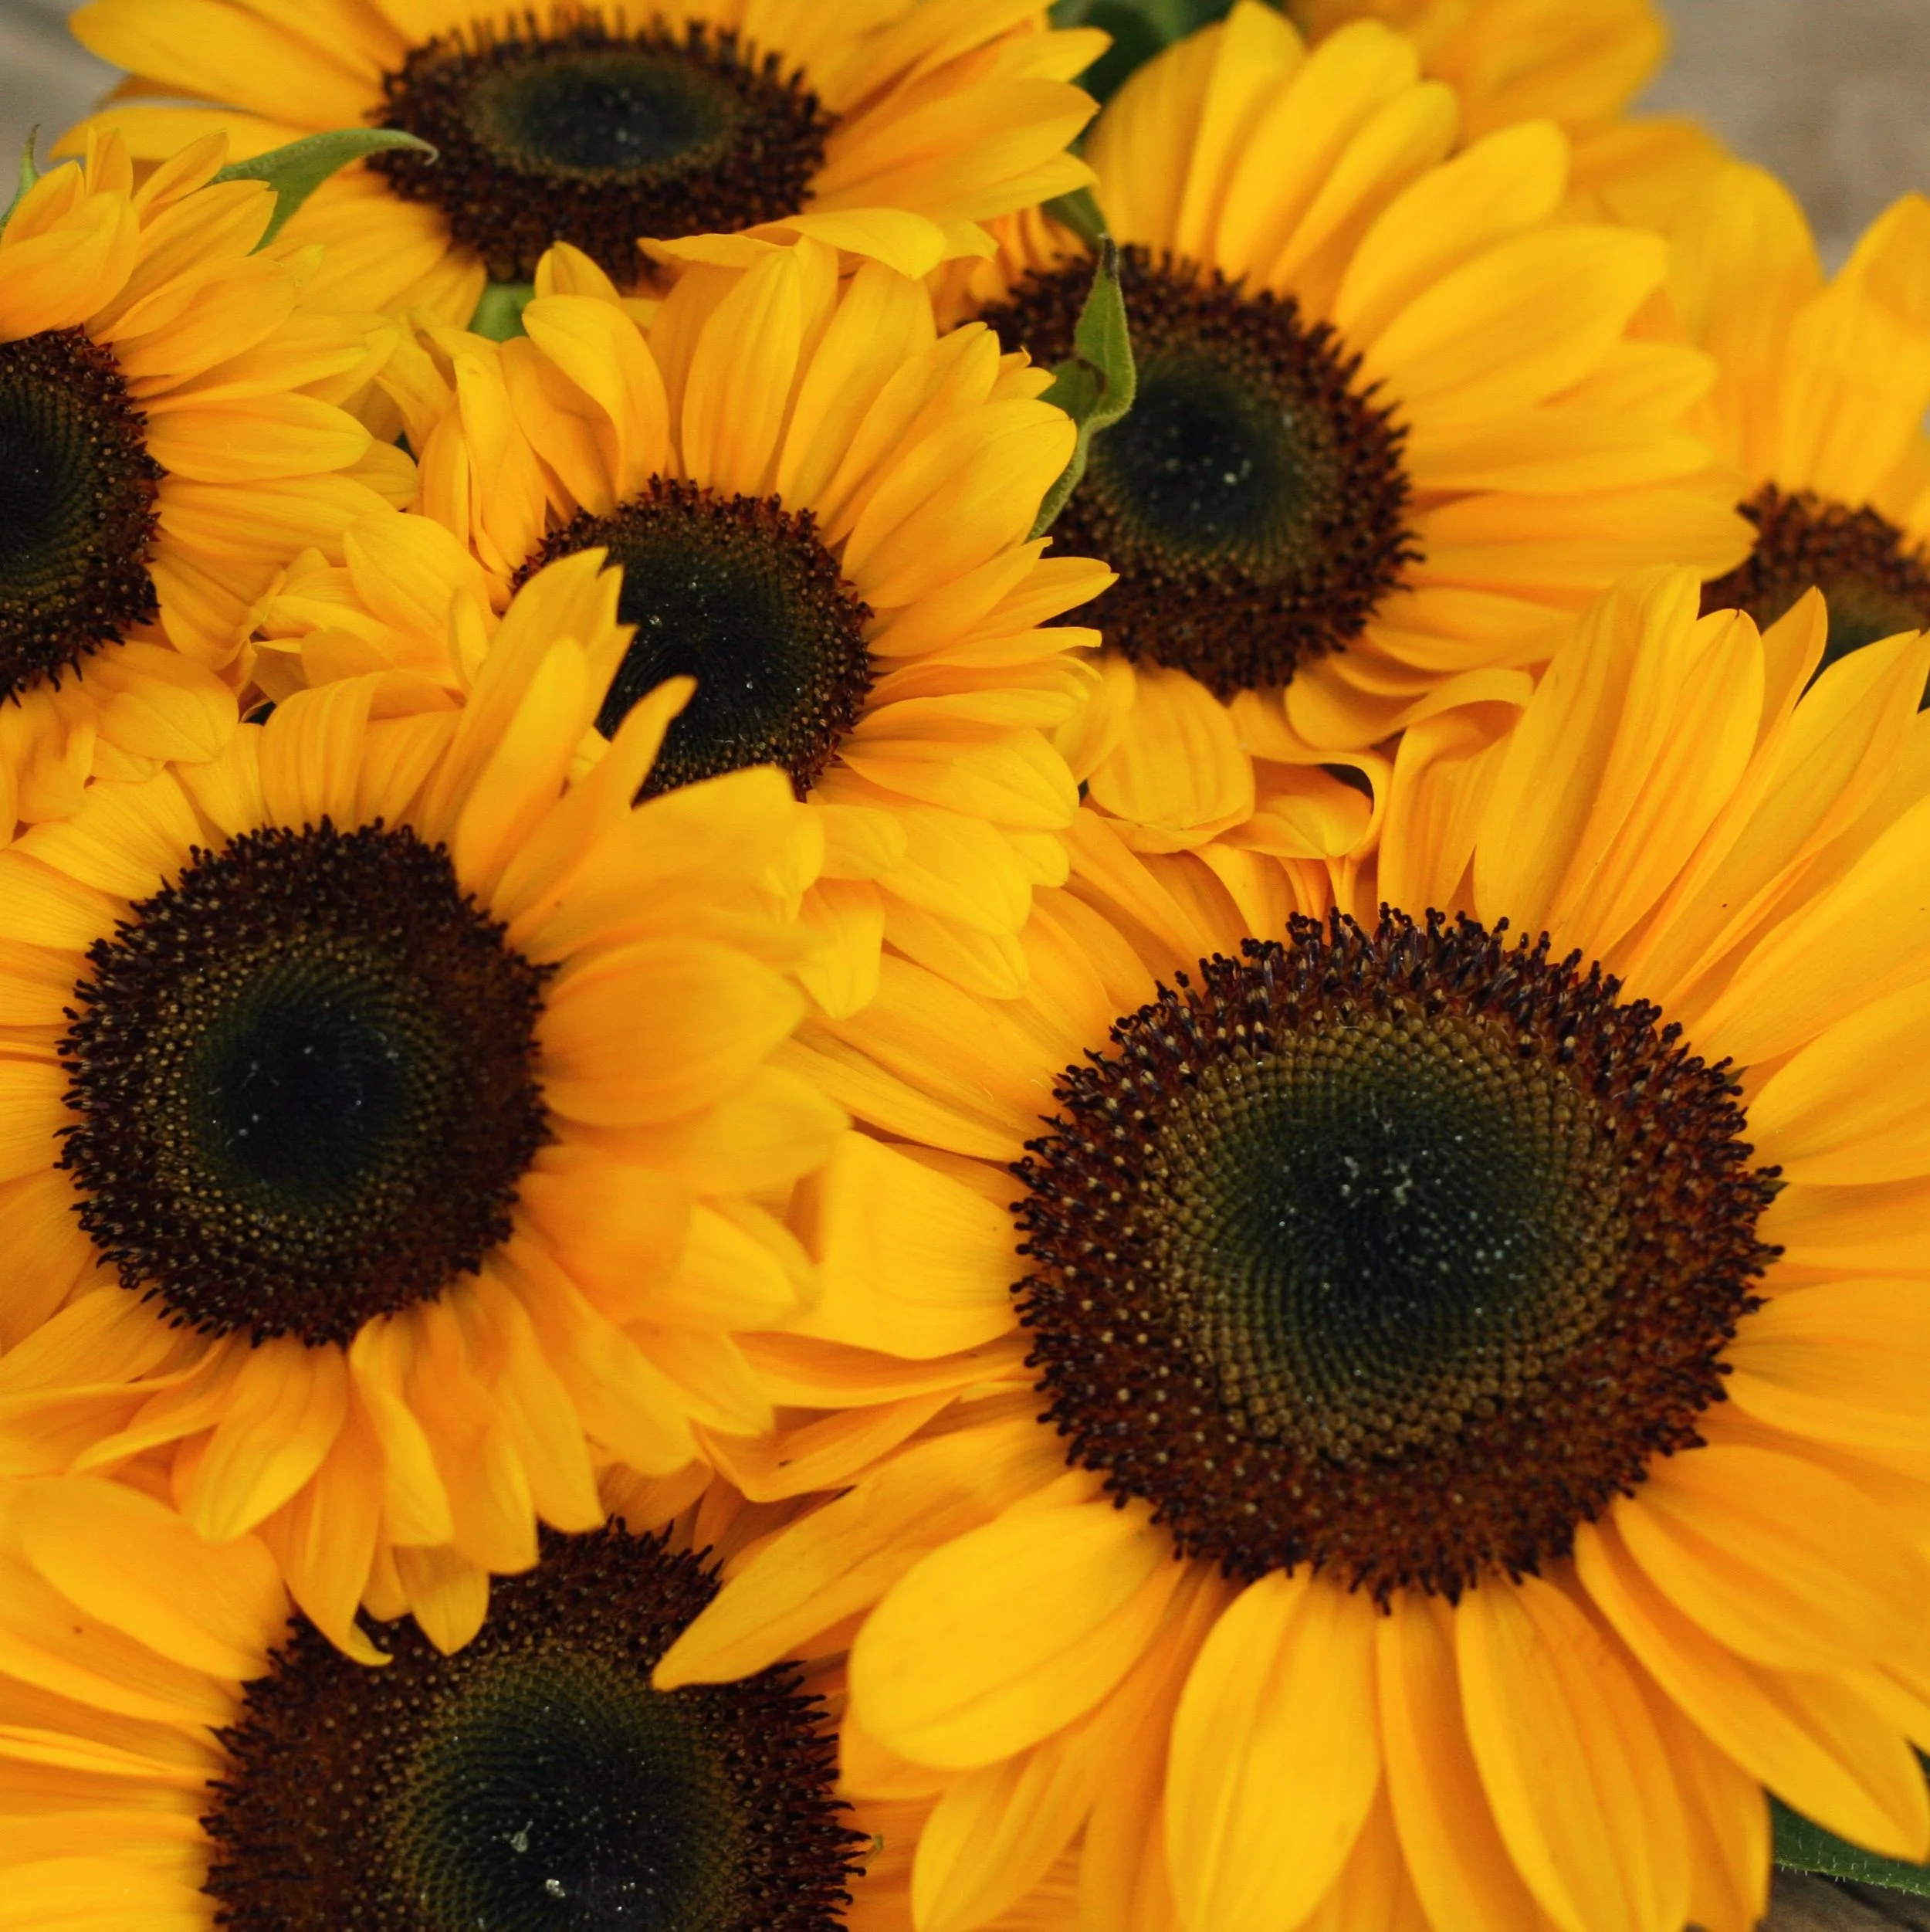
Sunflowers might just be the epitome of summer! Their bright cheery faces never fail to lift our spirits.
They also happen to be very easy to grow and they love to be Direct Sown. Unfortunately, many animals also like to eat sunflower seeds, so you may need to cover the planting area with a sheet or netting to save your seeds from birds and squirrels until the plants have germinated and established.
Sunflowers come in 2 categories: Branching (plant seeds 18” apart) or Single Stem (plant seeds 4” apart).
Branching will give you multiple blooms over a week or two. Single stems produce 1 flower per seed.
Direct Sow sunflowers starting at your average last spring frost date, and continue planting them every 2 weeks until mid summer to have a constant supply of blooms.
Helpful Hint: Harvest sunflowers when just 1 or 2 petals have started to lift/unfurl. The flower will continue to open in the vase and give you nearly a week of vase life. If cut when fully open, only expect a few days in the vase.
Favorite Varieties:
Amaranth
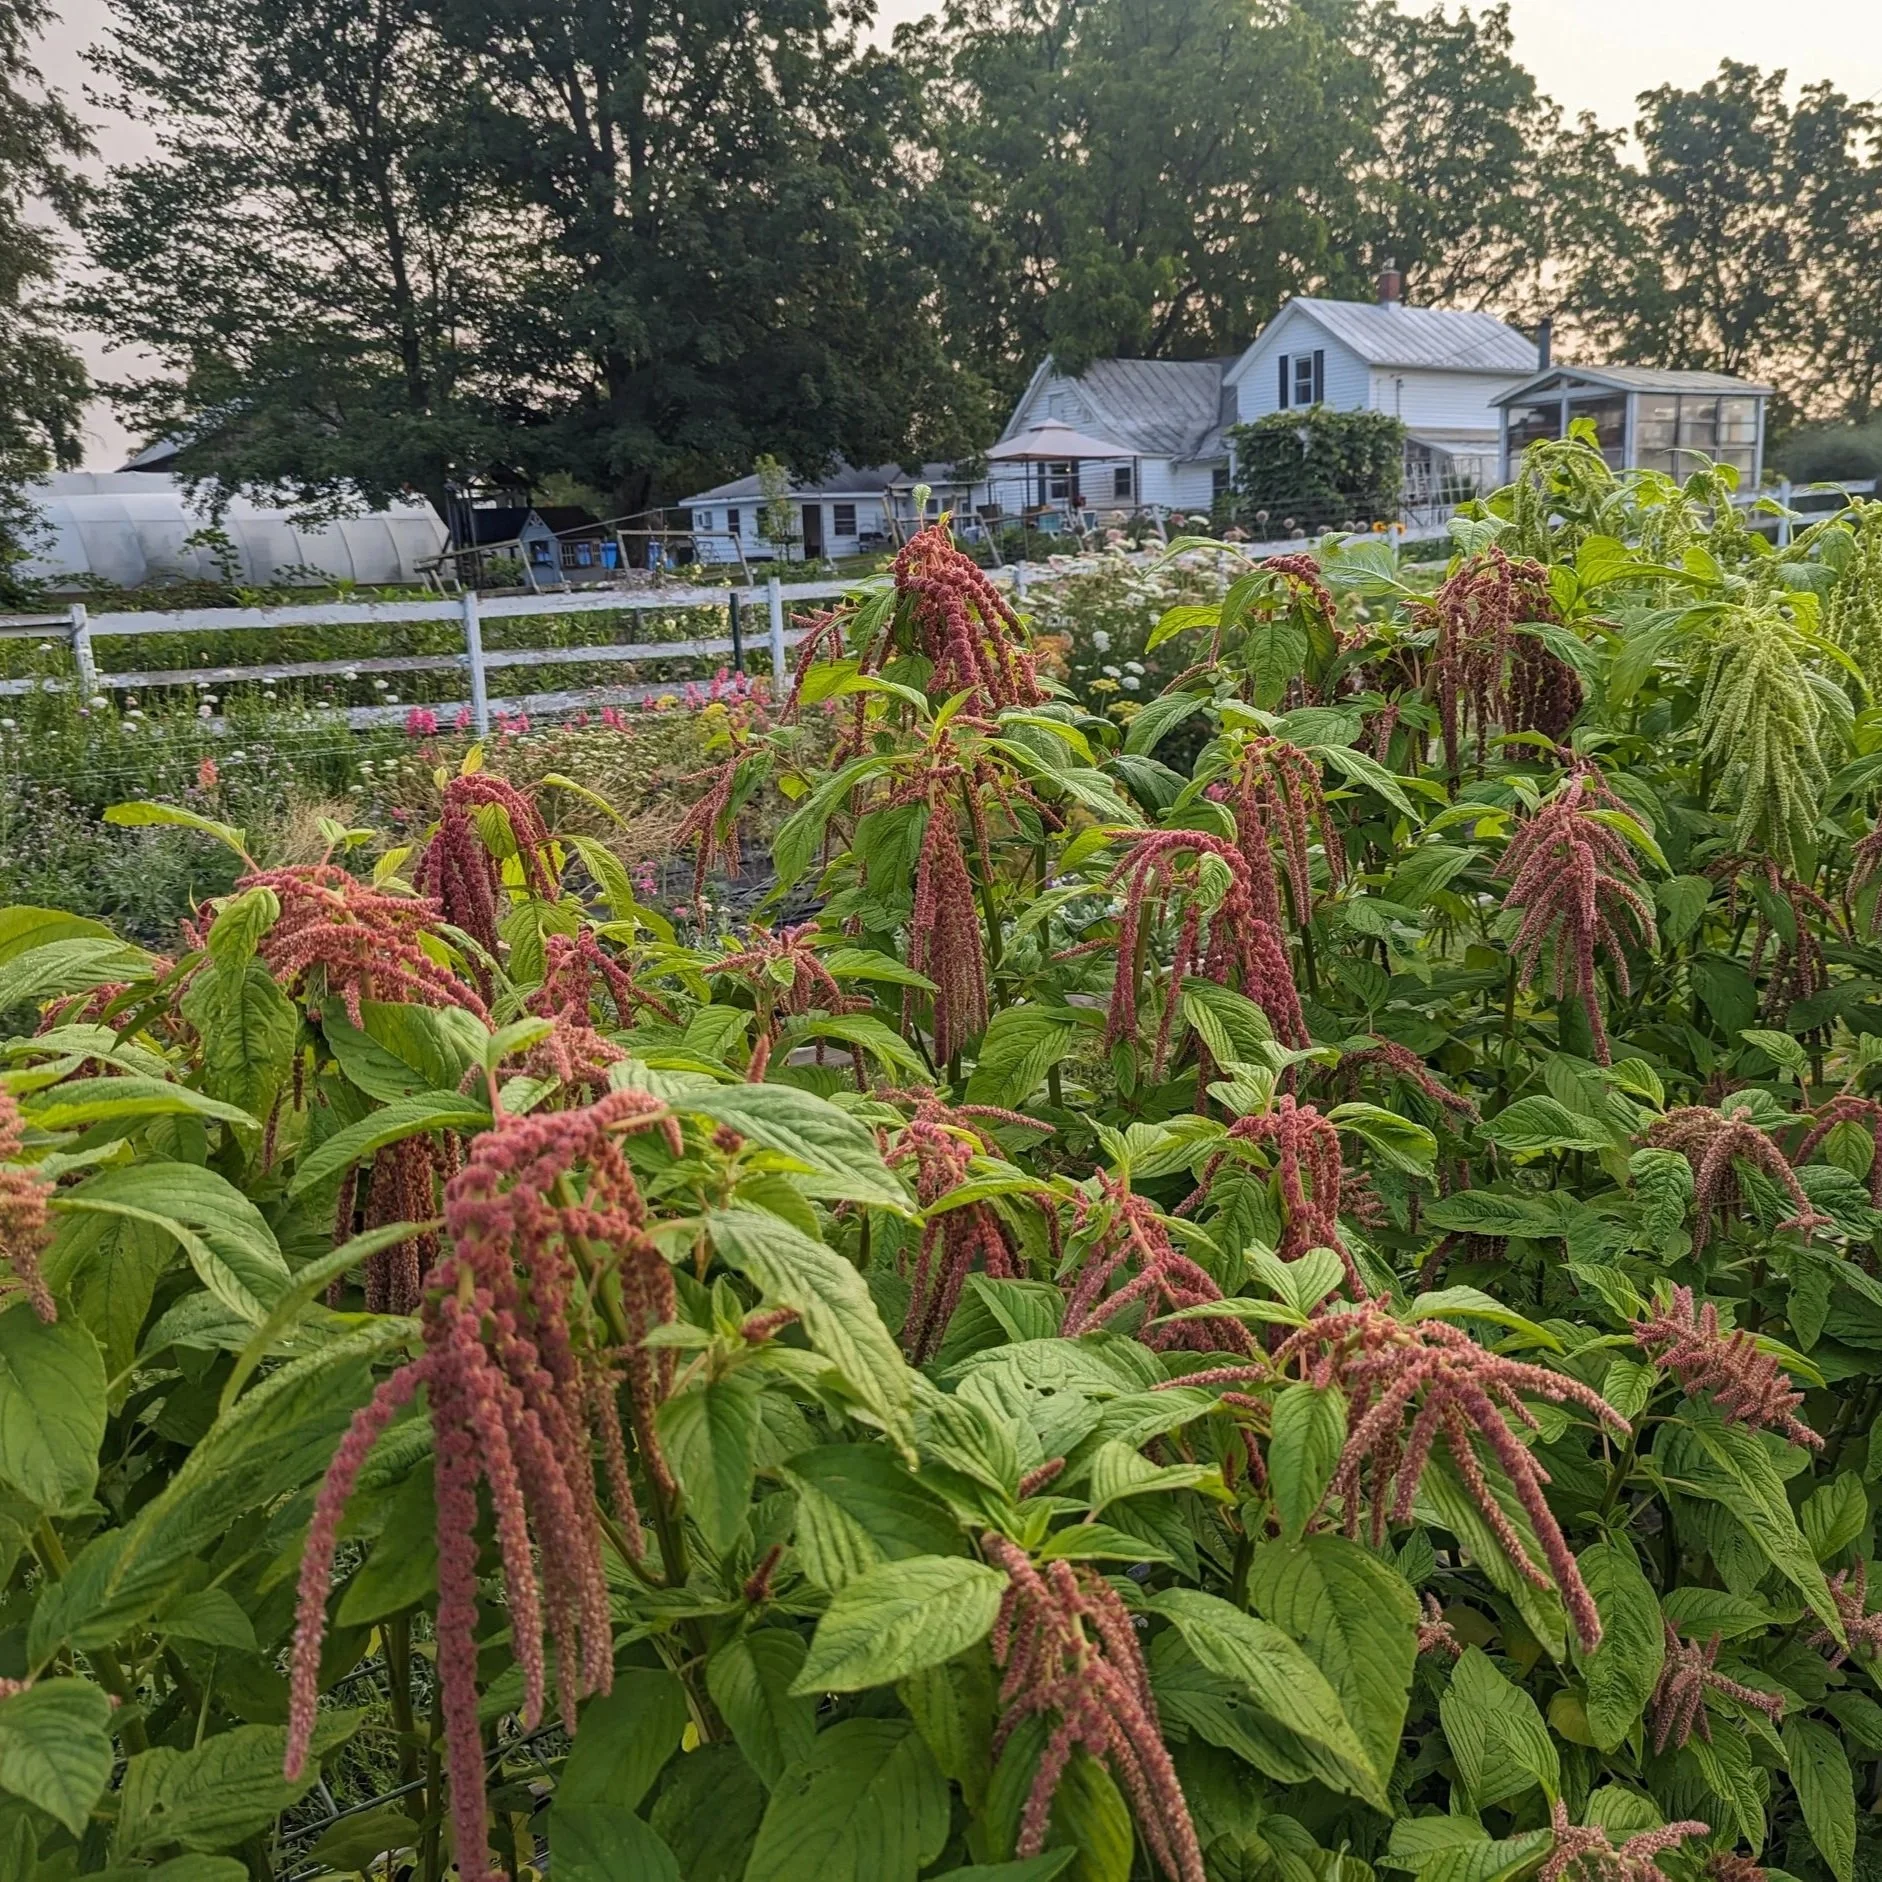
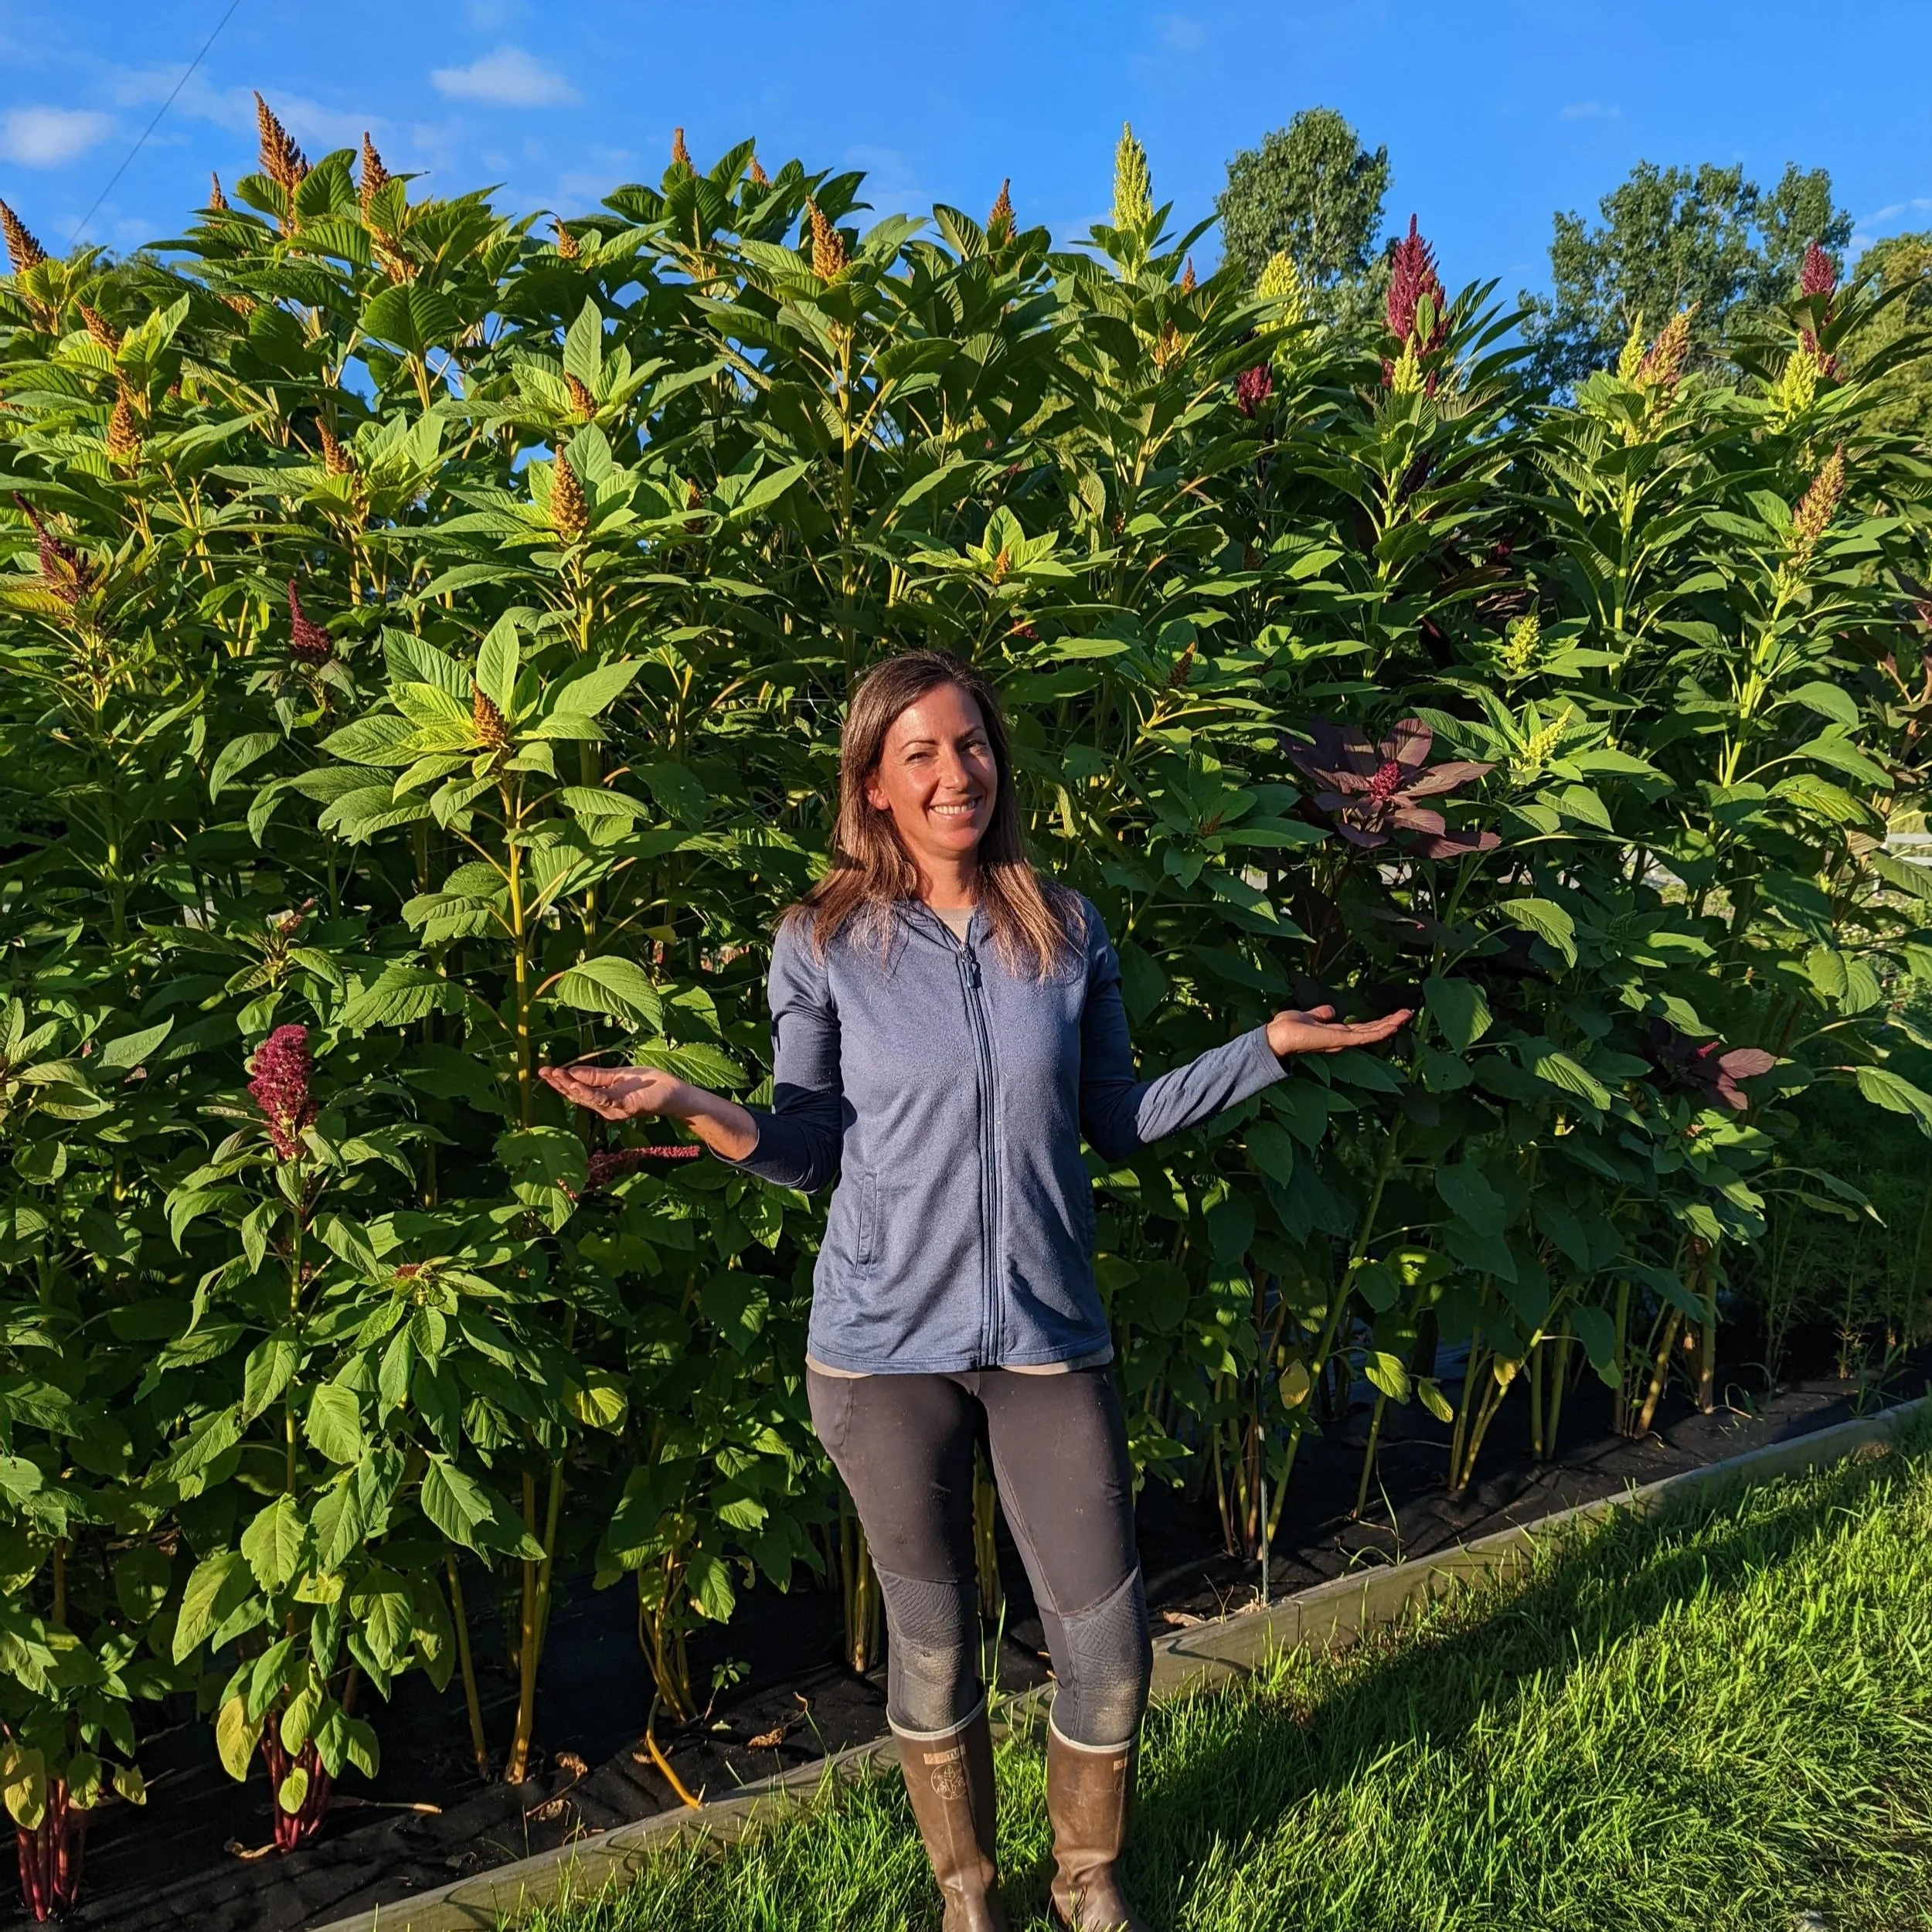
Amaranth seeds may be tiny… but these plants can grow to nearly 8 ft tall!
These heat-loving plants grow best when they are direct-sown into the garden when the soil is warm. We usually wait until June or July to sow them. They grow FAST and will be towering over you before you know it! Be sure to provide them with some support and grow them at the back of your garden so they don’t shade out the other flowers.
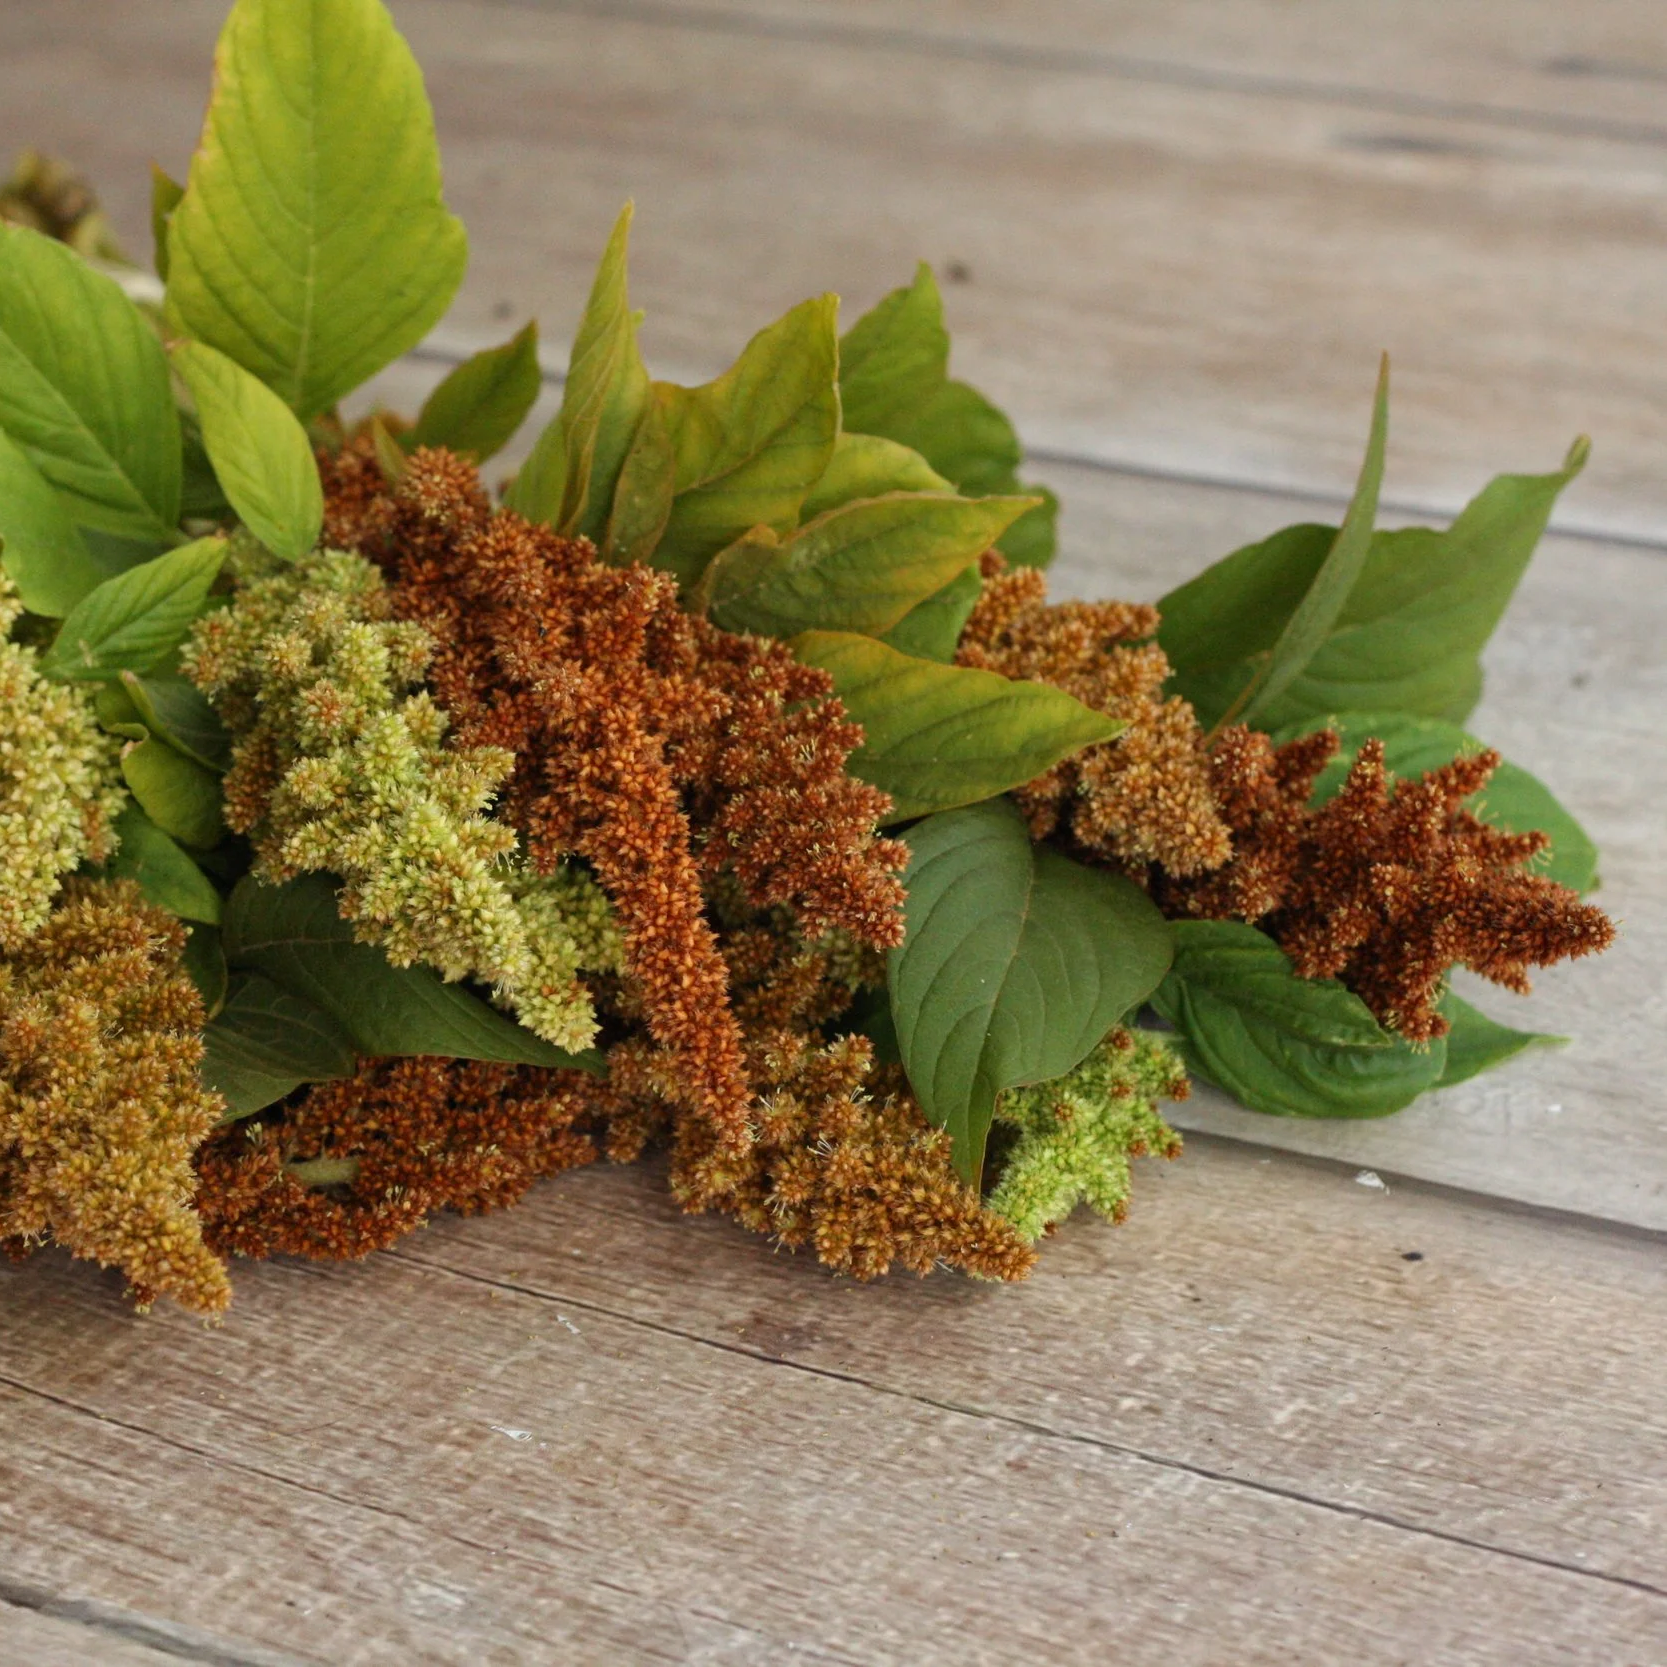
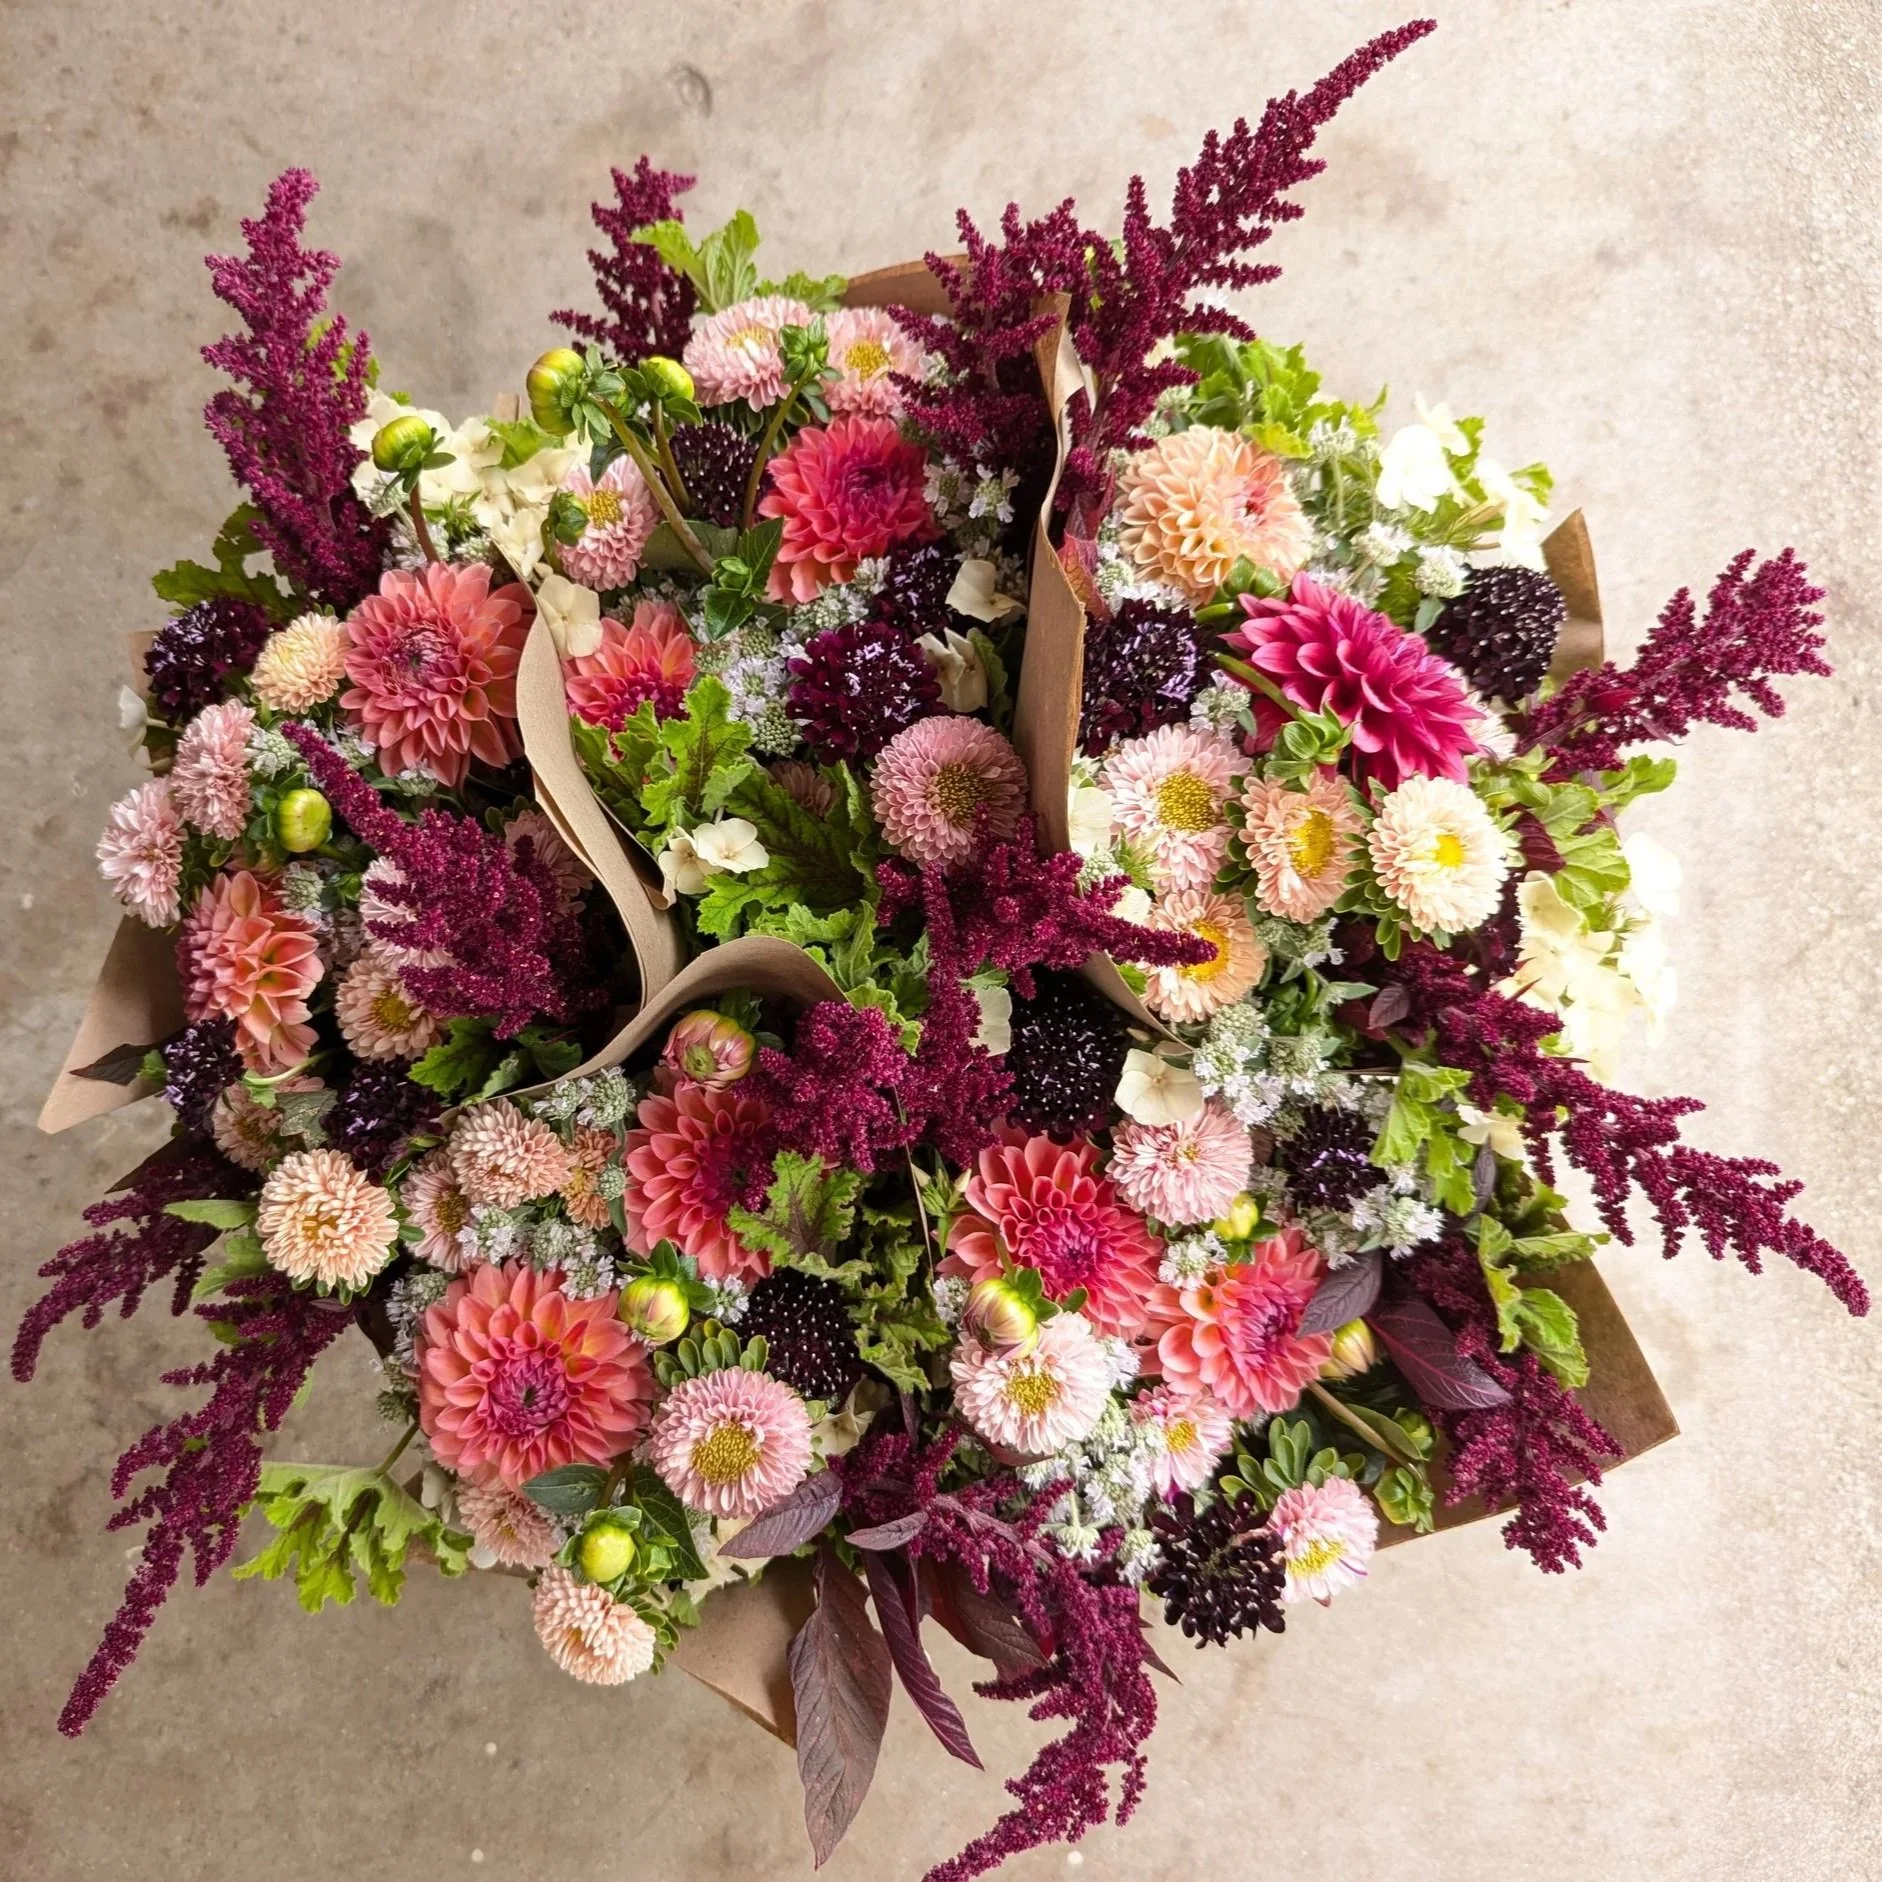
They are lovely in fall arrangements or grow them for fall decor.
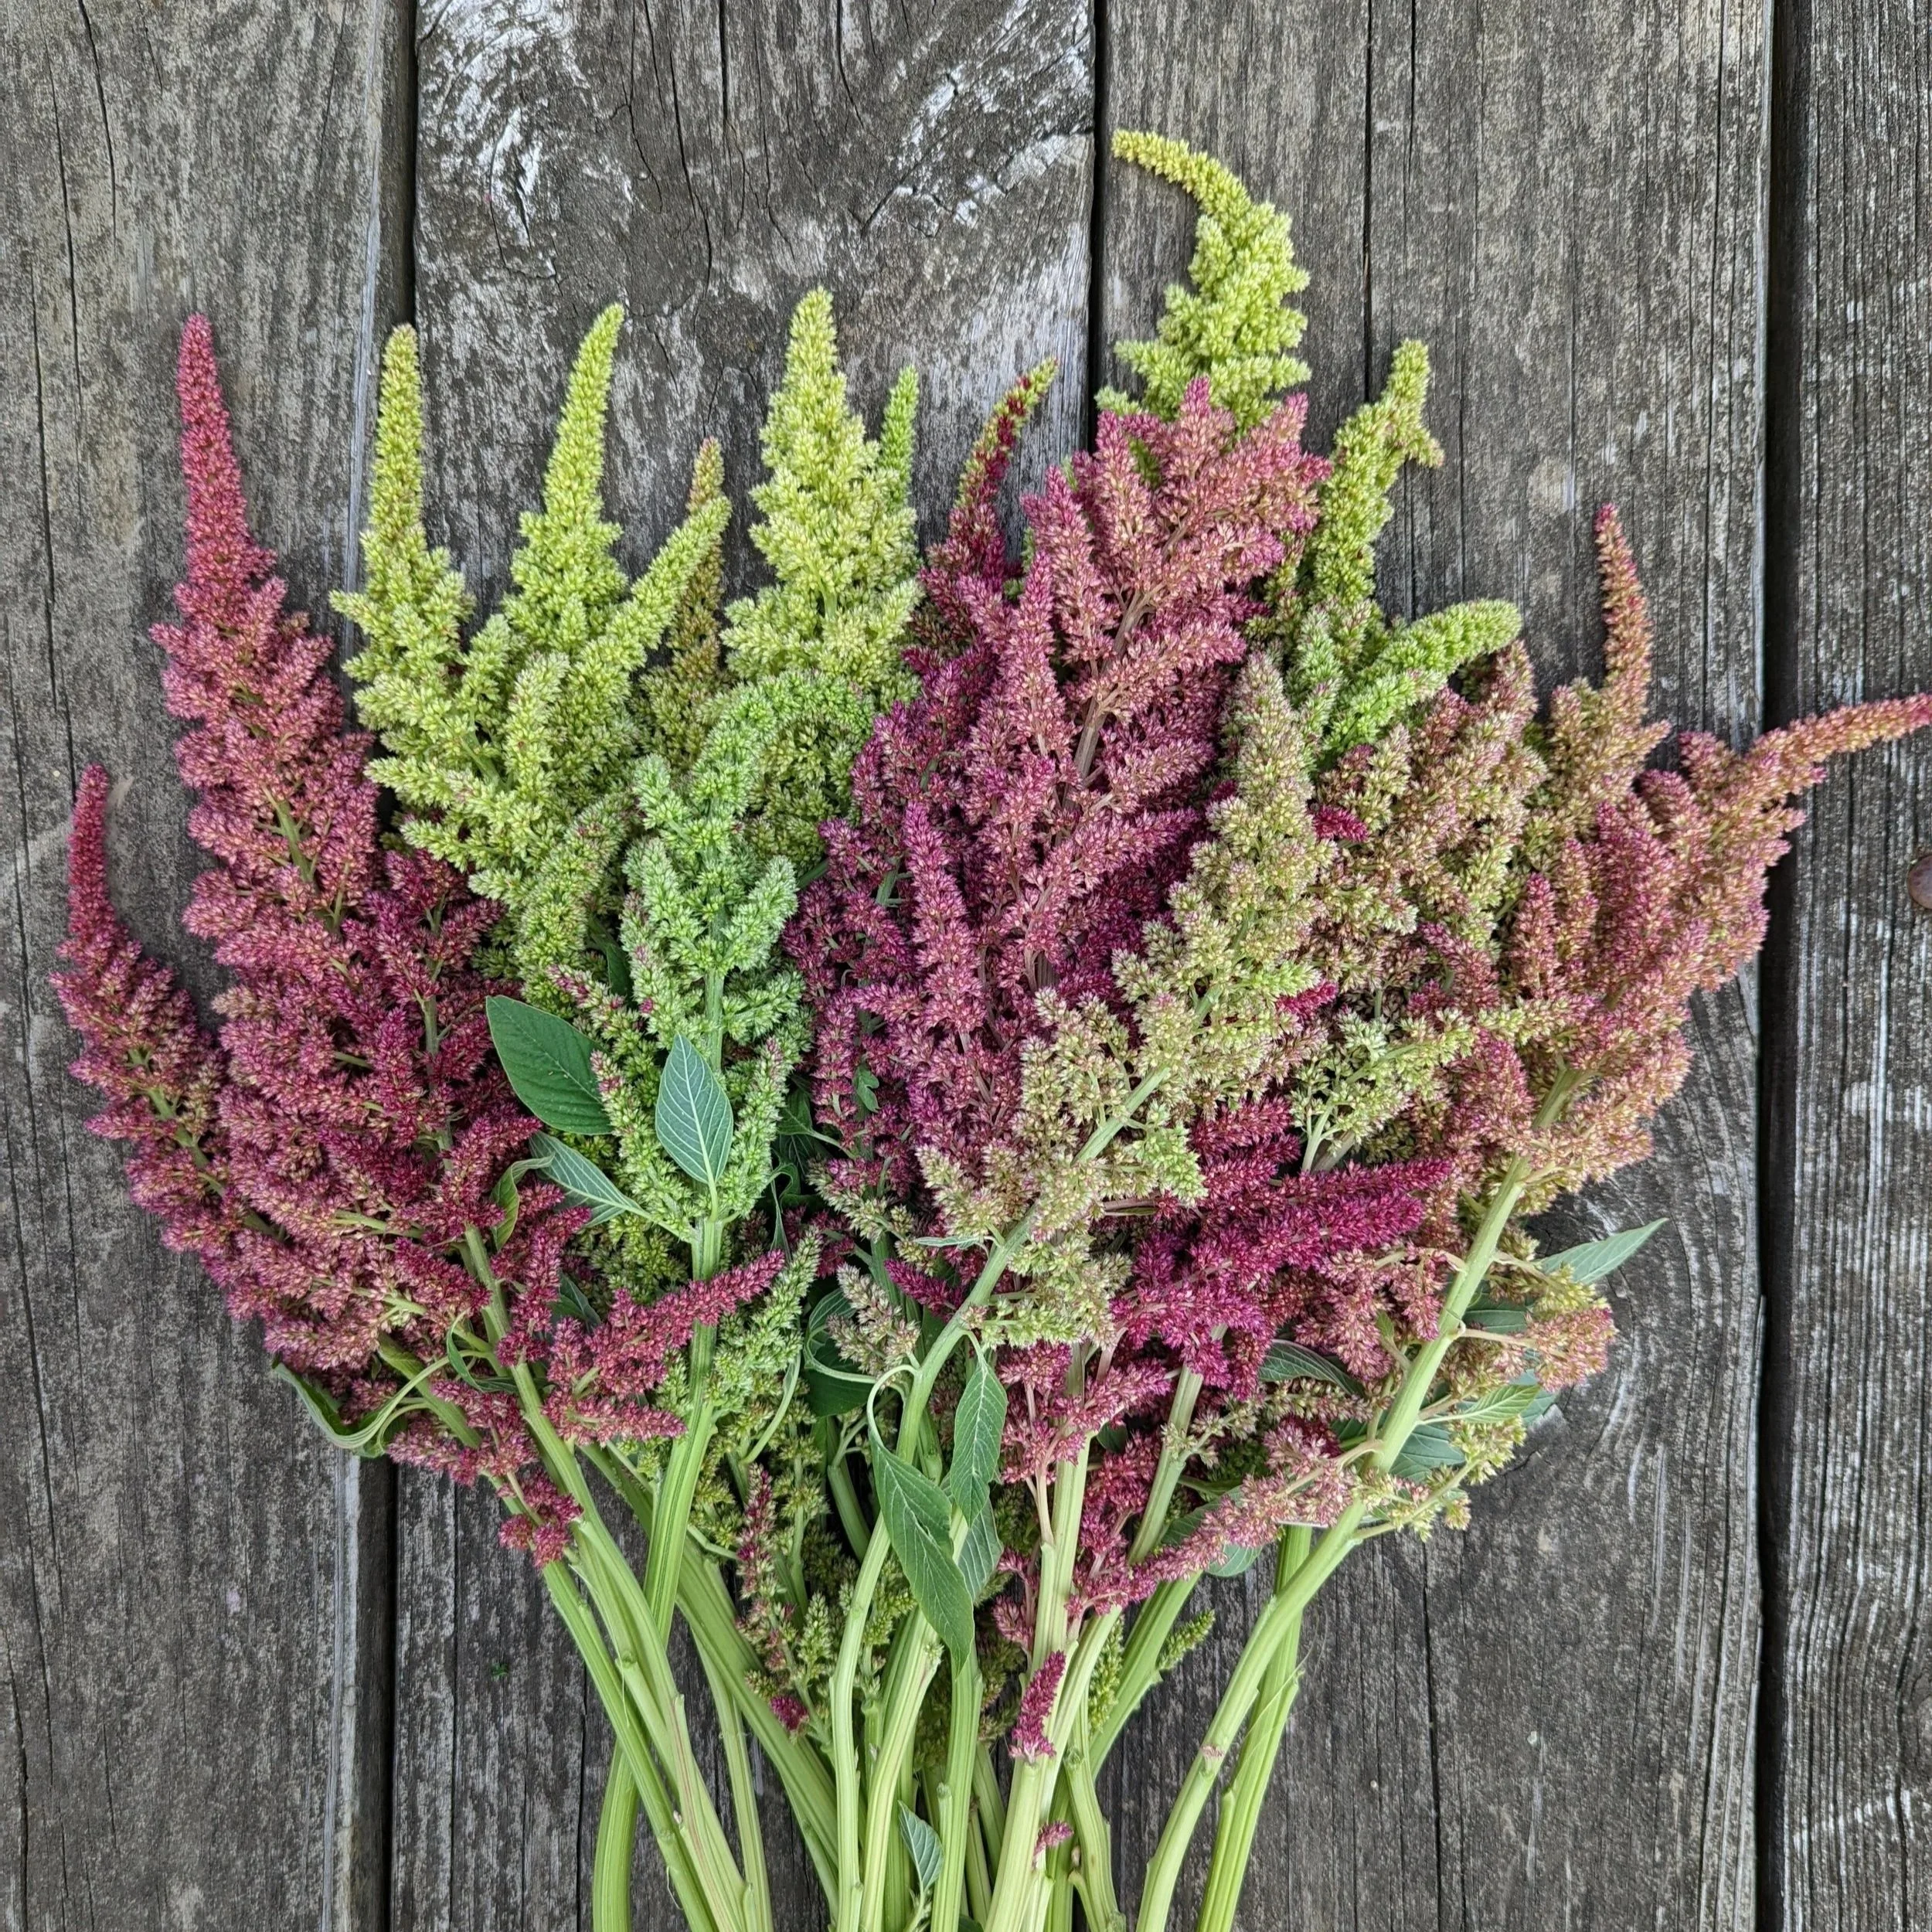
Amaranth comes in 2 main types:
Spike (or spire) - upright flower heads
Trailing - cascading, draping flower heads (these are in demand for large wedding arches and installations)
These fun, easy-to-grow plants are quite the conversation starter. They also produce seeds that birds love, and the leaves of the plant taste like spinach. If we have Amaranth leftover at the end of the season, we harvest it and feed it to our goats and chickens. :)
Helpful Hint: If you want to keep the plants smaller and shorter, I recommend pinching the plants (cutting off the top few inches) when they are about knee high. This will cause the plants to branch and produce multiple smaller stems, instead of one large stem.
Favorite Variety:
Amaranth we forgot to pinch!
Ageratum
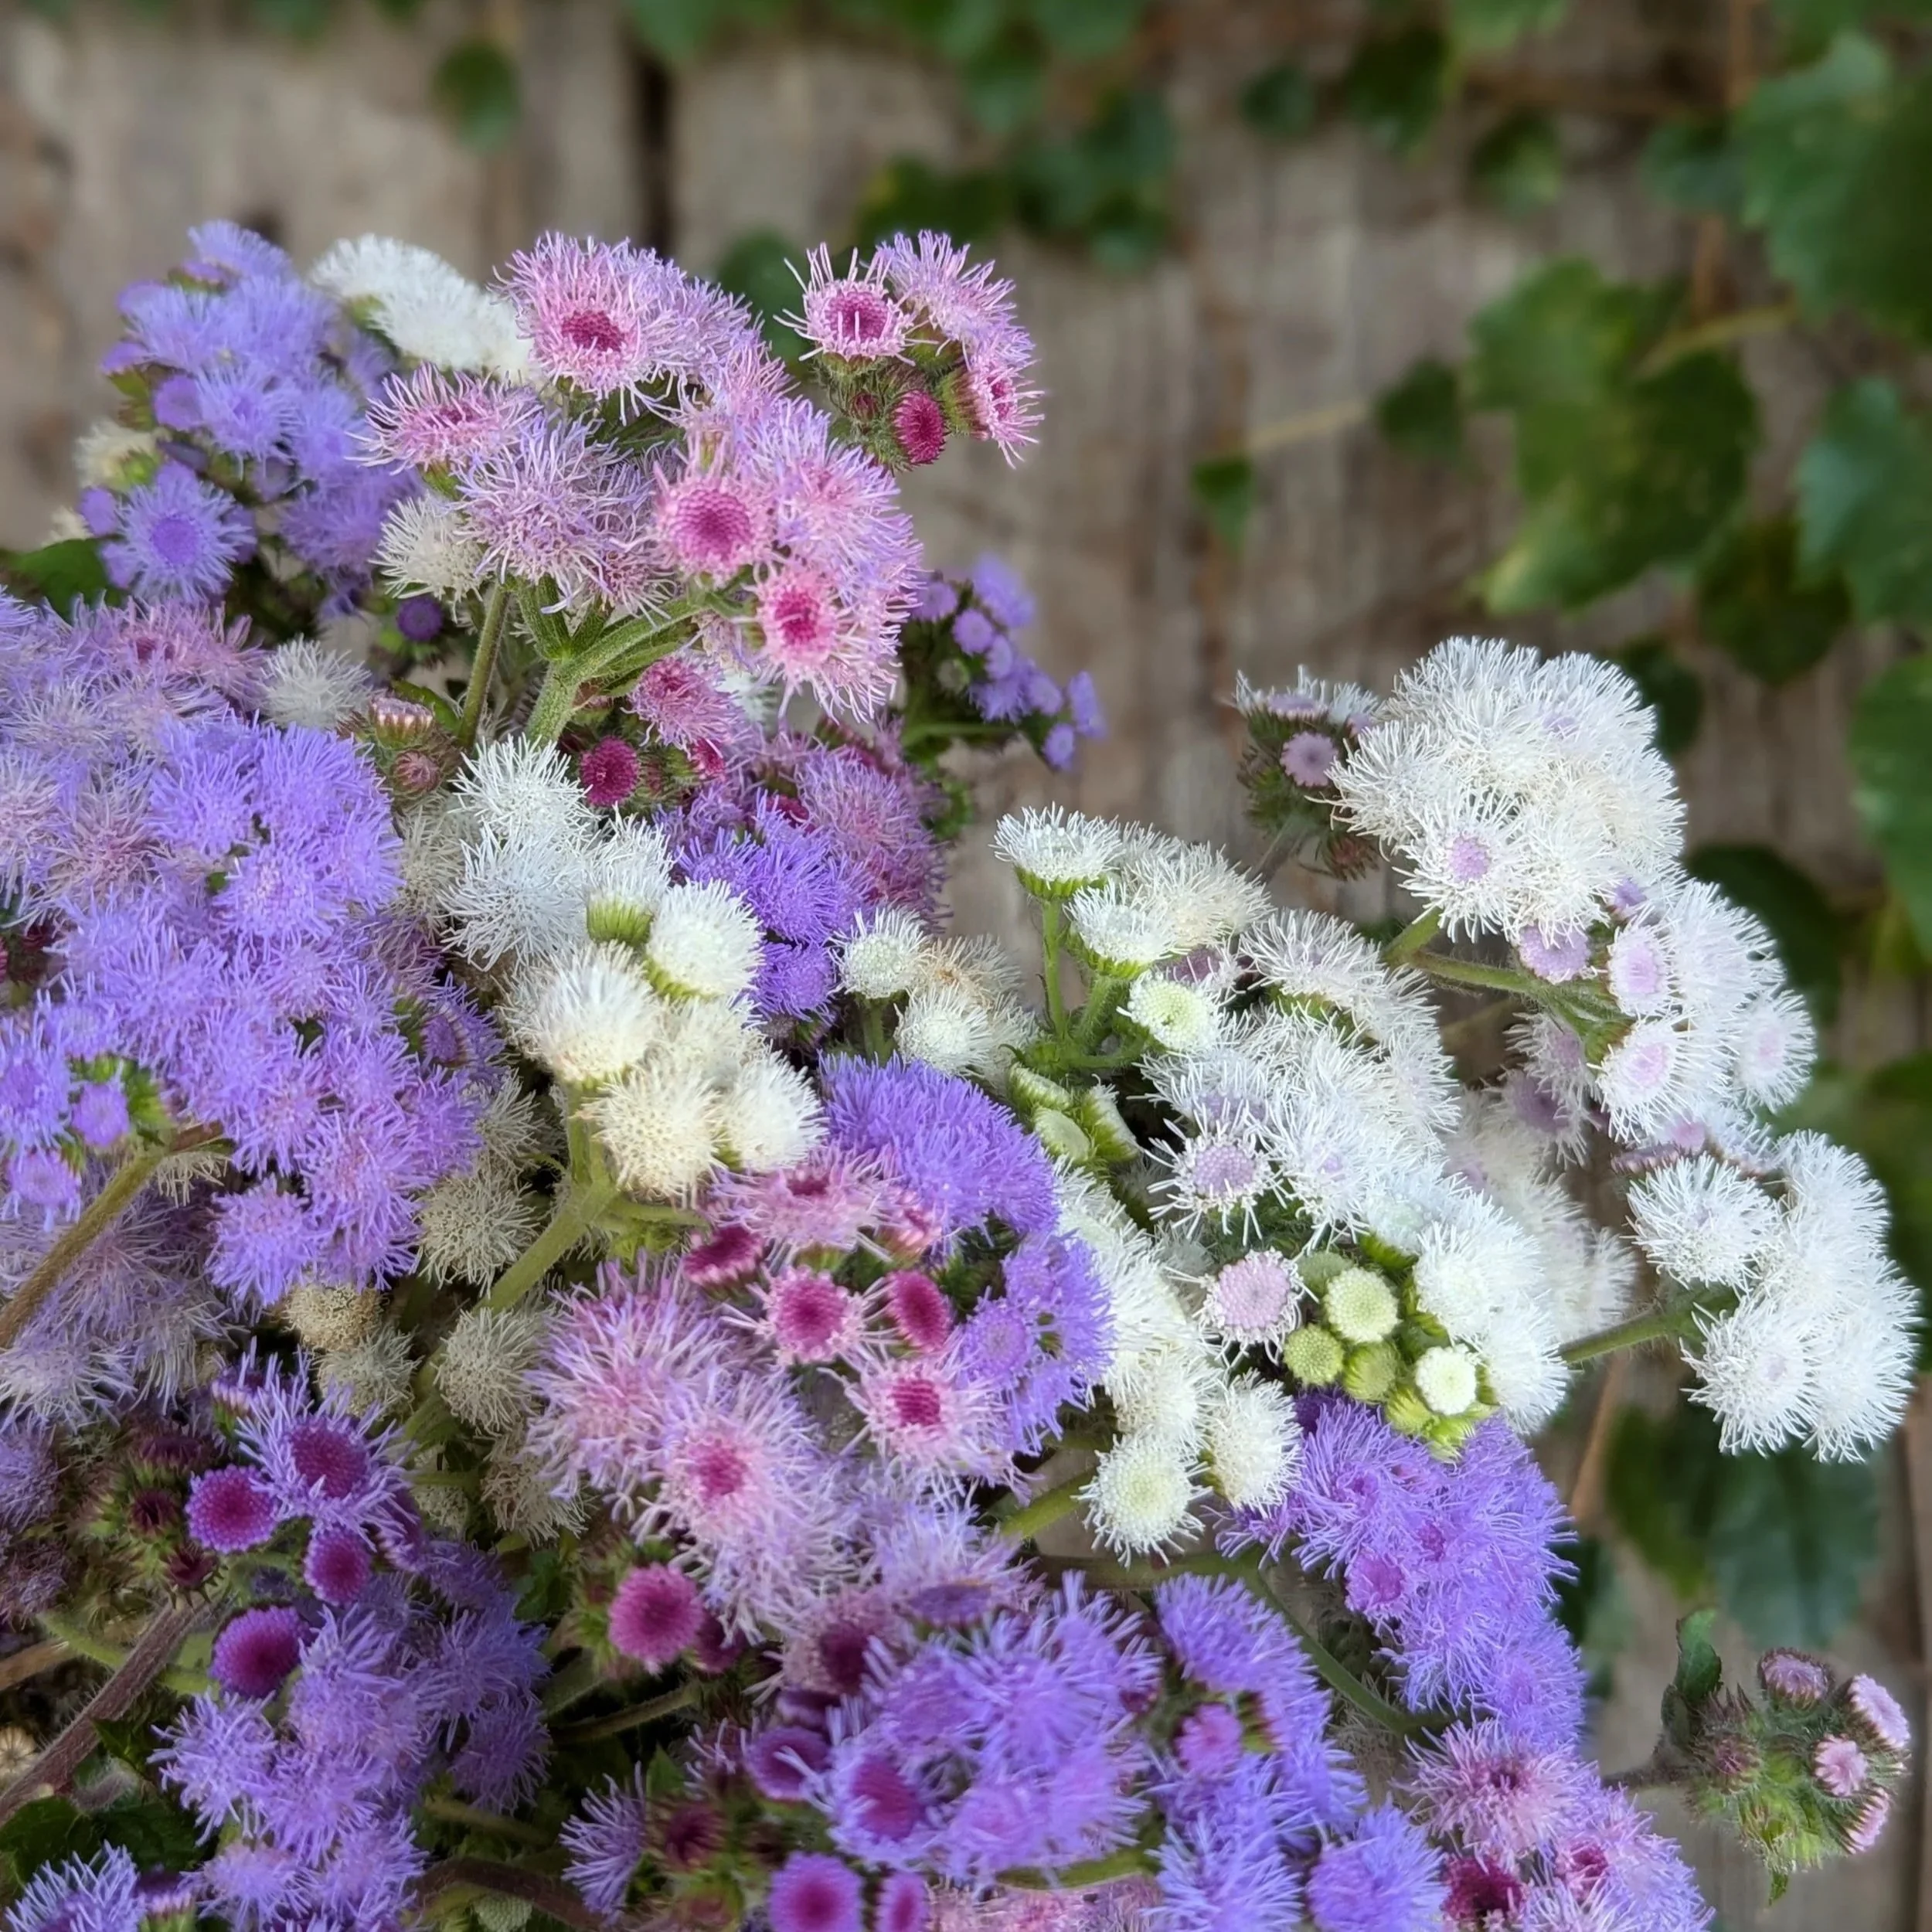
Ageratum won’t earn any awards for being the flashiest flower out there, but it is reliably productive! Plant it once, and you’ll have an entire summer’s worth of beautiful textural purple, pink, and white blooms that are absolutely perfect in bouquets.
This is a true “cut and come again” flower that will produce flowers for months if harvested regularly.
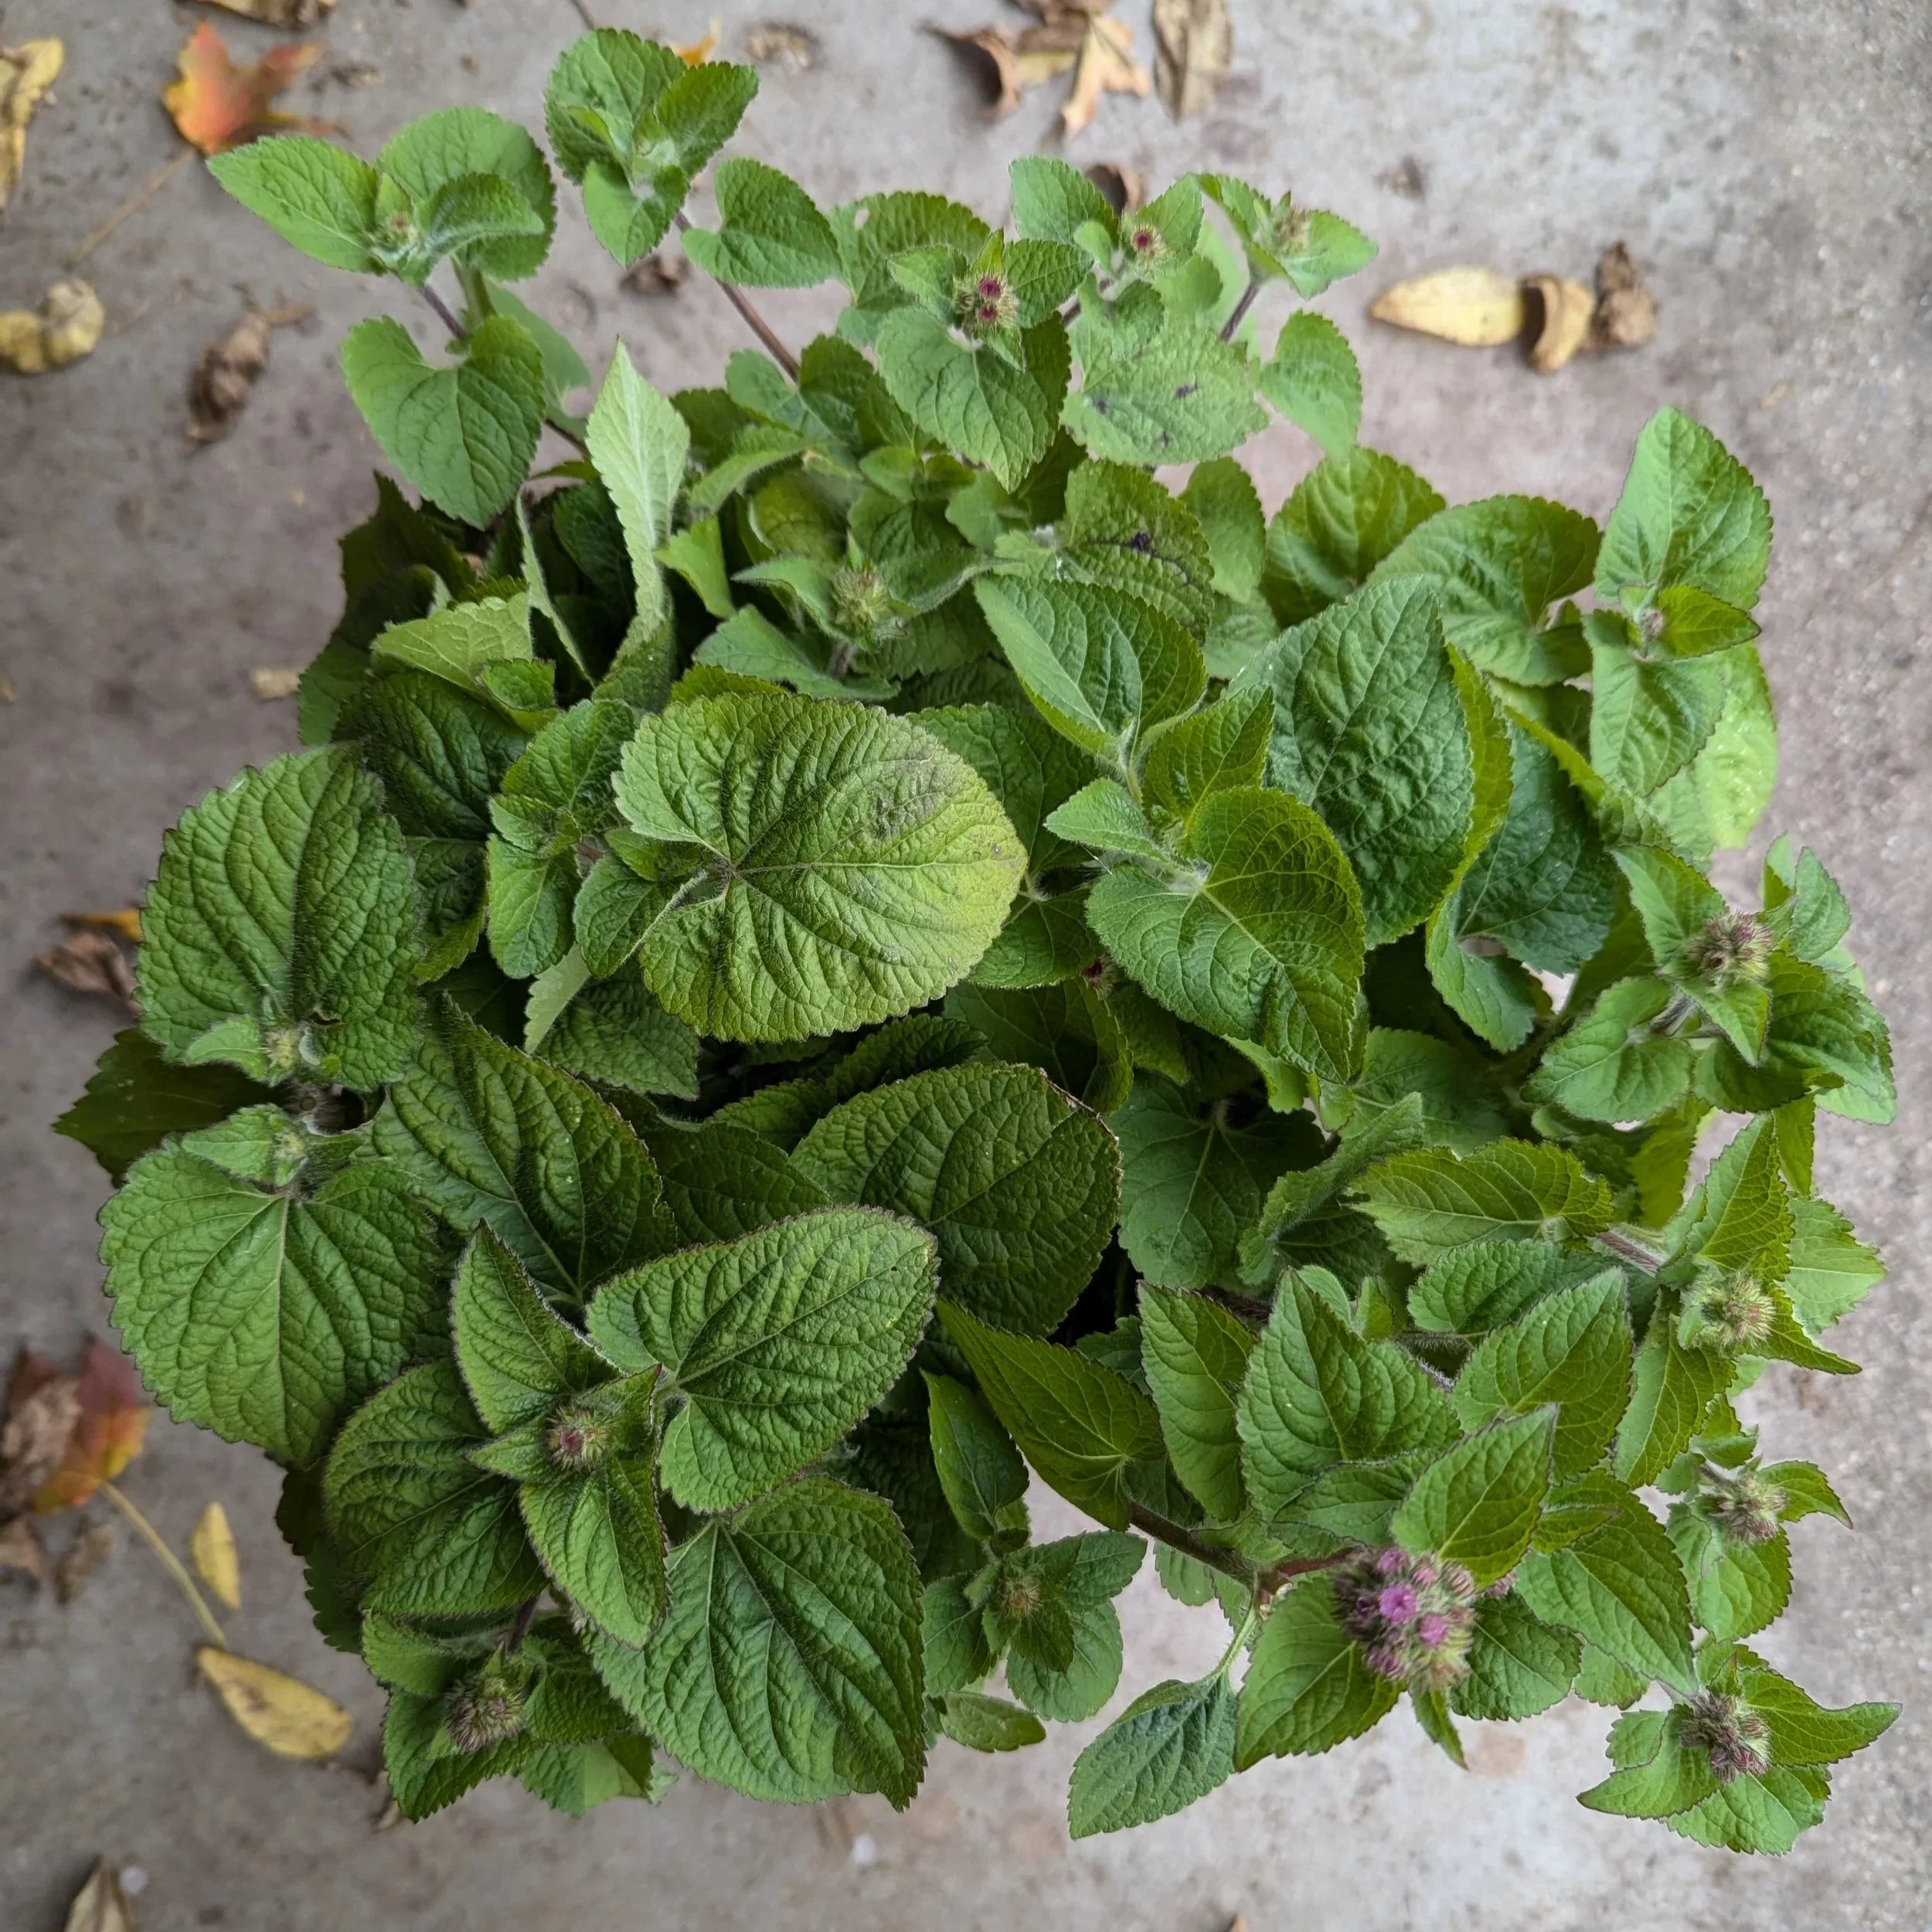
As a bonus, Ageratum is a “double duty” plant in the cutting garden. Its foliage is perfect for bouquets. We grow some Ageratum for flowers and some for foliage (we just keep cutting the plants and harvest before they form the flower heads). If you’re always searching for more foliage for your bouquets, Ageratum is your friend!
Ageratum thrives in hot weather, and it will readily self-sow.
Helpful Hint: Harvest when most of the fuzzy flowers are open.
Favorite Variety:
There you have it! 5 easy to grow flowers that are sure to delight.
All of these flowers can easily be incorporated into an existing vegetable garden, if you have the room for them! You might even notice your vegetable garden becomes more productive because of the increased pollination from bees and other pollinators! It’s a win/win situation.
Best wishes and happy planting!
Ready for more?
If you’re serious about growing the garden of your dreams this year, register for my online course, “Backyard Cutting Garden 101”. You’ll find everything you need to plan, grow, harvest and arrange your stunning blooms. I can’t WAIT to help you grow! Click on the button below for all the details.
How to Grow Daffodils: Your Complete Guide
Here on our Michigan farm, daffodils are the true harbingers of spring. After enduring a long, cold, snowy winter - and even worse, “Mud Season” (ugh!) - the sight of beautiful blooms in April reminds me that the world won't always be ugly, muddy, and depressing. Those cheerful flowers are promises that brighter days are ahead!
In late winter/early spring, I walk the farm each morning searching for the first brave daffodil shoot. What a gift to know that spring is on its way!
First daffodil of the season emerging in early March (aka “Mud Season”)!
Daffodils are steadfast, reliable, and dependable. They are tough, hardy, and they laugh at our inevitable April snowstorms each year and keep blooming cheerfully in the snow (I grow a variety called “Ice King” that always gets snowed on… and it doesn’t mind one bit!).
They look stunning whether planted in your landscape or sitting in a vase on your kitchen table.
Best of all? They're incredibly easy to grow, and they come back year after year with minimal effort.
“Yosemite Valley” Daffodil
Why You Should Grow Daffodils
They're Critter-Proof! One of the absolute best reasons to grow daffodils is that they're mostly immune to hungry wildlife. I've heard so many tales of woe from gardeners who have lost all their tulips to deer and rabbits. Unlike tulips, daffodils contain a natural toxin that animals find unappetizing, so it's highly unlikely any critters will munch on your blooms. If you struggle with deer and rabbits, and fencing isn't an option, it may be best to skip tulips altogether and grow daffodils instead.
Beautiful Variety! There are so many gorgeous daffodil varieties available. While they don't come in the full color range of tulips, they DO feature lovely shades of white, pale yellow, sunny yellow, cream, orange, tangerine, and salmon. You'll find plenty of options to brighten your garden!
Harvest Without Guilt! Unlike tulips, harvesting daffodil blooms doesn't negatively affect their blooming in subsequent years. If you harvest a tulip bloom, the bulb won't produce a flower the following year (you can read all about it in THIS BLOG POST). Daffodils have a slightly different growth habit than tulips, which means you can cut armfuls of flowers for years to come, instead of just once. How wonderful is that?
How to Plant Daffodil Bulbs
Planting daffodils is simple and easy! Here's how to get those bulbs in the ground:
Choose the Right Spot: Select a sunny location that gets at least 6 hours of sunlight with well-draining soil. Daffodils aren't fussy, but they do appreciate good drainage.
Prepare Your Planting Area: Use a bulb planter for individual bulbs or dig a hole or trench if you're planting lots of bulbs at once.
Space Your Bulbs: Plant bulbs pointy side up, about 4-6 inches apart. This gives them room to grow without crowding.
Get the Depth Right: The rule of thumb for planting depth is roughly 3 times the height of the bulb. For example, if your bulbs are about 2 inches tall, plant them about 6 inches deep.
Cover and Water: Backfill the holes or trench with soil to cover the bulbs completely. Water after planting if the soil is dry to help them settle in.
The Golden Rule of Daffodil Care: After the flowers have bloomed in spring, allow the foliage to turn brown and die back completely. This may take up to 6-8 weeks. DO NOT remove the foliage prematurely—this is how the bulb stores energy for next year's blooms! I know it's tempting to tidy up the garden, but resist the urge. Those leaves are working hard behind the scenes to ensure you get beautiful flowers again next spring.
Using Daffodils in Floral Arrangements
Here's something important to know: daffodils ooze a toxic sap from the end of their stems when they're cut. This sap will seep into the vase water and cause other flowers to expire prematurely. But don't worry—I have two solutions for you!
Option 1: Keep Them Solo (My Favorite!) Don't mix daffodils with other flowers. Bunches of mixed daffodil varieties in a vase are absolutely stunning on their own. Their cheerful blooms need no supporting cast!
Option 2: Mix Them Safely If you have your heart set on mixing daffodils with other flowers, follow these steps:
Harvest your daffodils and cut the stems to the desired length for your mixed arrangement.
Place the daffodil stems in a separate jar of water for about an hour. The sap will ooze out into the water, and the stem ends will eventually callous over and stop releasing sap.
After about an hour, pull out the daffodil stems, rinse them off, and add them to your mixed flower arrangements.
Important: Repeat this process if you trim the stem ends of the flowers in your mixed arrangement. Every time you recut the daffodil stems, they'll ooze sap again.
When to Harvest Daffodils
Most people harvest their daffodils much too late. To get the best vase life, harvest the blooms when they are in the “gooseneck stage”. This means the blooms are still closed, but you can start to see them crack open.
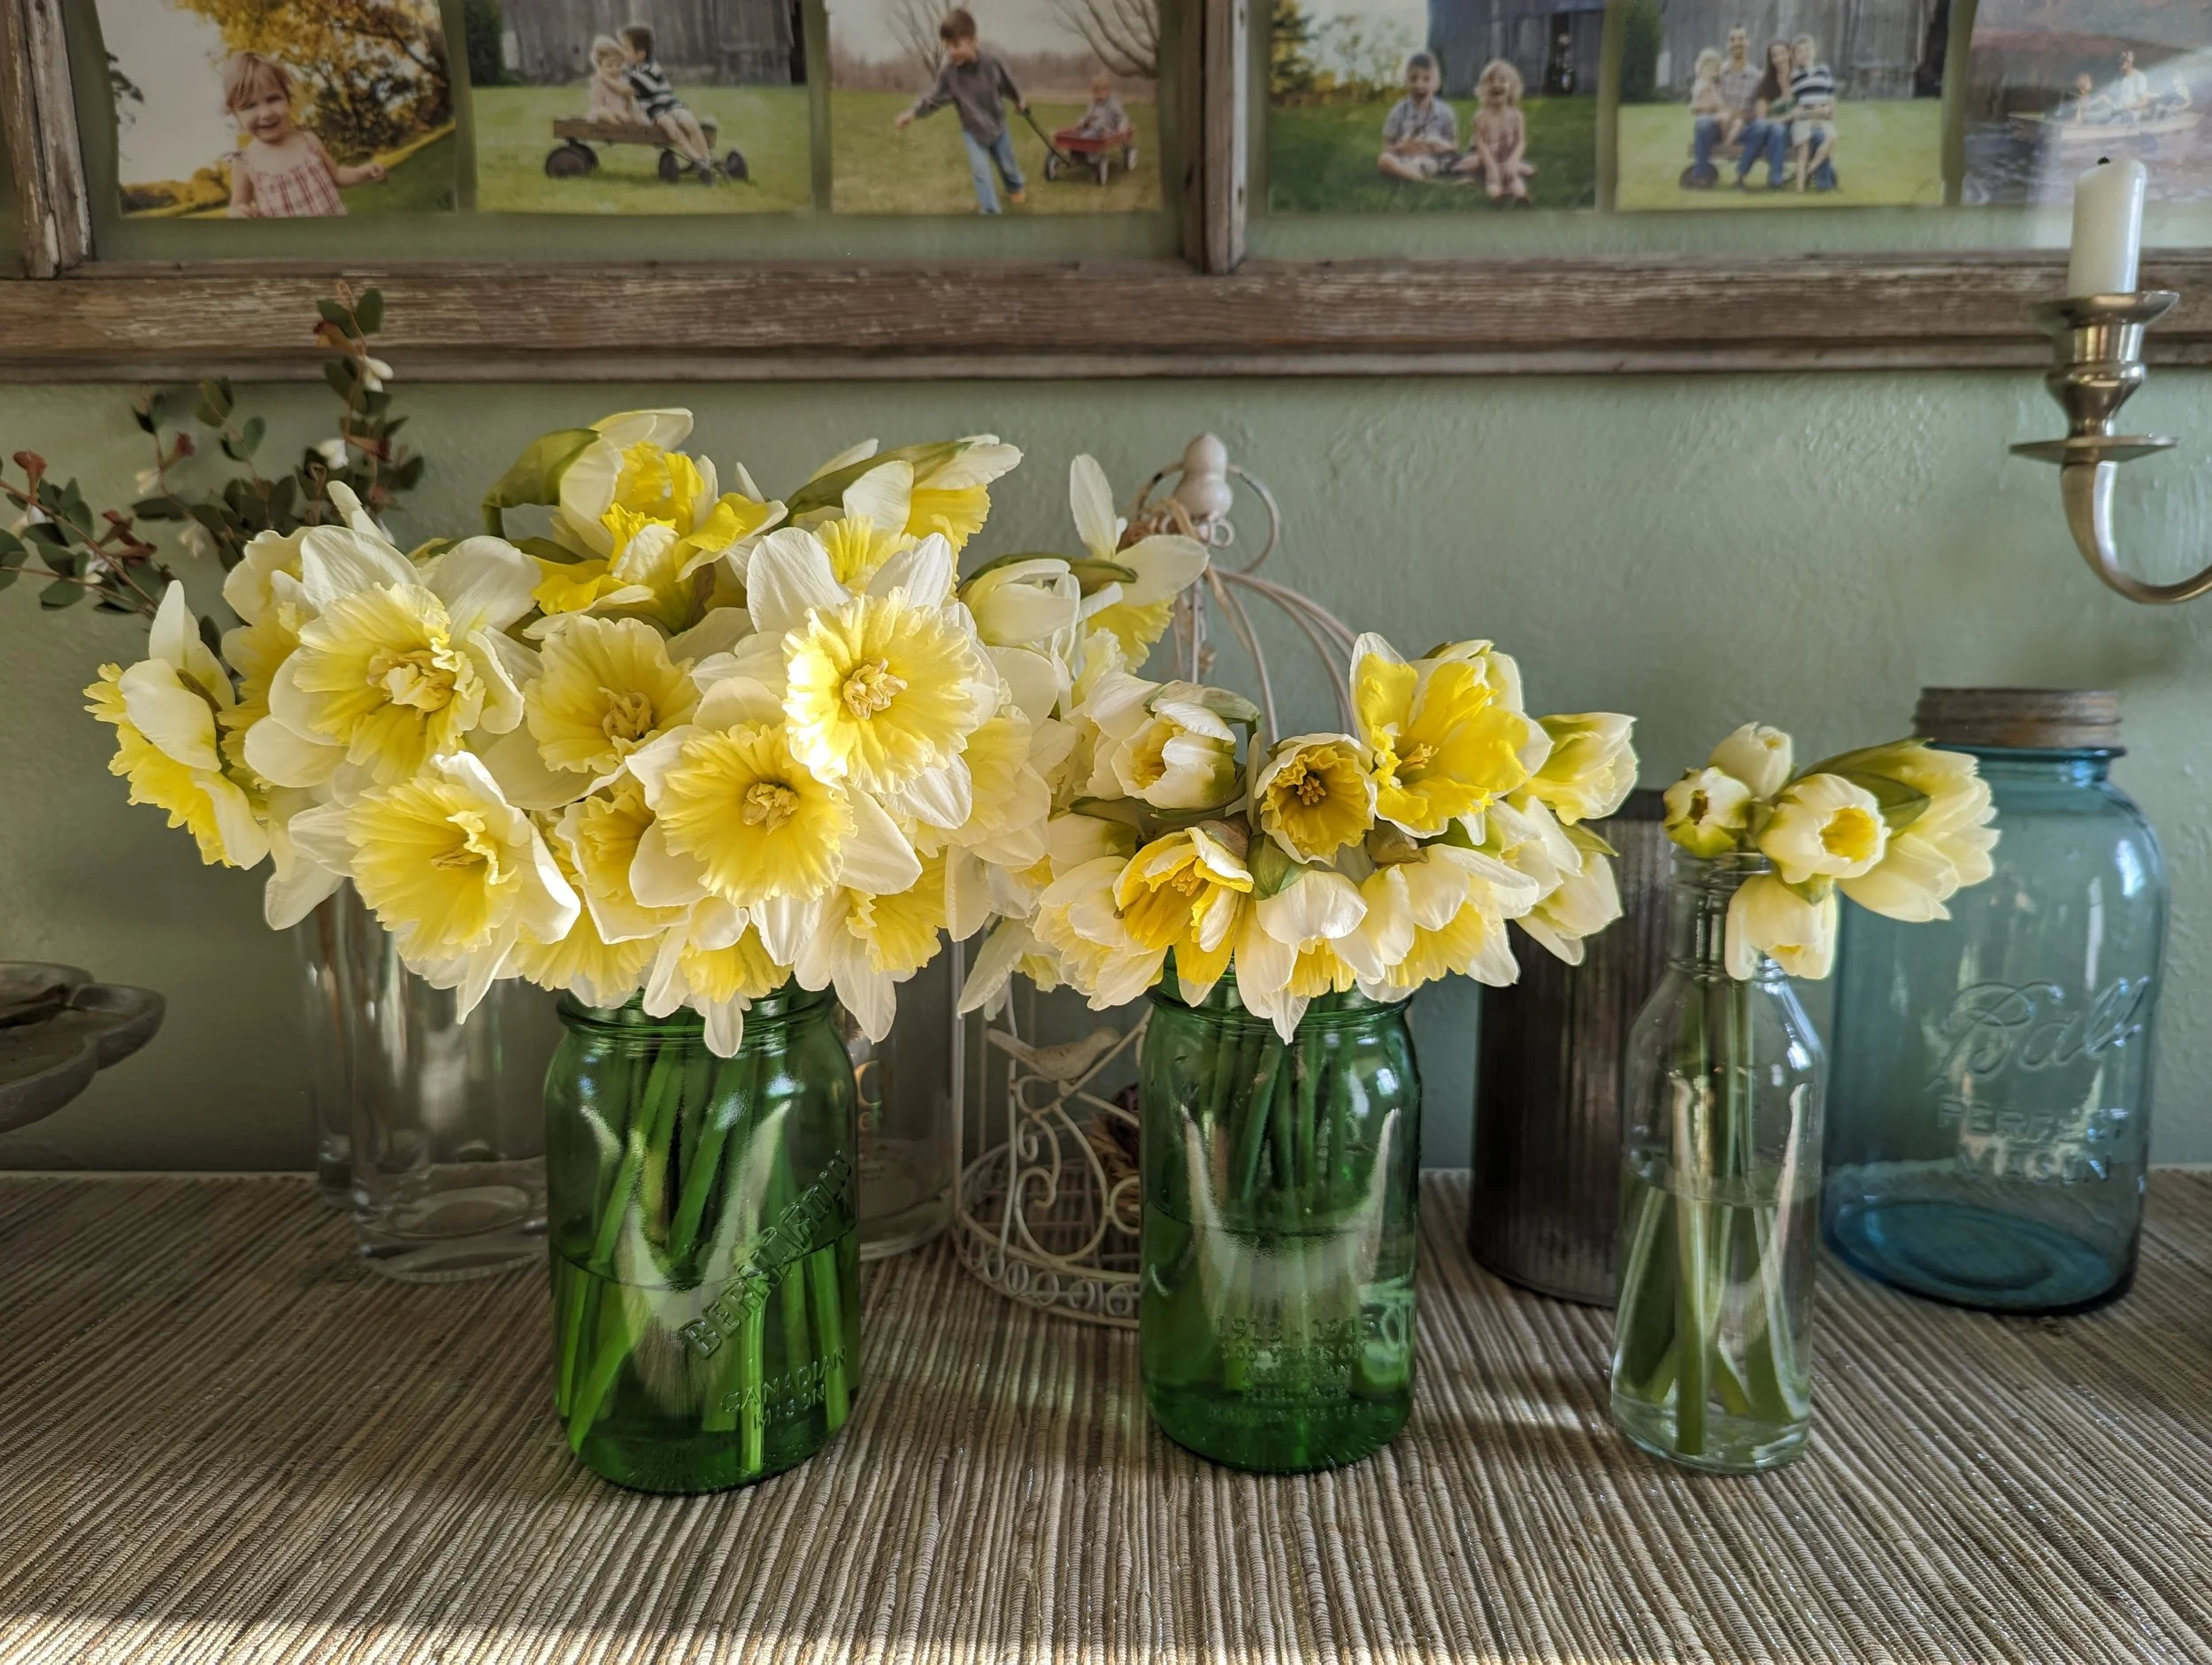
In the photo below, you can see the progression of how the blooms open.
The flowers on the right were harvested at the “gooseneck stage” and have been in the vase for a few hours.
The flowers in the middle were harvested 1 day earlier.
The flowers on the left were harvested 2-3 days earlier.
By harvesting at the “gooseneck stage”, you’ll extend the vase life and get to enjoy blooms for a week, instead of mere days.
Harvesting at the “gooseneck stage” also prevents damage to the blooms during harvest. If you allow the blooms to blow wide open, they will get damaged when you harvest them.
Harvesting daffodils is easy - you don’t even need scissors or flower snips! Simply slide your index finger along the stem until your finger is below the surface of the soil. Gently grasp the stem with your hand and slowly pull up. The stem will stretch like a rubber band, then it will pop!
Ready to Plant?
With their cheerful blooms, easy care, and critter-resistant nature, daffodils are a must-have for any garden. Whether you're planting them in drifts across your lawn, tucking them into flower beds, or growing them specifically for cutting, these reliable beauties will reward you with years of spring joy. Happy planting!
How to Plant Tulips
Frequently Asked Questions about planting Tulips
Let’s talk Tulips!
Each fall, we plant about 10,000 - 12,000 Tulip bulbs on our farm. The blooms (and bulbs! More about that later…) are harvested the following spring.
Since we are a cut flower farm, we only grow Tulips intended to be harvested and displayed in a bouquet or bunch.
We do not grow Tulips to be displayed in the field or landscaping (in fact, we harvest them all BEFORE they bloom).
While planting and growing Tulips for as “Landscape flower” is quite straightforward, growing Tulips to harvest as a “Cut flower” is a completely different concept and method.
Since the concept can be a bit confusing, I wrote a comprehensive Blog post about growing Tulips as a cut flower. You can READ IT HERE.
Let’s go over some of the most Frequently Asked Questions about Tulips that show up in my inbox.
When should I plant Tulip bulbs?
Tulips are planted in the fall, before the soil freezes. It’s best to wait until after the soil temperature has cooled to below 60.
For people in extreme Northern climates, this may mean planting in September or October.
For people in warmer climates, this may mean planting between October and December.
We usually plant on our farm (Michigan, Zone 5b/6a) in mid to late November.
2. I live in a warm climate. Can I grow Tulips?
It depends. Tulips need a prolonged period (about 10-12 weeks) of cold temperatures between 35-45 F (or cooler) to grow and bloom properly.
If the Tulip bulbs do not have “chill time” in the ground, they will bloom very short, down in the leaves at ground level. If you’ve ever had Tulips bloom super short, it’s likely because they were not cold enough, long enough.
Many northern regions of the USA are sufficiently cold enough, but anyone growing in Zones listed at 7 or above on the USDA Zone Hardiness Map should consider “Prechilling” their bulbs for 6-12 weeks in a beverage refrigerator before planting them out.
(Note: Do NOT store them in a fridge with fruits/veggies, as the ethylene gas from fruits/veg can harm the bulbs. A wine or beverage fridge works best)
“Prechilling” in a fridge mimics the necessary long chill period and tricks the bulbs into thinking they have just experienced winter. Instead of “wintering” in the ground, the bulbs are “wintering” in your fridge. Plant the bulbs IMMEDIATELY after pulling them out of the refrigerator.
Here’s a sample timeline for growing Tulips in warmer climates:
Oct/Nov - place bulbs in the refrigerator for 6-12 weeks
Dec/early Jan - plant bulbs in the ground
Mar/April - Tulips bloom
3. How deep should I plant the bulbs?
The general rule is to plant bulbs about 3x as deep as their length. For most Tulip bulbs, this means planting around 5-7 inches deep.
4. How do I plant the bulbs?
This depends on what your end goals are for your Tulips. There are 2 main end goals:
Growing for Landscape Use (to be enjoyed in the garden/landscape)
Growing for Cut Flower Use (to be enjoyed in the vase)
If your goal is Landscape Use, use a bulb planter to plant the bulbs 4-5 inches apart. Alternatively, you can dig a trench or large hole 5-7 inches deep, place the bulbs 4-5 inches apart, then backfill the trench/hole.
If your goal is Cut Flower Use, the bulbs can be planted much closer together, nestled like eggs in a carton (not quite touching each other, but snug). This method involves digging a trench or large hole 5-7 inches deep, placing the bulbs like eggs in a carton, then backfilling the trench (or building a temporary raised bed, as explained in this BLOG POST).
Growing for Landscape Use - bulbs planted 4-5 inches apart, 5-7 inches deep
Growing for Cut Flower Use: Bulbs planted like “eggs in a carton” about 5-7 inches deep in a trench or raised bed
Tulips do best with full sun, but can tolerate partial shade.
Tulips require well-draining soil. They may rot in wet, heavy soils.
Water deeply once after planting the bulbs. Water moderately in the spring if the soil is dry. During the blooming season, water every 3-5 days if there is no rainfall.
5. How do I keep critters from eating my bulbs?
I feel your pain. The first time I planted 125 Tulip bulbs, the next spring I discovered voles had devoured 123 of the bulbs. I was devasted! It was a hard way to learn that I can’t plant Tulip bulbs without using some sort of protection.
Unfortunately, there is no foolproof method to keep your bulbs safe besides a physical barrier (completely encasing them in wire mesh). You can read THIS BLOG POST explaining the great lengths we go to our our farm to keep our bulbs safe over the winter. It is a LOT of work, but the only way we can avoid losing thousands of bulbs each year.
6. How do I keep deer and rabbits from eating my Tulips once they come up in the spring?
Again, there is no foolproof way to keep them safe besides a physical barrier (fencing). Deer will require a tall fence, while rabbits will require a fence that is sunk into the ground to prevent digging.
If this sounds like too much work, or if you have very intense deer/rabbit pressure, then perhaps growing Tulips is a not a good fit for your property. You may want to try growing more “deer resistant” spring bulbs, such as Daffodils and Allium.
7. How do I make sure my Tulips come back each year?
There are many factors to consider and it can be helpful to adjust your expectations.
Many Tulip varieties are bred to produce a beautiful bloom in their first season… and then decline in quality in subsequent years. It's advised to replace bulbs every 2-3 years for the best display.
Some Tulip varieties may perennialize, but many will not. Most climates in the USA cannot meet their needs and are not conducive to Tulip perennialization. Tulips are native to Central Asia (Turkey, Iraq, Russia) and thrive in climates that are similar - hot, dry summers and cold, wet winters. There are very few climates in North America that can mimic these conditions required for perennialization.
These 3 varieties are most likely (but not guaranteed) to perennialize if the climate is right:
Darwin Hybrid Tulips
Emperor Tulips
Triumph Tulips
Without a physical barrier to protect them, bulbs are often eaten by voles, mice, squirrels, etc.
After the Tulip has finished blooming, you can cut off the bloom at the top of the stem, but make sure to allow the rest of the stem and all the leaves to die back COMPLETELY before cleaning up the debris. If you remove the dying foliage too early, the bulb will not be able to photosynthesize and regenerate.
If you harvest the bloom for a bouquet (cut the stem away from the bulb), the bulb has lost its ability to photosynthesize and regenerate. Do NOT harvest the bloom if you want the Tulip to rebloom the following year. Tulips grown as a cut flower are treated as an Annual. I recommend growing your “Landscape Tulips” (treated as a Perennial) and “Cut Flower Tulips” (treated as Annual) separately.
8. Are there any Tulips you recommend as a cut flower?
Any Tulip can be grown and harvested as a cut flower.
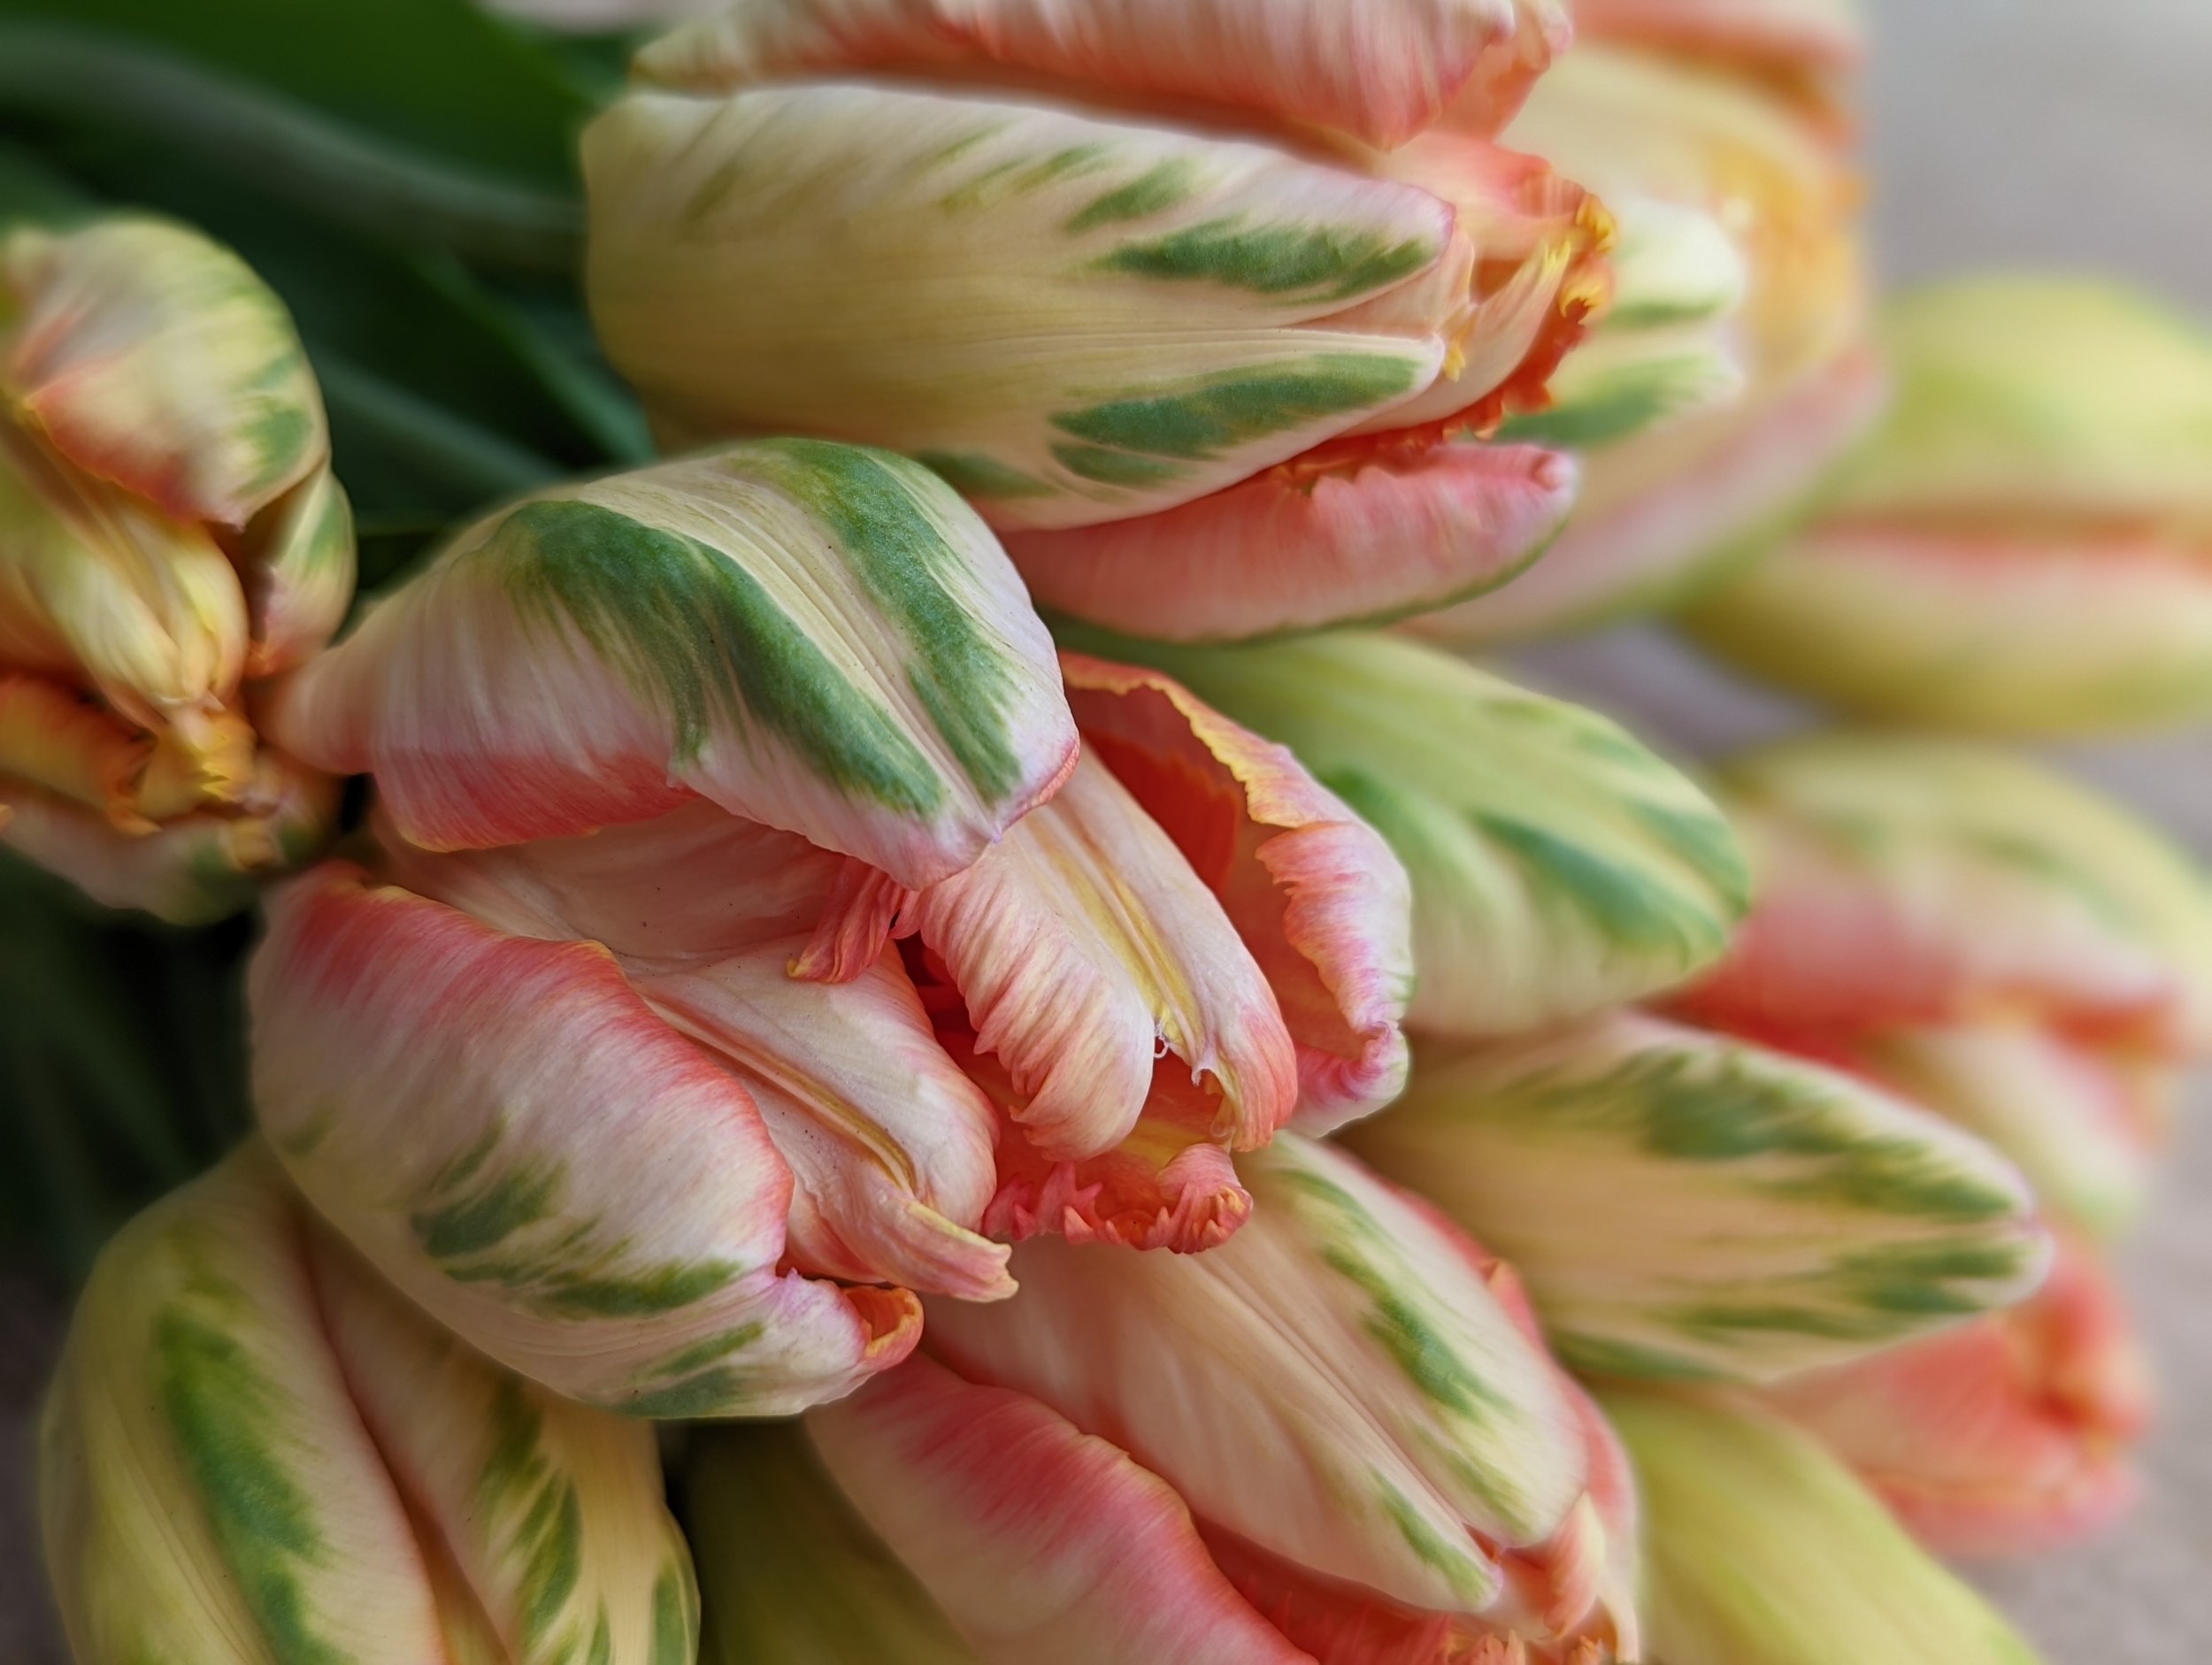
However, on our farm, we prefer to grow “Double” or “Peony-flowering” types, “Parrot” types, “Fringed” types and a few select “Single” types…basically anything that doesn’t look like a standard landscape Tulip ;)
You can learn about a few of my favorite Tulip varieties for cut flowers in THIS BLOG POST.
How to Grow Tulips as a Cut Flower
Learn the difference between growing Tulips for landscape vs cut flowers.
How to Grow Tulips as a Cut Flower
While many people are used to growing Tulips in their landscaping and flower beds, growing Tulips specifically as a cut flower to be displayed in a vase requires a completely different method and mindset!
What is the difference between growing Tulips for landscaping vs Tulips for cut flowers?
Great question! Let’s compare/contrast the two methods:
Landscape Use
Function = to look beautiful outdoors in the garden or landscape
Treated as a short lived Perennial
Bulbs are spaced 4-6 inches apart, usually using a bulb planter
Bulbs are replaced or refreshed every 2-3 years as they decline in quality and vigor
Plants are allowed to grow, bloom and fade away, with hopes they will rebloom the following year (but with awareness that most bulbs need to be replaced every 2-3 years).
Cut Flower Use
Function = to look beautiful in a vase or arrangement
Treated as an Annual
Bulbs are spaced tightly, like eggs in a carton
Bulbs are replaced every year
Entire plant is harvested before it blooms. Stem/bloom is removed from the bulb and placed in a vase. The bulb is discarded.
2. Why can’t I just cut the Tulips in my landscaping and use those in a vase?
You can… however, to get a long enough stem, you’ll likely need to cut the stem at ground level.
As you can see in the photo below, some Tulip types are naturally shorter and you’d have to cut them off at the bulb in order to get a usable stem.
When you cut the bloom and stem away from the bulb, the bulb has no way to photosynthesize and re-energize itself. While the bulb may produce leaves/foliage the following spring, it’s unlikely it will ever bloom again.
Trust me on this. I didn’t believe this was true and was determined to prove it wrong. After cutting 400 Tulip blooms off at the soil level, I left the bulbs in the ground to see if they would eventually rebloom. And they did… I finally got 2 tiny, pathetic blooms… 3 years later. 3 years!!!!
It’s usually a waste of time to try to replant bulbs that have been separated from the stem. It’s best to compost them.
3. WAIT! I thought Tulips were Perennials and came back every year?
Well, some do (sort of) and some don’t…
There are many different varieties of Tulips and some are better than others at naturalizing/perennializing.
Tulips are native to Central Asia (Turkey, Iraq, Russia) and thrive in climates that are similar - hot, dry summers and cold, wet winters. There are very few climates in North America that can mimic these conditions required for naturalization.
These 3 varieties are most likely (but not guaranteed) to naturalize if the climate is right:
Darwin Hybrid Tulips
Emperor Tulips
Triumph Tulips
It’s helpful to know that the Tulips grown for cut flower use are specifically bred to perform as an Annual - they bloom once, then the bulbs are discarded/composted.
Most botanical gardens replant their Tulips bulbs each year to achieve a stunning display each spring. Many parks/public spaces choose Darwin Hybrid, Emperor and Triumph Tulips, but replace the bulbs every 2-3 seasons as they decline in quality.
4. Can I grow Tulips in pots?
I find conflicting information about this. Many bulb suppliers strongly discourage growing them in pots, while others say it’s ok. However, most sources agree that bulbs grown in pots are subject to much more stress than bulbs planted in the ground (since they have less protection from the elements) and should be discarded after they bloom.
5. Are there any Tulips that will give me the best of both worlds? A landscape flower AND a cut flower?
Yes. Darwin Hybrid Tulips (like “Apricot Impression”, “Mystic Van Ejke”) and some Single Tulips often have very tall, long stems reaching over 24”. It’s possible to harvest a 10-12” stem for the vase while still leaving nearly all the foliage/leaves on the stem (which is required if you want the bulbs to rebloom the following year).
Most other Tulip varieties are too short to harvest a usable stem while also leaving enough foliage behind. Also remember, cut flower Tulip varieties are bred as Annuals, not Perennials, and will not reliably rebloom even if they are not harvested.
The photo below shows where the bloom would need to be cut in order to leave enough foliage on the stem for the bulb to generate. This short stem length is unacceptable for most growers.
6. How do I plant Tulip bulbs that I intend to harvest for cut flowers?
Let me show you! When you’re growing for cut flower use, you can plant Tulip bulbs MUCH closer together. We nestle them together closely, like eggs in a carton. This allows you to grow a lot of Tulips in a small space and the close spacing encourages the Tulips to grow long, straight stems.
The photo below is about 100 Tulips bulbs. You can see for yourself how many bulbs you can easily fit into a small space!
Most people use the “Trench Method” when growing Tulips as cut flowers, instead of digging a separate hole for each bulb.
Here’s how it works:
Dig a trench about 6 inches deep
Place the bulbs in the trench, spacing them like eggs in a carton
Cover the bulbs with the soil. Water in well.
If your climate receives sufficient rain and snow over the winter, no extra watering is necessary. If not, a few deep waterings over the winter/early spring will be required.
On our farm, we use the “Temporary Raised Bed Method”:
Rake the soil surface smooth
Build a temporary raised bed on top of the soil. Sides should be 6-12” high.
Place the Tulip bulbs in the raised bed, like eggs in a carton
Fill the raised bed with compost or compost/soil mix. Water in well.
If your climate receives sufficient rain and snow over the winter, no extra watering is necessary. If not, a few deep waterings over the winter/early spring will be required.
When Tulip harvest is over, disassemble the bed and spread out the compost/soil where needed.
Because of the extremely high vole pressure on our farm, we take extra steps to ensure that our bulbs are completely enclosed and protected from marauding rodents. You can read all about it HERE: How to Protect Your Tulips from Voles.
7. How do I harvest Tulips for cut flowers?
Ok, here is the strangest part about growing Tulips for cut flowers…
You don’t EVER want to see a single Tulip in bloom in the field! Yes, that’s right, your #1 goal is to harvest every bloom BEFORE they open.
Why?
Tulips that are already open will have a shorter vase life (3-5 days) Instead, you want to Tulip to open up AFTER it’s in the vase, not before. Tulips that open in the vase will have a 7+ day vase life.
Tulips that are harvested before they are open can be stored in a cooler or refrigerator for 1-2 weeks before being used. This is especially helpful when there is a heat wave and all the Tulips ripen in 1-2 days, instead of gradually ripening over 7-14 days. It happens. ;)
When the blooms are just starting to color up, but not open yet, it’s time to harvest. Pull the entire plant, bulb and all, out of the ground. With the food source still attached (the bulb), the blooms can be stored dry for about 2 weeks.
To store the blooms in your fridge or cooler, bundle the blooms in newspaper. Place them upright in a bucket (no water) or lay them flat (bundling helps keep the stems straight). Keep them in the dark to prevent bending toward light (“phototrophic”)!
When you’re ready to use the Tulips, snip off the bulb, strip off the lower leaves and wash the stem clean. Place the stem in clean water and it will gradually begin to open up.
If the stem feels floppy or limp, do not panic! Follow the instructions above, but also wrap the stems tightly in newspaper to keep them upright. Within a few hours, the stems will be straight and the paper can be removed.
Floppy Tulips that have been dry stored in the cooler for 2 weeks. The stems are limp as noodles!
Wrap the stems tightly in paper, recut the stem ends and place in cool water for at least 1 hour (or overnight).
Unwrap the paper. The stems are now fully hydrated and firm!
Fun fact! Tulip stems keep growing after they have been cut. If you notice your Tulips look taller in the vase than they did yesterday, you’re not crazy! They actually did grow. Simply give them a trim every few days.
TULIP PLANTING SUMMARY
WHEN TO PLANT: Plant Tulip bulbs in the fall when temperatures begin to drop (soil temperatures below 60 degrees F), usually late September to November.
PLANTING SITE: Tulips do best with full sun, but can tolerate partial shade. Tulips require well-draining soil. They may rot in wet, heavy soils.
WHEN TO WATER: Water deeply once after planting the bulbs. Water moderately in the spring if the soil is dry. During the blooming season, water every 3-5 days if there is no rainfall.
PLANTING WIDTH & DEPTH: Decide if you are going to plant the Tulips for landscape display OR cut flower use.
Landscape Display: If growing for landscape display, plant the bulbs 4-5” apart and about 5-7” deep. The rule of thumb is to plant the bulbs 3x as deep as the bulb is high. Plant the bulbs pointy side up.
Cut Flower Use: If growing for cut flower use (harvesting the blooms to display in a vase), plant the bulbs closely nestled together (but not touching) and about 5-7” deep. The rule of thumb is to plant the bulbs 3x as deep as the bulb is high. Plant the bulbs pointy side up.
AFTER BLOOMING (Landscape display Tulips only): After the Tulips have finished blooming, it’s important to allow the plants to die back naturally. This is how they gather energy to bloom again the following year. Allow the leaves/stems to completely die back and turn yellow before clearing away debris.
To summarize…
If you want to enjoy Tulips in your landscaping AND you want them to rebloom the next season, I don’t recommend harvesting them for cut flowers (unless you are growing Darwin hybrids and you want to sneak a few blooms for bouquets).
Instead, plant your cut flower Tulips in a dedicated area, treat them as an Annual flower and enjoy them in the vase!
Ready for more?
If you’re serious about growing the garden of your dreams this year, register for my online course, “Backyard Cutting Garden 101”. You’ll find everything you need to plan, grow, harvest, and arrange your stunning blooms. I can’t WAIT to help you grow! Click on the image below for all the details. 👇
How to Protect Tulips from Voles
A full report on my “No-Till Tulips” experiment.
How to Protect Tulips from Voles
If you’ve been following along for a while, you know that voles (small little mammals, similar to mice) are a huge problem on our farm. Voles love to eat all sorts of vegetations, but bulbs are their favorite food.
My first season on the farm, I planted 125 Tulips bulbs… and the voles ate 123 of them.
My second season, I planted about 500 bulbs… and the voles 2/3 of them.
I realized this was a SERIOUS problem and I would have to find ways to outsmart the voles.
In November of 2019, my husband and I drove all the way from Michigan to Philadelphia so I could spend a day learning from Jennie Love, of Love ‘n Fresh Flowers.
I’m grateful for Jennie’s wisdom, generosity and enthusiasm. She is an inspiration to me and I love learning from her, whether it’s in person, through one of her online courses or listening to her podcast, “The No-Till Flowers Podcast”.
When I saw her “No Till Tulips” planting method in person, I was fascinated and wanted to try it myself.
The method is brilliant. Instead of digging individual holes for each bulb or a giant trench, she creates a temporary raised bed on the surface of the soil. This makes harvesting the Tulips much faster and creating the beds is so simple.
On Jennie’s farm, they don’t get a lot of snow cover, so her two fierce barn cats can hunt all winter and keep the vole/critter population at a manageable level (side note: barn cats are MUST on any farm!).
In Michigan, we often have deep snow cover over the winter. The voles make their tunnels deep below the snow and our barn cats can’t catch them… so the voles basically have free run of the entire farm and can do massive amounts of damage.
I decided to try Jennie’s “No Till Tulips” planting method, but with a twist. I would line the BOTTOM and the TOP of the bed with wire mesh hardware cloth and staple it the sides of the beds.
Below, I’m going to walk you step by step though the process of how I did it. There are LOTS of photos, because I suspect you are a visual learner like me.
1. Rake planting area smooth and lay out the boards for the beds. These boards are 6” tall. I wish they were 8-12” but we worked with what free materials we had on hand.
This bed is 3’ x 50’ and I fit 4,200 Tulips bulbs in here.
2. Roll out wire mesh hardware cloth. I bought this from Home Depot and it’s the 1/4” mesh. 1/2” is too big - voles can fit through 1/2” spacing. I pinned it in place with landscape staples.
3. I started creating the sides of the beds. The boards are simply held in place with rebar stakes on either side of the boards.
4. I bent the wire mesh so it cradled the boards. Then I used a staple gun to staple the mesh to the boards.
5. I started filling the beds with about 2 inches of compost and a sprinkle of Bone Meal.
6. My farm hand, Kathryn, helped me plant the bulbs. This part goes really fast. We were able to plant over 4,200 bulbs in a couple hours.
We placed about 25-30 bulbs per square foot. They are nestled close together, like eggs in a crate.
7. After the bulbs were placed, we filled the beds all the way to the top with more compost.
8. Just for refence, this is what 100 Tulips bulbs looks like. They hardly take up any space at all.
9. After the bed was filled, I rolled out another layer of wire mesh hardware cloth over the top of the bed and stapled it to the boards. Now the Tulips bulbs were in a “cage”, completely encased in wood and wire mesh.
10. Over the winter, whenever there was a thaw, I’d see lots of vole tunnels all around the Tulip bed…
11. In March, I visited the Tulip bed every day to look for growth. As soon as they started poking up, I removed the wire mesh top.
By this time, most of the snow as gone and the barn cats were able to hunt again.
12. In April, the Tulips started to wake up.
13. Our spring was extremely cold and cloudy, which delayed Tulip growth. We hoped they would be ready in time for Mother’s Day, but alas, most were not.
We even tried covering the bed with hoops and plastic to warm them up faster, but it didn’t really work since it was so cloudy and windy in April (if you try this, be sure to keep the sides vented. When the sun comes out, it can heat up REALLY fast and cook the Tulips to death).
14. By the first week of May, a couple of the varieties were ALMOST ready to harvest.
15. When we harvest Tulips for cut flower use, we pull the entire plant, including the bulb. With the bulb still attached, they can be stored in a cooler for up to 4 weeks.
16. We harvest when the buds swell and begin to show their color. This allows the bud to open up in the vase and the customer get the best and longest vase life.
17. Tulips are harvested into crates or buckets and stored dry in the cooler. They don’t need to be in water.
18. After a cold cloudy spring, the temperatures soared (literally doubled in 2 days), the sun came out and all the Tulips were ready for harvest in a 3 day period, instead of a 3 week period.
We harvested up to 5 times a day to make sure we caught them before they opened. We had to scramble like crazy to harvest everything in time AND mash them all into our walk-in cooler.
19. After the harvest was over, I disassembled the raised bed. I pulled the sides off and raked the compost into the beds nearby to use for a new planting area.
20. And look what I found under the wire mesh! There are so many voles tunnels under the mesh.
I rejoiced that the mesh did it’s job and we didn’t lose a SINGLE BULB to those awful voles. Take THAT, voles!
I hope you enjoyed this step-by-step explanation of how I finally outsmarted the voles. If you struggle with voles too, use this as inspiration to find a solution that works for you!
READY FOR MORE?
If you’re serious about growing the garden of your dreams this year, join my online course and community, “Backyard Cutting Garden 101”. You’ll find everything you need to plan, grow, harvest and arrange your stunning blooms. I can’t WAIT to help you grow! Click on the button below for all the details.
